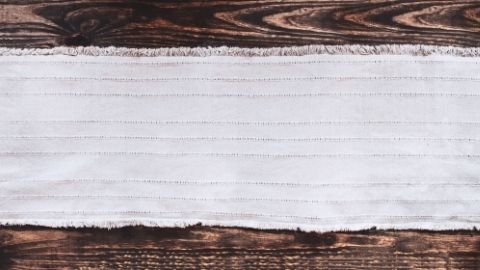
Quilt-as-you-go Table Runner
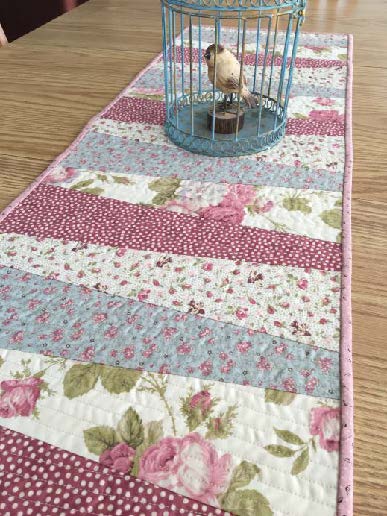
Finished Size: 15" x 43"
Materials Needed:
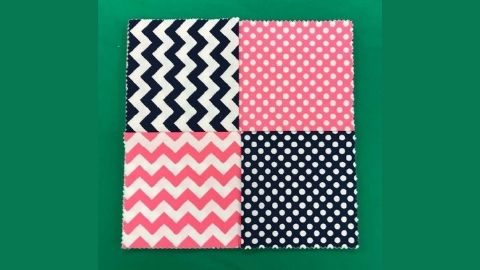
- 4 coordinating fat quarters
- ½ yard backing fabric
- 16" x 45" cotton batting
- ¼" yard binding fabric
- Matching neutral thread
- 9 Wedge ruler
- (All fabric should be cotton quilting fabric – 45-in. width)
Cutting Instructions:
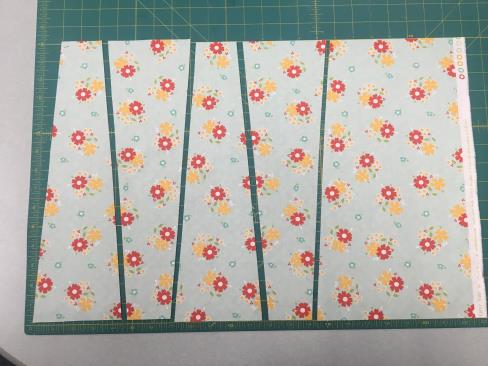
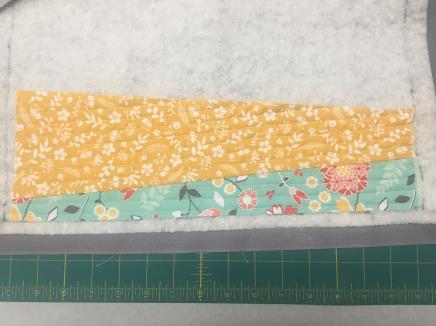
1. Cut 16 wedges (4 of each fabric) using the wedge ruler. If you would like a longer table runner, then add more wedge pieces and adjust the amount of backing fabric and batting. To cut wedges, trim the width of the fat quarter to 15". Lay the wide edge of the ruler on one edge of the fabric so that it is even. Cut on each side of the wedge ruler. Then, turn the ruler the other way and line up the cut side of fabric with the ruler and then cut on the opposite side. Continue doing this until the desired number of wedge fabric pieces have been cut.
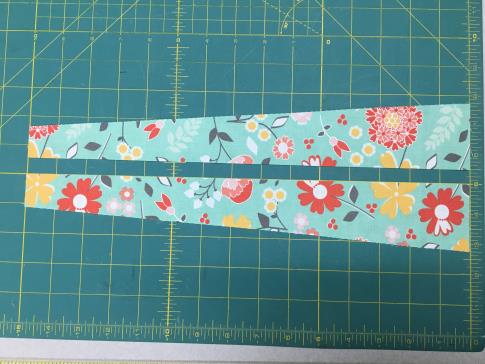
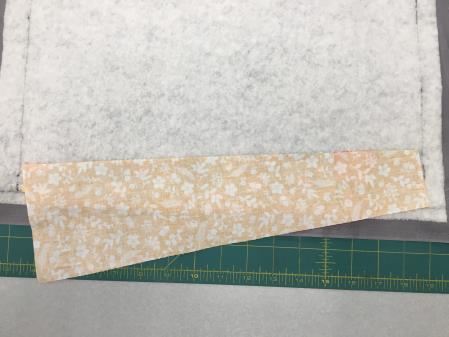
2. Cut the first wedge evenly in half lengthwise.
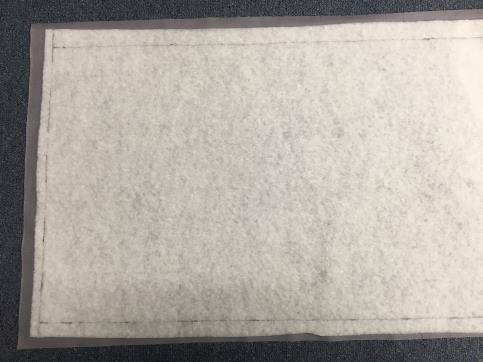
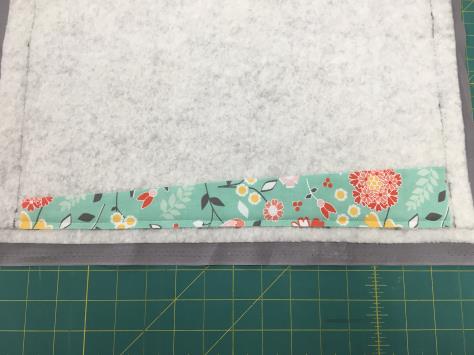
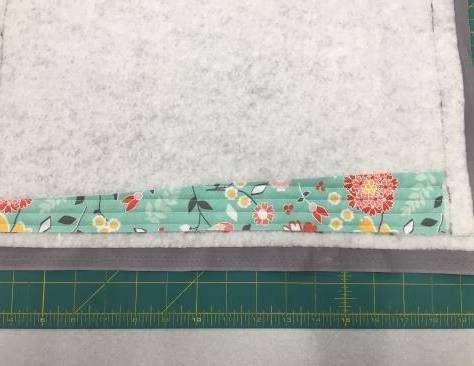
3. Spray baste the batting onto the wrong side of the backing fabric. The backing fabric will be a little larger, so center the batting onto the backing. Draw a straight line along short end of the batting. Now, draw two lengthwise lines 15 inches apart to the end of the batting. Lay the straight edge of the wedge that was cut in half along the shorter line drawn on the batting.
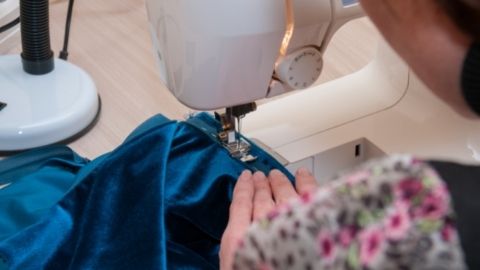
4. Sew ¼" from straight edge of fabric.
5. Next, turn the fabric sandwich around and starting from the opposite end this time and sew another line. During this step, figure out how far apart you would like the quilting stitches to be. Moving the needle position each time and then using the edge of the presser foot as a guide is one way to achieve this result. The stitching can be evenly spaced or random widths with each stitching line. When the stitching meets the side of the fabric wedge, then stop and backstitch one of two stitches.
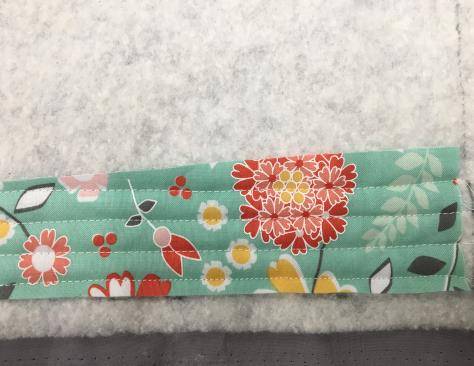
6. When the first section is all "quilted", then add the second piece by alternating wedge widths along the edge. Place the next fabric right sides together with the previously quilted fabric piece. Line up the edges of the fabric and sew a ¼" seam to attach.
7. Fold the newest piece of fabric back along the batting and press.
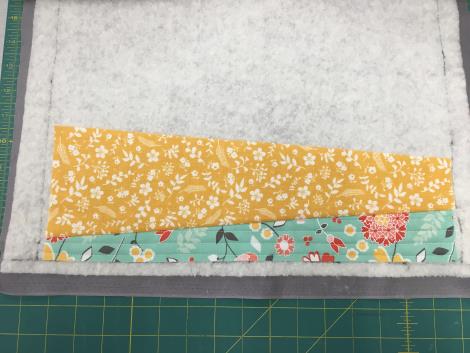
8. Now, start sewing the quilting lines on the most recent piece of fabric that has been sewn on.
9. Continue repeating steps 5 through 8 on the rest of the fabric wedge pieces.
10. The end piece should be the other half of the first piece.
11. Trim off excess backing fabric and batting. Measure across to make sure it is trimmed evenly.
12. Bind.
13. Enjoy
Authors
Patricia Mathis, USU Extension Agent, Wasatch County

Patricia Mathis
Extension Educator | Sewing and Textiles | Wasatch County Director
Home and Community Department
Related Research
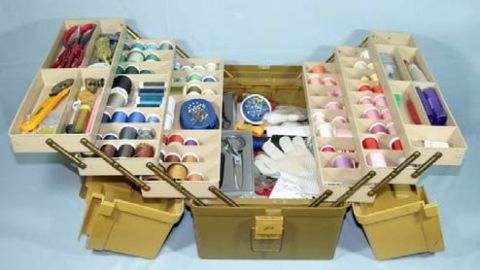
Basic Sewing Supplies
Basic sewing tools are needed for beginning items. A few are essential to use in constructing a sewn item. As you progress in your sewing skills, you may want to include other supplies for more advanced projects. Other supplies make the process easier. Vi

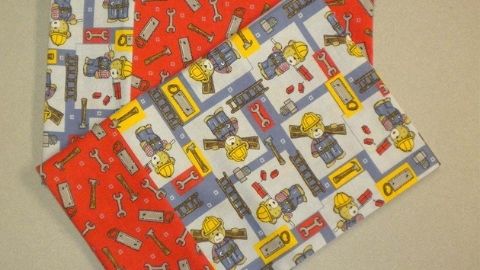
Charity Pillow Cases
Step-by-step instructions on how to make a charity pillow case (assembly line method).


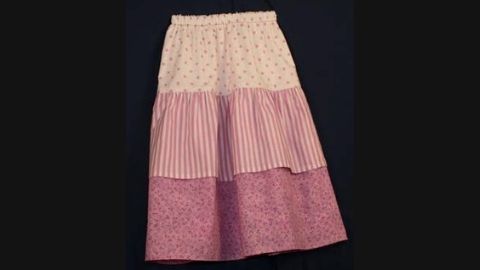
Dropped Waist Skirt with Ruffles
Step-by-step instructions on how to make a dropped waist skirt with ruffles.

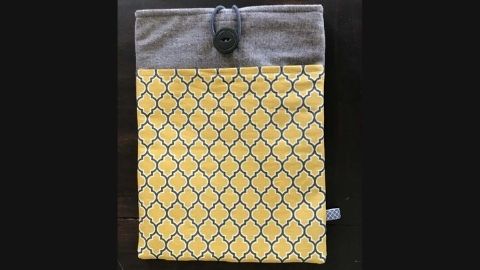
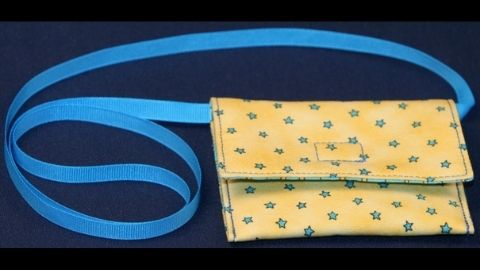
Easy Sewing Maker Projects
Step-by-step instructions on how to make a phone charging holder, lanyard wallet, and travel tissue cover.
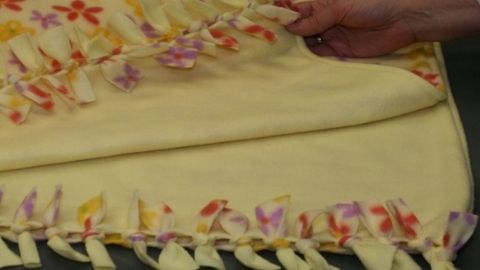
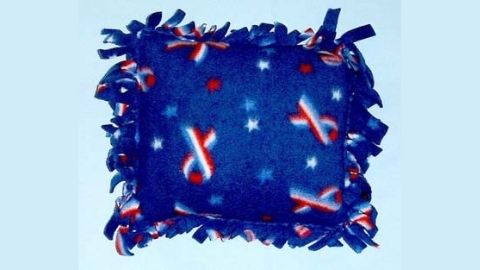
Fleece Blanket With Half Hitch Knots
Step-by-step instructions on how to make a fleece blanket with half hitch knots.


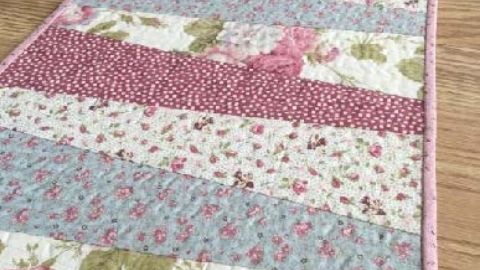
Quilt-as-you-go Table Runner
Step-by-step instructions on how to make a quilt-as-you-go table runner.