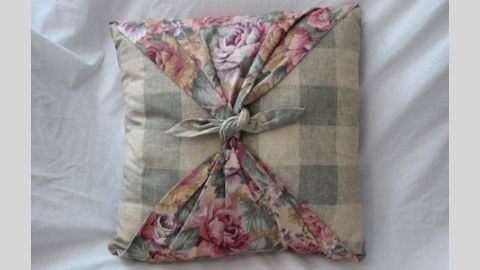
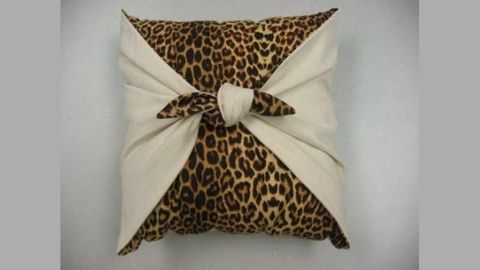
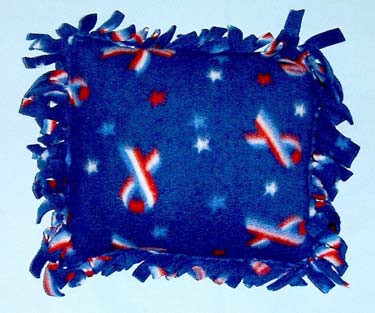
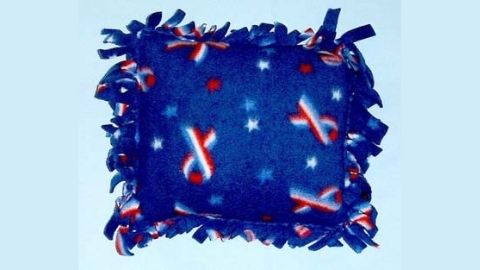
Fleece-Tied Pillow
Supplies Needed:
- Two squares of fleece fabric determined by the size of the desired finished pillow
- Thread to match
- One 14", 16", or 18" square pillow form
- Pattern paper
- Extra firm craft stabilizer
- Basic Sewing Supplies (see Fact Sheet: FL/ST/Construction 2008/101)
Determine amount of fabric needed:
As you prepare to make your Fleece Tied Pillow, you will need to decide whether you want to make a 14, 16, or 18" pillow. Once you make that decision you are ready to select your fabric. The table below will assist you in determining what you will need.
Table 1.
| Pillow Form Size | + | Ties | = | Required Fabric Square (cut 2) | Required Yardage |
|---|---|---|---|---|---|
| 14" | + | 6" | = | 20" square | 5/8 yard |
| 16" | + | 6" | = | 22" square | ¾ yard |
| 18" | + | 6" | = | 24" square | ¾ yard |
Pattern markings:
Sewing clue — Becoming familiar with the markings in the Diagram Key will aid in reading instructions. Most patterns have similar keys.
Diagram Key:

Right Side of Fabric
----------
Stitching Line
Fabric preparation:
It is not necessary to pre-wash fleece prior to construction. It does not shrink or lose excess dye.
Cutting instructions:
Step #1
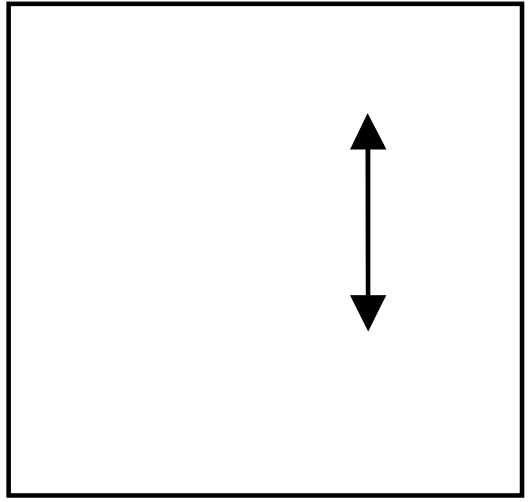
- Draw a square on pattern paper the size of the required
fabric square as determined by Table 1. - Draw a grain line arrow parallel to one of the edges and
approximately 2" from the edge.
Sewing clue — When fleece fabric is stretched on the crosswise
grain it curls to the wrong side. When fleece fabric is stretched on the lengthwise grain it curls to the right side. Fleece wears better when cut with the right side out.
Step #2
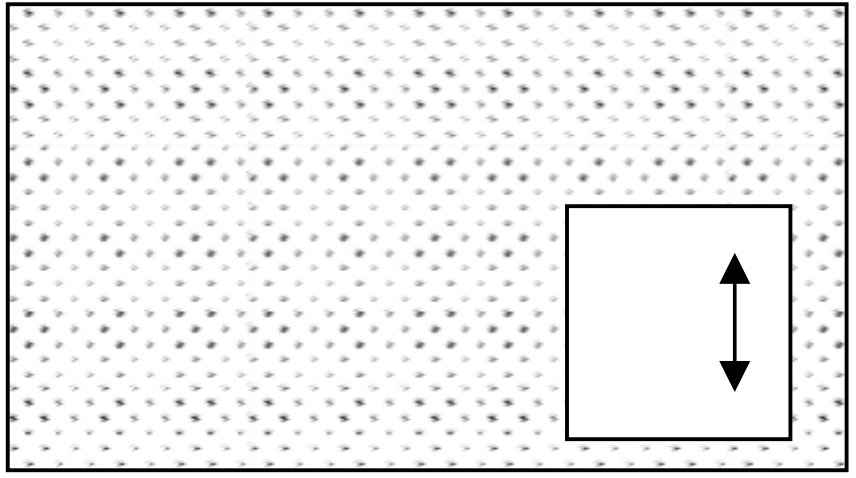
- Cut two fabric squares according to desired pillow size using the pattern as a guide.
Sewing clue — Fleece fabric is thick. It is helpful to use long pins with large heads such as quilting pins or pins with flat heads.
- Pin the pattern to the single layer of the fabric with one edge parallel to the selvage edge and cut out one of the squares.
Sewing clue — To insure the pillow is cut on the straight grain of
the fabric, measure from each end of the grainline arrow to the
selvage edge. When these two measurements are the same
distance from the selvage the pattern is on the fabric’s straight grain.
- Remove the pattern from the cut piece.
Sewing clue —When working with fleece fabric, be aware that the selvage edge is sometimes distorted. When pinning your pattern to the fabric, move the pattern inside the distorted edge. When cutting items, use fabric wisely. Laying pattern pieces close together will avoid wasting fabric.
Step #3
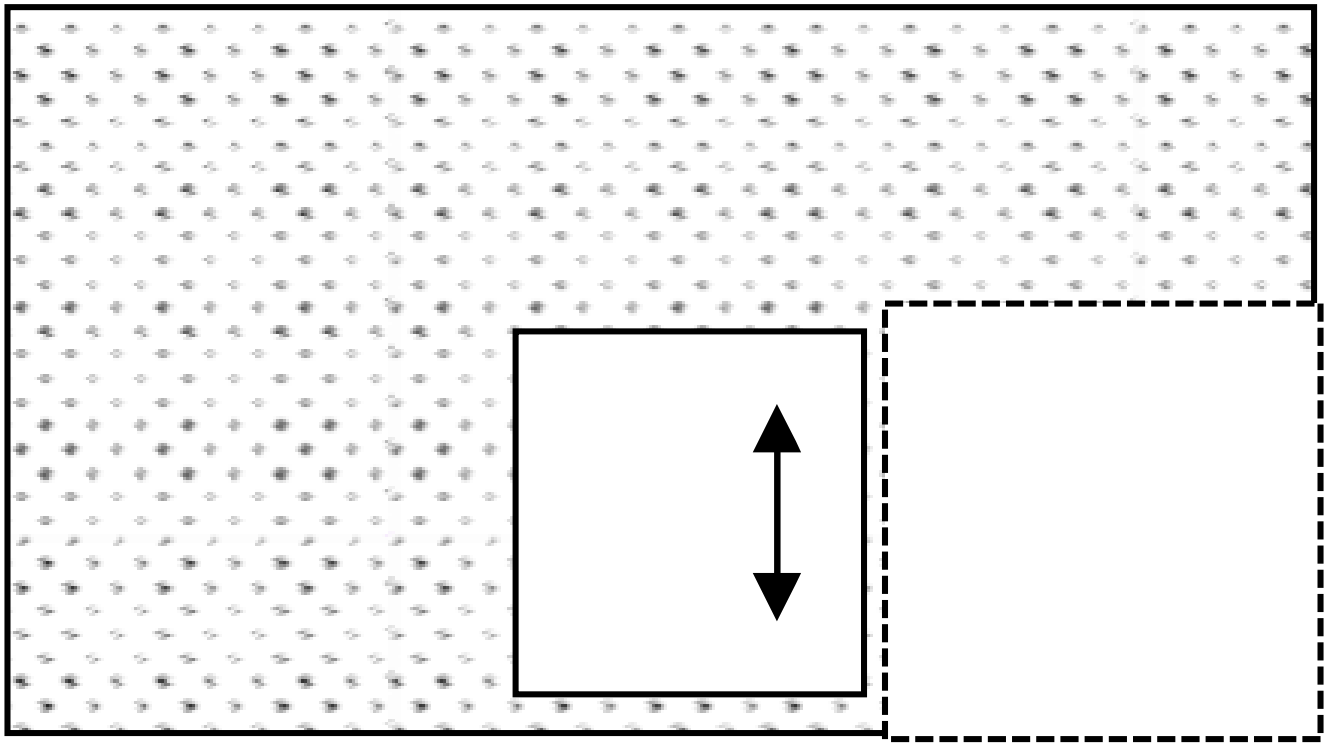
- Re-pin the pattern close to or on the cut edge. Cut the second fabric square.
Tie template construction:
Step #1
- To ensure that you have the same number of ties on each side, make a template from extra firm craft stabilizer for a guide.
- Cut a piece of stabilizer using the measurements in the table below.
| Pillowform Size | Template Size |
|---|---|
| 14" | 4 X 20" |
| 16" | 4 X 22" |
| 18" | 4 X 24" |

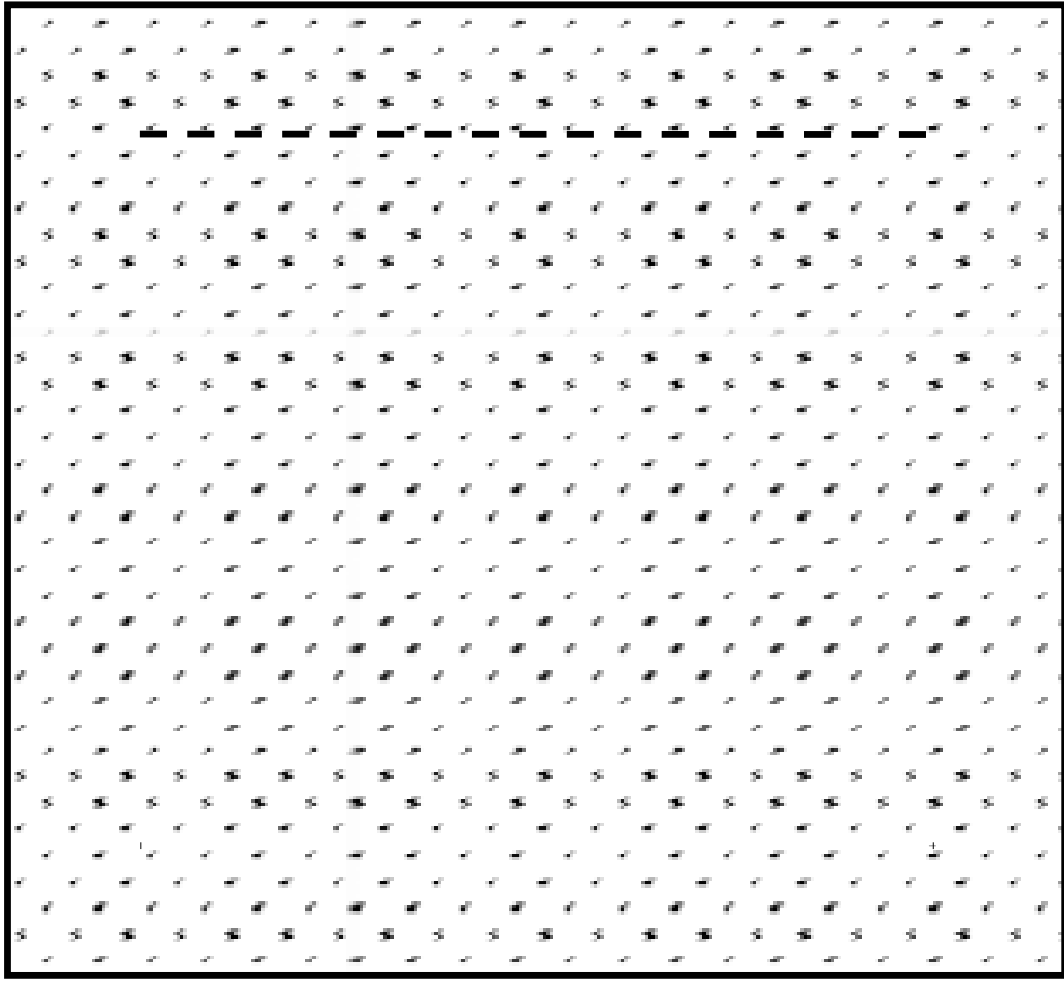
Step #2
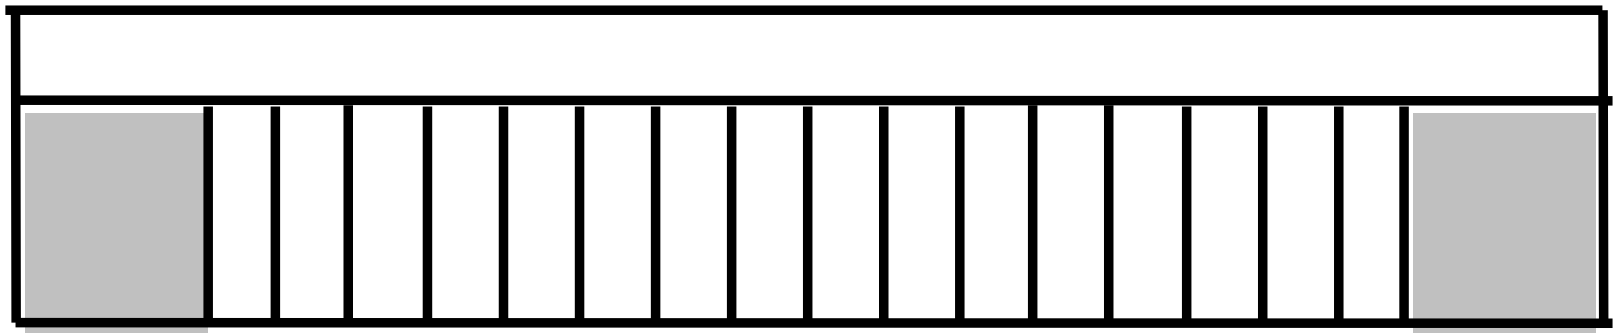
- Mark the template with a line 1-inch from the long edge the width of the stabilizer. To complete the template, draw a line in 3" from each end. Draw a series of vertical lines 1/2" apart.
- Cut a 3" square from each end of the template. (As shown by the gray area in the diagram.)
- The template serves as a pattern for cutting your ties.
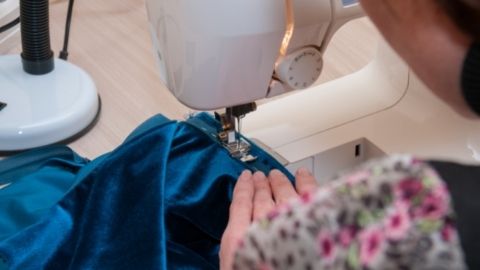
Sewing clue — Fleece is a knitted fabric. Therefore, when sewing fleece fabric use a sewing machine needle for knits such as a ballpoint, stretch, or universal needle. A general rule is to use 7 to 9 stitches per inch when you are sewing fleece fabric.
Pillow construction:
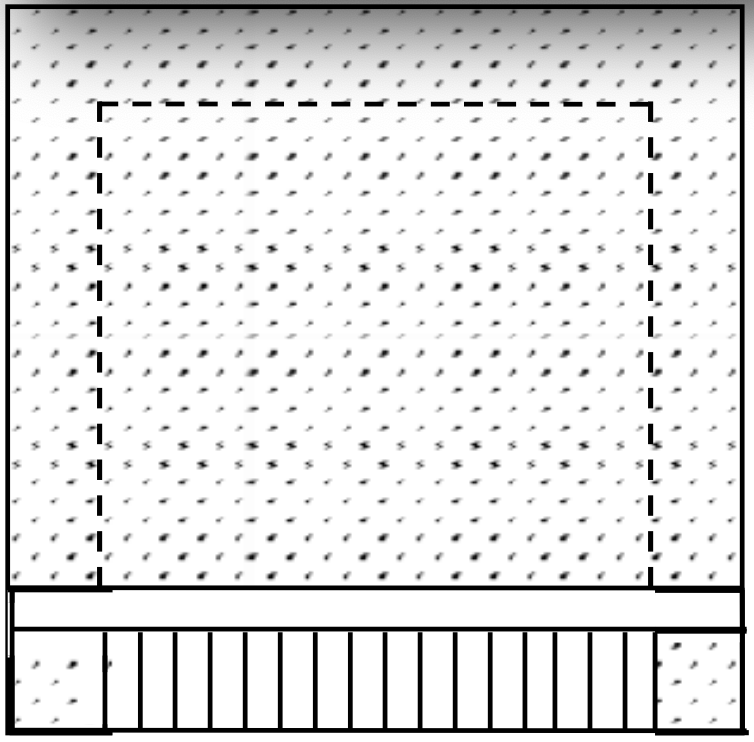
Step #1
- Stitch a reinforcement stitch around each fabric square 3" from the edge. This is to prevent the ties from tearing deeper than you want.
Optional: Omit reinforcement stitch for a non sewn item.
Sewing clue — Place tape on the bed of the sewing machine 3" from the needle. This will serve as a stitching guide.
Step #2
- Pin the template to one edge of the pillow squares and cut every ½-inch following the template markings.
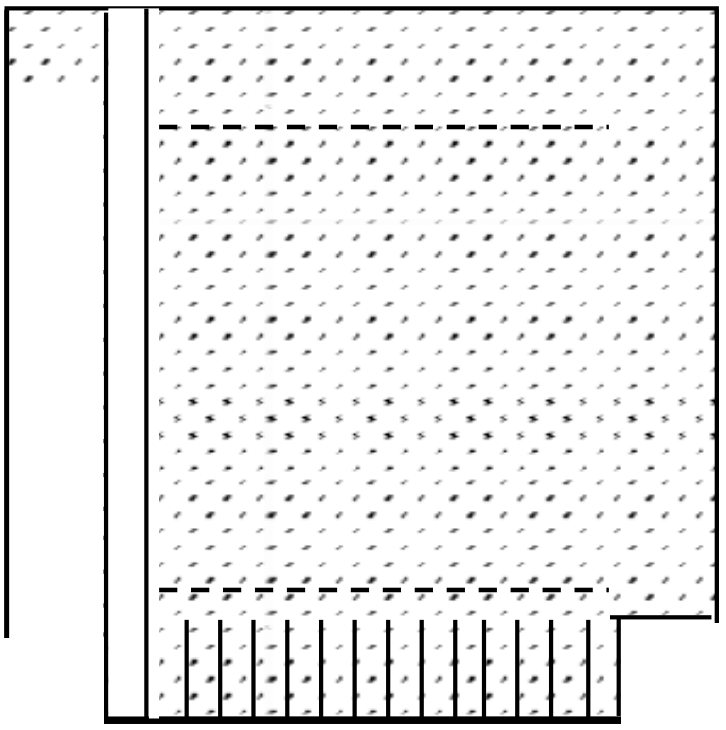
Step #3
- Move the template around all sides of the square continuing to cut the ties.
- Repeat on the second fabric square.
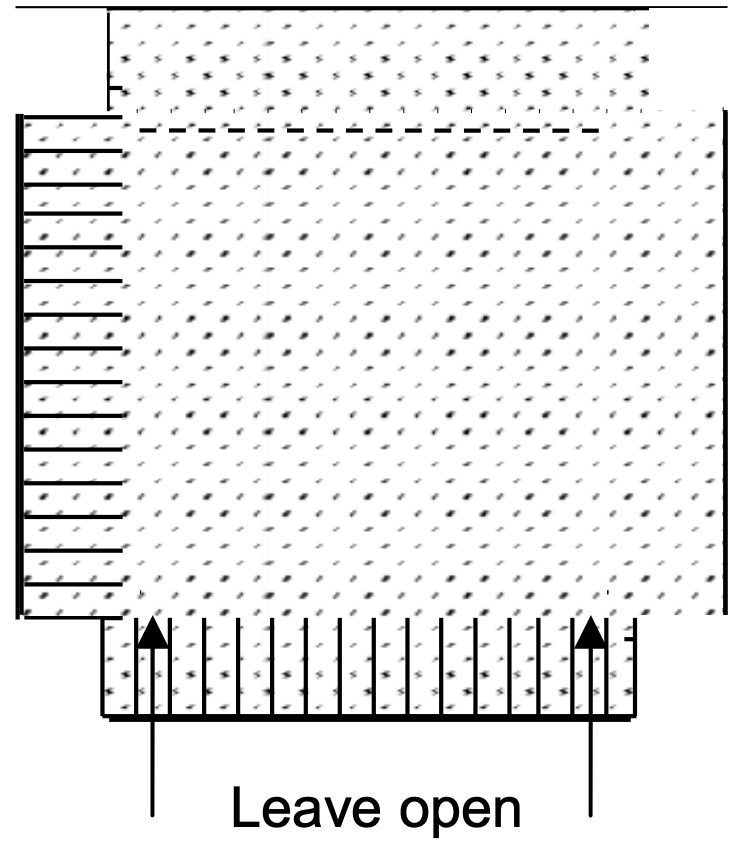
Step #4
- To form the pillow pocket, place the WRONG sides of the two fabric squares together.
- Tie the two layers together using a square knot on each set of ties.
- Begin at one corner and tie the two squares together around three edges of the pillow. This forms the pillow pocket.
Step #5
- Insert the pillow form into the pillow pocket.
- Tie the remaining side
Authors
Ronda Olsen, M.S. USU Extension Agent, Uintah County; Debra Proctor, M.S. USU Extension Agent, Wasatch County; Karen Biers, Ph.D. USU Extension Specialist
Related Research
Basic Sewing Supplies
Basic sewing tools are needed for beginning items. A few are essential to use in constructing a sewn item. As you progress in your sewing skills, you may want to include other supplies for more advanced projects. Other supplies make the process easier. Vi

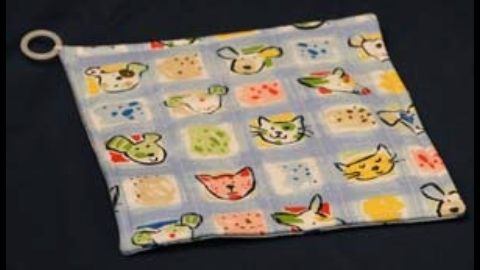
Charity Pillow Cases
Step-by-step instructions on how to make a charity pillow case (assembly line method).


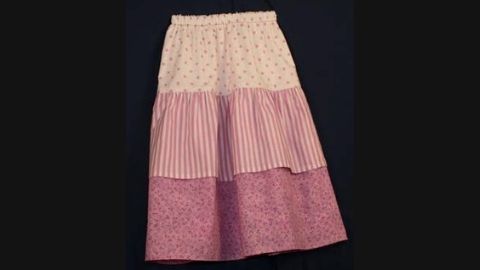
Dropped Waist Skirt with Ruffles
Step-by-step instructions on how to make a dropped waist skirt with ruffles.

Easy Sewing Maker Projects
Step-by-step instructions on how to make a phone charging holder, lanyard wallet, and travel tissue cover.
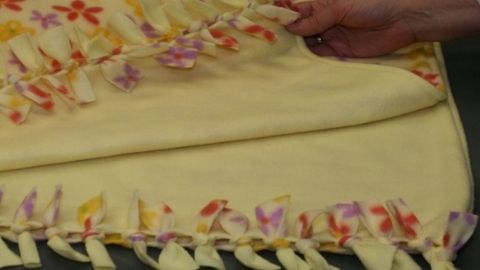
Fleece Blanket With Half Hitch Knots
Step-by-step instructions on how to make a fleece blanket with half hitch knots.


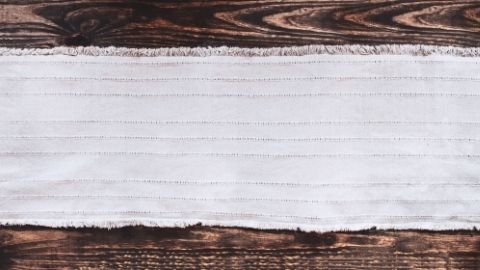
Quilt-as-you-go Table Runner
Step-by-step instructions on how to make a quilt-as-you-go table runner.