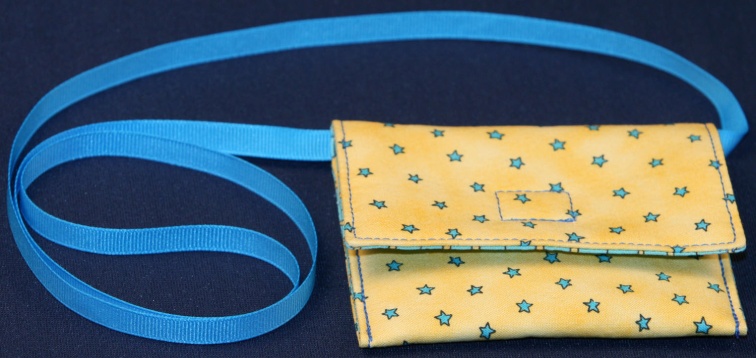
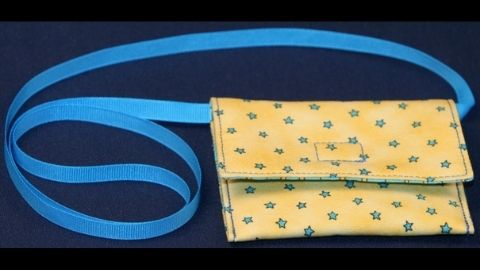
Mini Purse Hunting Pouch
Supplies needed:
- 1/4 yard feature fabric*
- 1/4 yard coordinating lining fabric*
- 1/4 yard fusible fleece
- 1″ hook & loop tape or fastener
- Grosgrain ribbon or trim for handle (for long handle , 1 yard; for short handle, ½ yard.)
- Basic Sewing Supplies (see Fact Sheet: FL/ST/Construction 2008-101pr)
*Two coordinating fat quarters can be used. Fat quarters are found in quilt shops and measure 18″ X 22″.
Pattern markings:
Sewing clue—Becoming familiar with the markings in the Diagram Key will aid in reading instructions. Most patterns have similar keys.
Diagram Key:

Right side of feature fabric

Right side of lining fabric

Right side of fusible fleece
Cutting instructions:
- Cut 1 —5 1/2" X 10 1/2" rectangle feature fabric
- Cut 1—5 1/2" X 10 1/2" rectangle of lining fabric
- Cut 1—5 1/2" X 10 1/2" rectangle of fusible fleece


Project construction:
Step #1
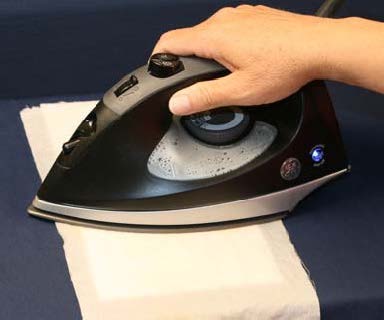
- Fuse fusible fleece to wrong side of feature fabric using manufacturer’s instructions.
Step #2
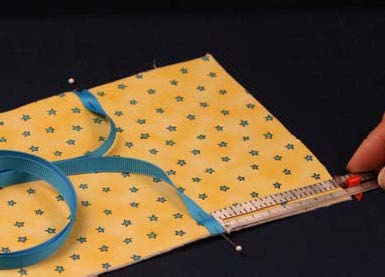
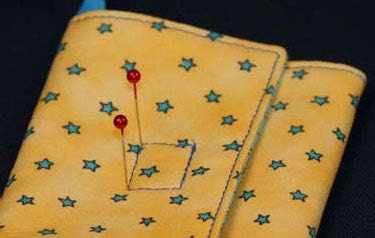
- Measure down 3 1/2" from top of the project on both sides. Mark with pin.
- Place the grosgrain ribbon at the pin, matching the ribbon edge with the outside edge of the project. Pin in place. Roll the ribbon and pin in the center of the feature fabric to keep from catching in the seams.
Step #3
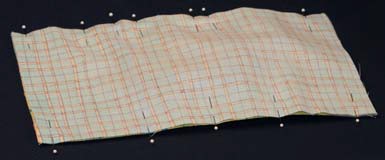
- Place right sides together. Pin outside edge.
- Mark an opening for turning right side out. Place two pins
together at the beginning and end opening in the center of one side seam—as illustrated by arrow to make a 2" opening.
Step #4
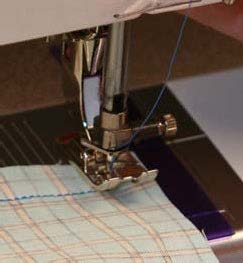
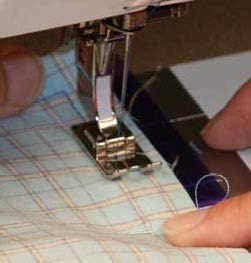
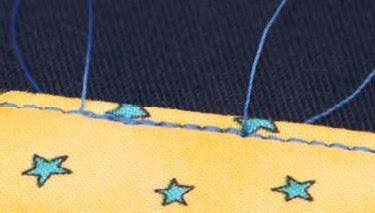
- Begin sewing around seam using a 1/2" seam allowance. Backstitch at the beginning.
- Sew along seam to 1/2" from the edge. Lower the needle to the down position, lift the foot, turn the fabric— pivoting at the corner—then put the foot down and continue sewing to the pin marking the opening. Backstitch.
Step #5
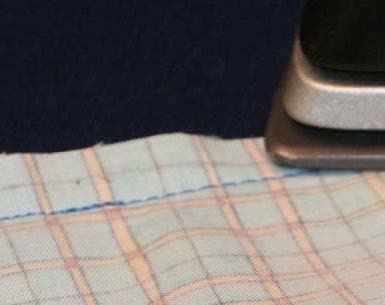
- Press seam flat to set the stitches.
Sewing clue—Pressing is an important part of sewing to shape and set the stitches. Press after stitching each seam. You will be able to stitch the next step smoothly and evenly, and your article will have a more professional look.
Step #6
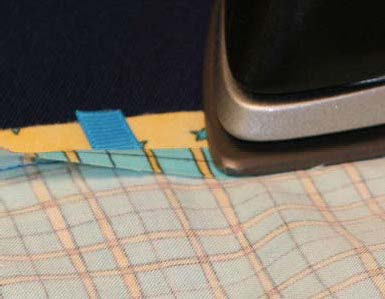
- Press seam open at opening.
Sewing clue—Pressing the seam line open will establish the seam. This will make it easier to close the opening after the article is turned.
Step #7
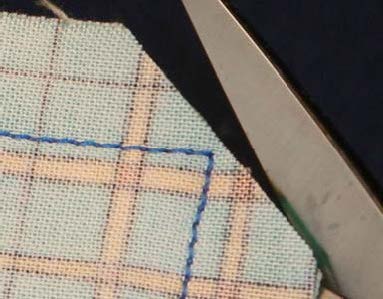
- Clip the corners at a diagonal.
- Do not cut too close to the threads or you will have a hole
in your project.
Step #8
- Turn project right side out through the opening.
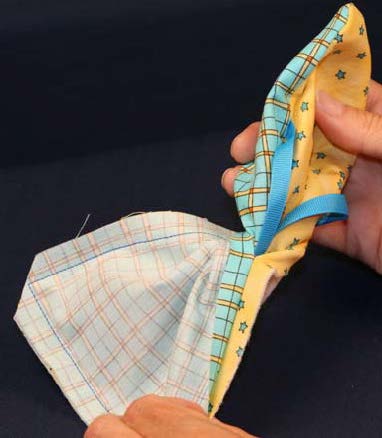
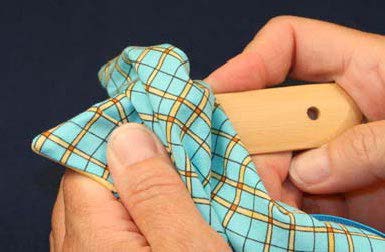
Step #9
- Gently poke out corners of project with a point turner or knitting needle. Be careful not to push the point through the stitching. Remove pin from ribbon at the center of the project.
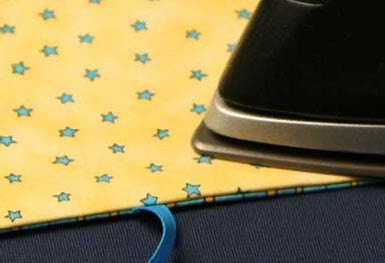
Step #10
- Press project edges. Press lining away from feature fabric at seams.When project is finished the lining will not show.
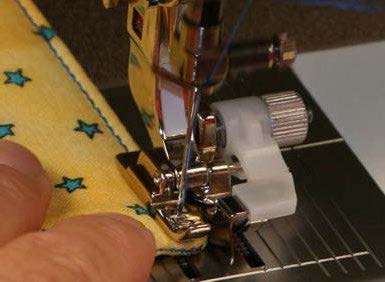
Step #11
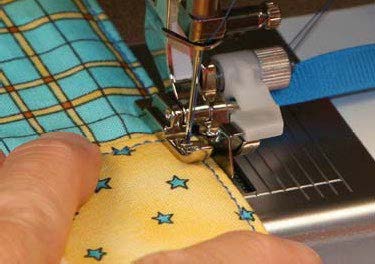
- Topstitch around the edge of the project.
Sewing clue—Use the hem foot of your sewing machine as a guide to stitch close to the edge. Place the foot guide next to the fold and adjust the needle to be 1/8" from the edge.
Step #12
- Do not backstitch, sew over the beginning stitches for about 1".
- Clip the threads close to the fabric.
Step #13
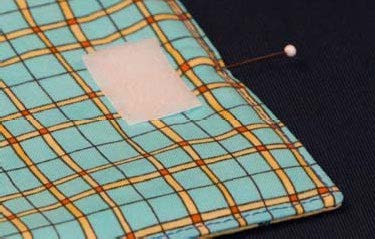
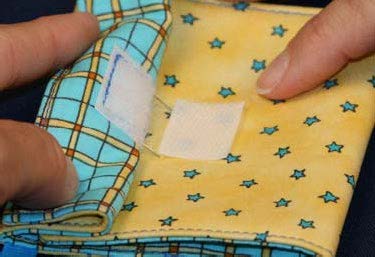
- Find the center of the flap and mark with a pin. Center loop side of tape 1/2" down from the top of the project.
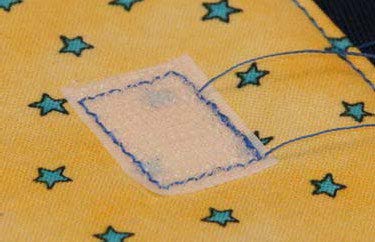
Step #14
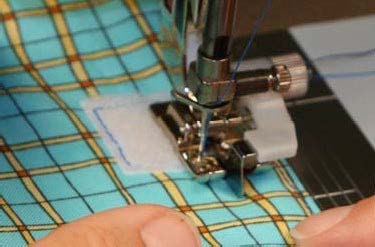
- Start at one corner of the tape, sew close to the edge, pivot at corners and sew—overlapping last side to secure stitches.
Step #15
- Fold bottom of project up to the bottom of the ribbon to form a pocket. Pin sides.
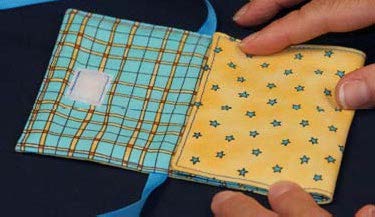
Step #16
- Fold top flap down at the top of the ribbon.
- Place a pin through top two corners of the loop tape to mark the hook tape placement on the project pocket.
Step #17
- Pull the top flap of the project back to expose where the pins are placed to mark the hook tape position. Place the top corners of the hook tape at the base of the two pins. Pin hook tape in place through the front of the project pocket.
Step #18
- Remove pins marking placement of hook tape. Lay project open flat.
- Start at one corner of the tape, sew close to the edge, pivot at corners, and sew—overlapping last side to secure stitches. Clip the threads close to the fabric.
Step #19
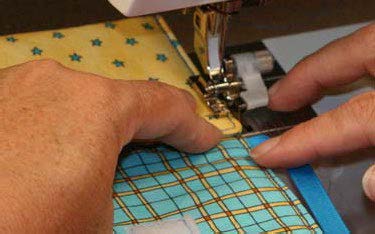
- Fold sides of project to match bottom of ribbon. Pin sides of project, if desired. Stitch side seams on top of previous sewing lines—backstitching at the beginning and end points. This will make your project more durable as you open and close it.
Step #20
- Stitch other side of project.
- Start at the top of the project pocket and sew to the fold— backstitching at the beginning and end.
- Your project is finished!
Authors
Darlene Christensen, M.S., USU Extension Agent, Tooele County; Debra Proctor, M.S., USU Extension Agent, Wasatch County; Ronda Olsen, M.S., USU Extension Agent, Uintah County

Darlene Christensen
Extension Associate Professor | Finance | Tooele County
Home and Community Department
Related Research
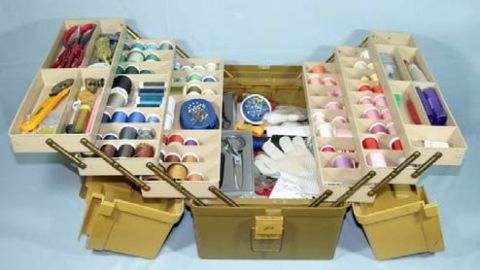
Basic Sewing Supplies
Basic sewing tools are needed for beginning items. A few are essential to use in constructing a sewn item. As you progress in your sewing skills, you may want to include other supplies for more advanced projects. Other supplies make the process easier. Vi

Charity Pillow Cases
Step-by-step instructions on how to make a charity pillow case (assembly line method).


Dropped Waist Skirt with Ruffles
Step-by-step instructions on how to make a dropped waist skirt with ruffles.

Easy Sewing Maker Projects
Step-by-step instructions on how to make a phone charging holder, lanyard wallet, and travel tissue cover.
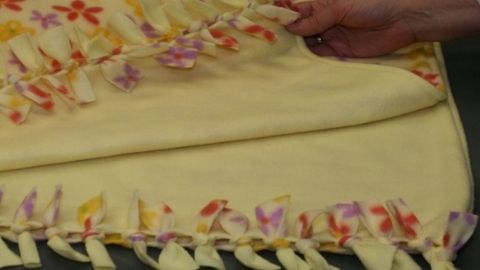
Fleece Blanket With Half Hitch Knots
Step-by-step instructions on how to make a fleece blanket with half hitch knots.


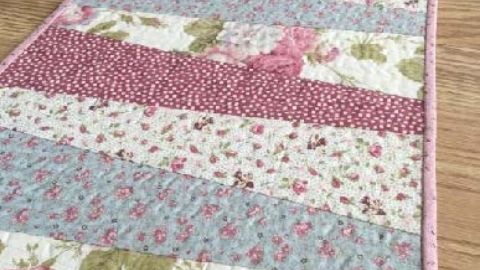
Quilt-as-you-go Table Runner
Step-by-step instructions on how to make a quilt-as-you-go table runner.