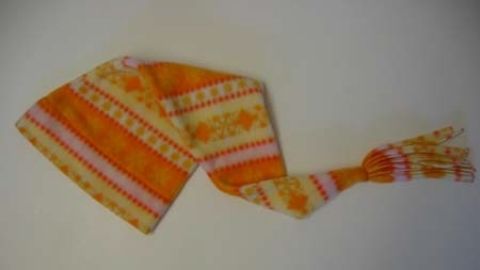
Fleece Stocking Hat
This pattern is fun because you become the designer. With a few simple guidelines you can make your hat to please your taste. The tail can be longer or shorter. You choose. This pattern has a 3" brim. You can adjust the brim width to suit your preference.
Supplies needed:
- 1 yard fleece fabric (not suitable for border prints)
- Thread to match
- Basic sewing kit
- Pattern paper or newsprint
- Ruler/Yardstick
Determine hat size:
Measure head circumference to determine the size of the hat.
| Hat Size Table | ||
|---|---|---|
| Size | Head Circumference | Your Measurement |
| Toddler | 19 inches | |
| Child | 20 inches | |
| Small Adult | 21 inches | |
| Medium Adult | 22 inches | |
| Large Adult | 23 inches | |
| X-Large Adult | 24 inches | |
Pattern markings:
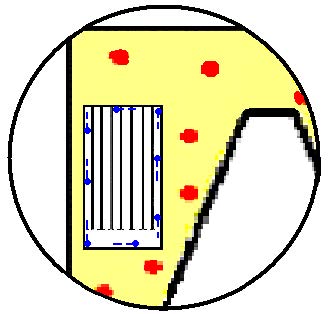
Diagram Key:

Pattern
Fabric

Wrong Side of Fabric
![]()
cutting line
-------------------------------
stitching line
Fabric preparation:
It is not necessary to pre-wash fleece prior to construction. It does not shrink or loose excess dye.
Pattern directions:
Step #1
- Select hat size from the “Hat Size Table.”
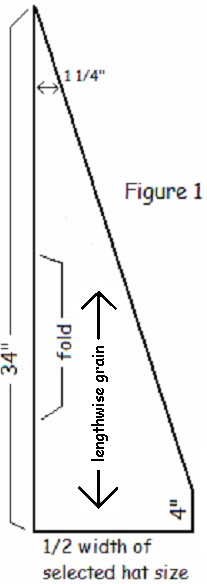
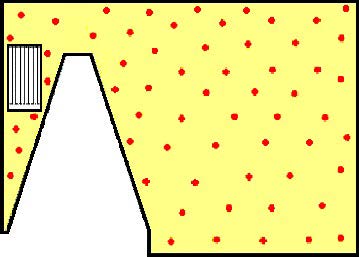
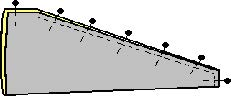
- Hat Pattern: Draw a pattern on the pattern paper using the dimensions in Figure 1.
- To establish a place where the tassel will be attached, lay the end of a ruler on the fold edge of the pattern. Pull the ruler down the fold until you have a 1 1/4" horizontal line. Mark the line and cut removing the tip.
Step #2
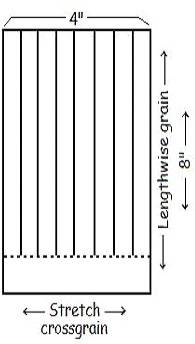
- Tassel Pattern: Draw a rectangle measuring 4" x 8". Draw a stitching line across the width of the pattern 1" from the bottom. Draw seven cutting lines along the 8" side, ½" apart stopping at the 1" mark. See Figure 2.
Sewing clue—When fleece fabric is stretched on the crosswise
grain it curls to the wrong side. When fleece fabric is stretched on the lengthwise grain it curls to the right side. Fleece wears better when cut with the right side out.
Cutting instructions:
Step #1
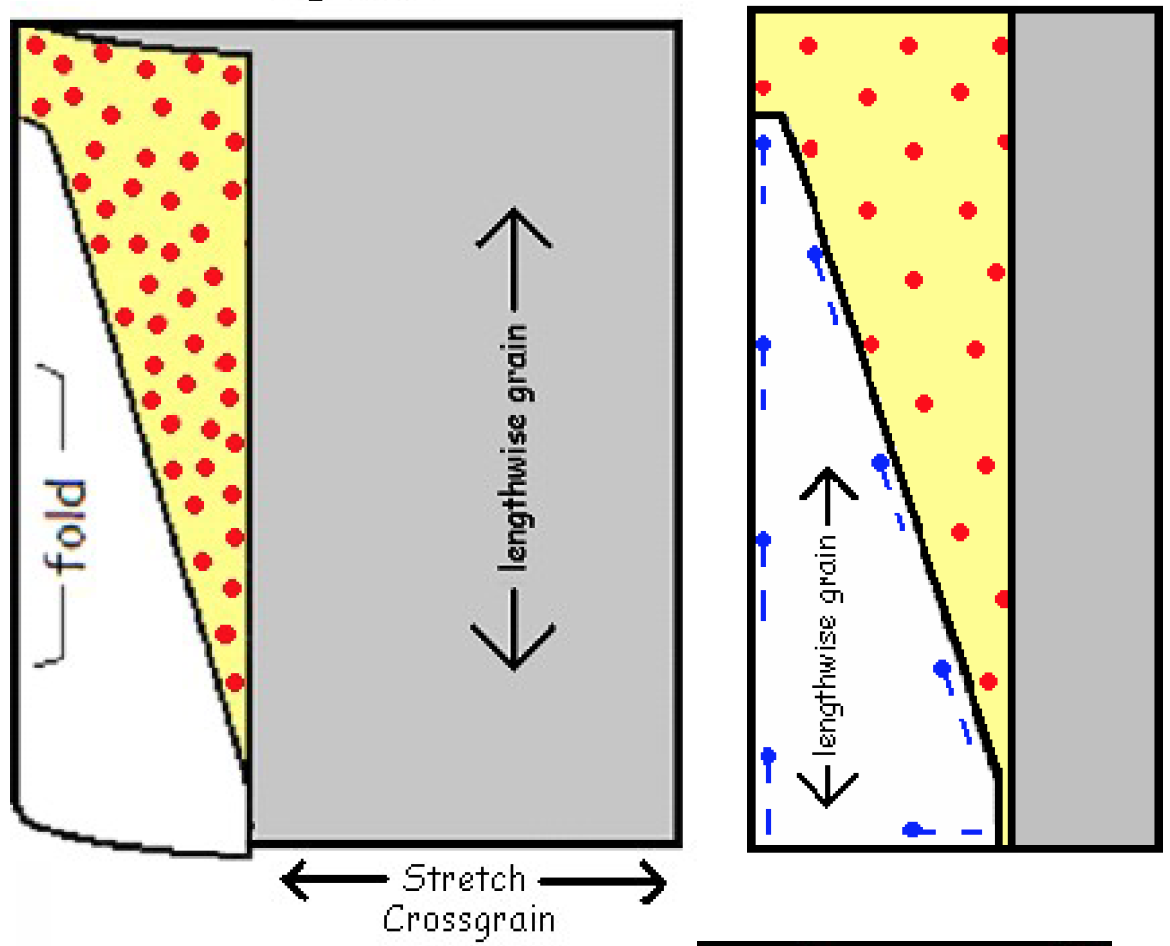
- Fleece is generally 59"-60" wide. Fold the fabric so that it measures one-half the width of the hat from the fold to the lengthwise edge as shown in Figure 3.
- Pin the hat pattern on the fabric along the fold. Folding the fabric allows you to get two or three hats from 1 yard. The size of the hat will determine the number of hats you can get from a yard of fabric.
- Cut out the fleece hat.
Sewing clue—Fleece fabric is thick. It is helpful to use long pins
with large heads such as quilting pins or pins with flat heads.
Step #2
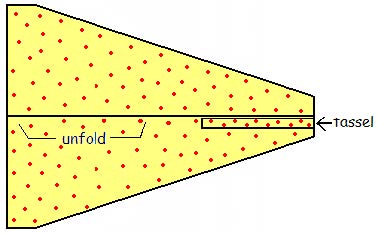
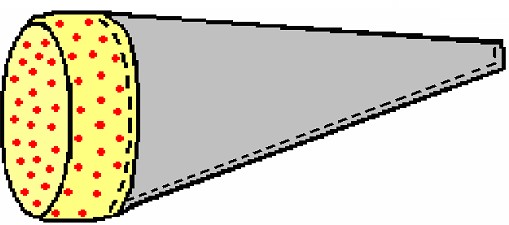
- Open the fabric up as shown in Figure 4. Pin the tassel pattern on a single layer of fabric along the lengthwise grain.
- Cut out the tassel. Use remaining fabric to make more hats or other items as desired.
Step #3
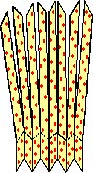
- Make tassels by cutting the fabric approximately ½ " or by cutting through pattern along the ½" cutting lines. Cut from the top down to the 1" stitching line as illustrated in Figure 5.
- To prevent cutting through the stitching line, place a piece of masking tape along the line.
Sewing clue—Use a rotary cutter, mat, and a straight edge to cut
the tassel strips. The use of a decorative blade in the rotary cutter, such as the wave blade or the pinking blade, will add interest to your hat.

Hat Construction:
Step #1
- Fold the strips on top of one another in an accordion fold along the 1" side or roll the strip up as illustrated in Figure 6.
Step #2
- With right sides of hat fabric up attach the tassel. Lay the folded or rolled tassel along the fold line as shown in Figure 7. Place the un-cut end even with the cut edge of the tip of the hat.
- Match seams, pin, and sew with a ¼ " seam allowance from the bottom of the hat toward the tip. Pivot and sew across tip securing tassels in the seam as shown in Figure 8.
Sewing clue—Fleece is a knitted fabric. Therefore, when sewing fleece fabric use a sewing machine needle for knits such as a ballpoint, stretch, or universal needle. A general rule is to use 7 to 9 stitches per inch when you are sewing fleece fabric.
Step #3
- Fold the bottom edge of the hat up 3" to the wrong side of the hat to form the hem as shown in Figure 9.
- To reduce bulk finger press the seam open.
- Stitch the hem in place ¼" from raw edge to create the brim. Turn right side out.
Sewing clue—When sewing on fleece you may find that using an even feed presser foot, a walking foot, or roller foot helps the fabric feed through the sewing machine more smoothly.
Authors
Debra Proctor, M.S., USU Extension Agent, Wasatch County; Ronda Olsen, M.S., USU Extension Agent, Uintah County; Carol Williams, M.S., USU Extension Agent, Piute/Wayne County; Karen Biers, Ph. D., USU Extension Specialist
Related Research
Basic Sewing Supplies
Basic sewing tools are needed for beginning items. A few are essential to use in constructing a sewn item. As you progress in your sewing skills, you may want to include other supplies for more advanced projects. Other supplies make the process easier. Vi

Charity Pillow Cases
Step-by-step instructions on how to make a charity pillow case (assembly line method).


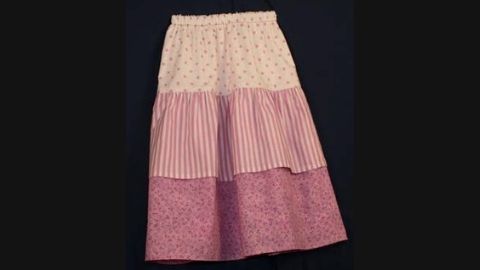
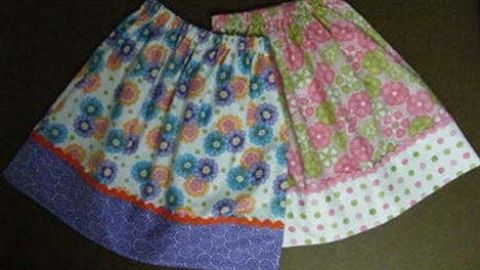
Dropped Waist Skirt with Ruffles
Step-by-step instructions on how to make a dropped waist skirt with ruffles.

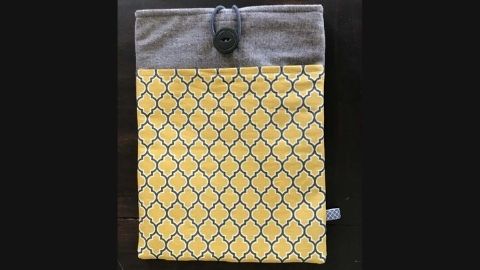
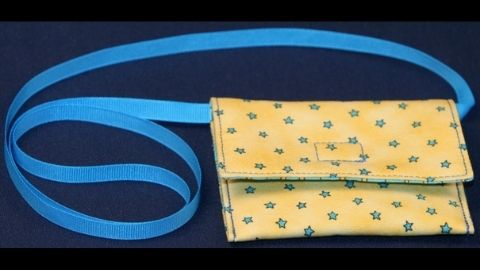
Easy Sewing Maker Projects
Step-by-step instructions on how to make a phone charging holder, lanyard wallet, and travel tissue cover.
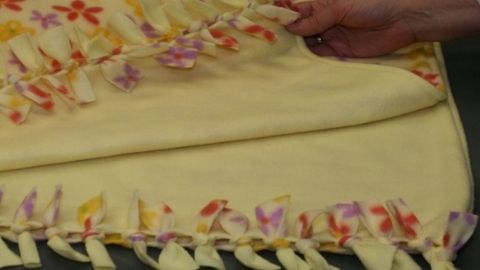
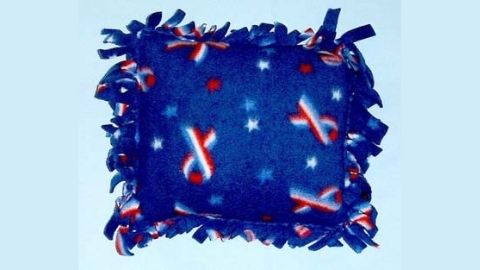
Fleece Blanket With Half Hitch Knots
Step-by-step instructions on how to make a fleece blanket with half hitch knots.


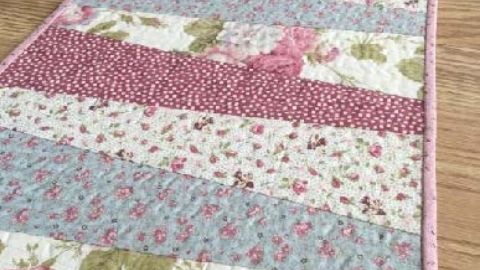
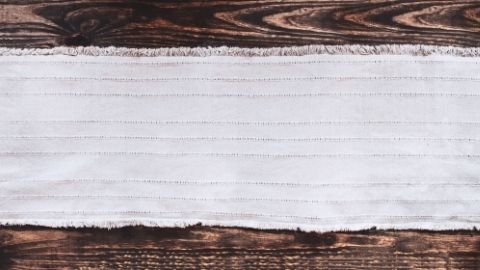
Quilt-as-you-go Table Runner
Step-by-step instructions on how to make a quilt-as-you-go table runner.