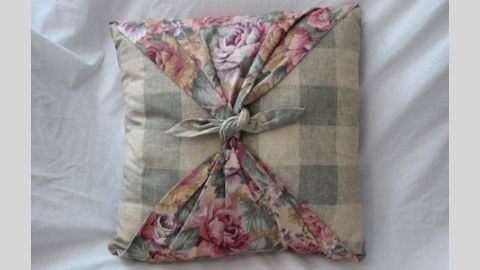
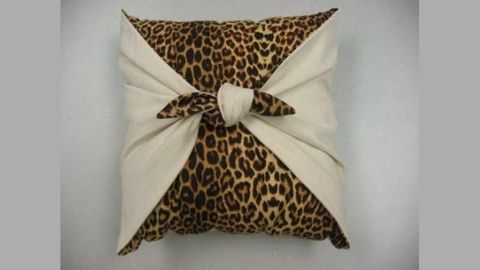
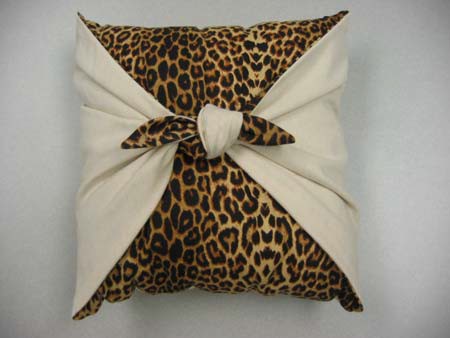
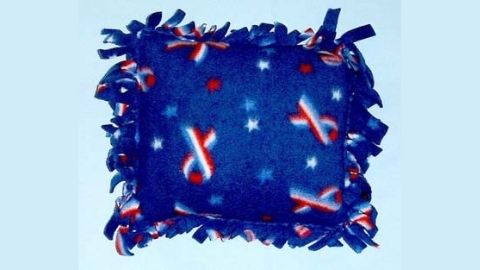
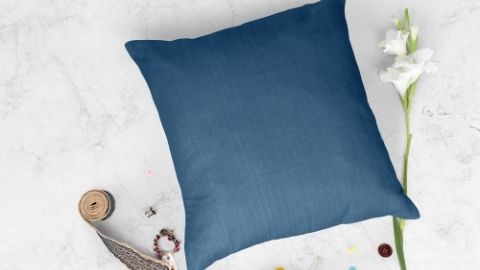
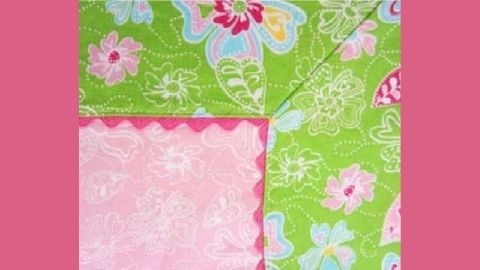
Reversible 18" Tied Pillow
Supplies needed:
- Pattern paper
- Lead pencil
- Yardstick
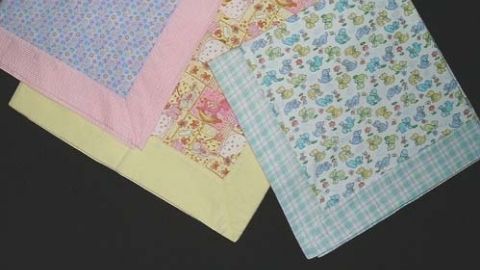
- Two contrasting fabrics (See table below)
- Select tightly woven, light weight fabrics such as home decorating fabric, broadcloth, or calico
- Thread to match
- Fabric marking pencil or chalk marker
- Basic sewing kit
- One 18" square pillow form
Sewing clue—When the pillow cover is completed it should fit snuggly around the pillow form. These directions work best when using a SOFT PILLOW FORM. Before purchasing your pillow form, measure it to make sure it matches the measurements printed on the package.
Determine amount of fabric needed:
| Pillow Form Size | Fabric Required | |
|---|---|---|
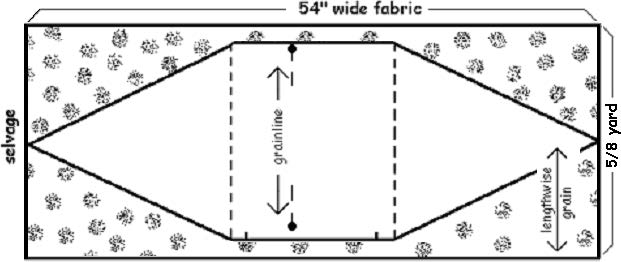
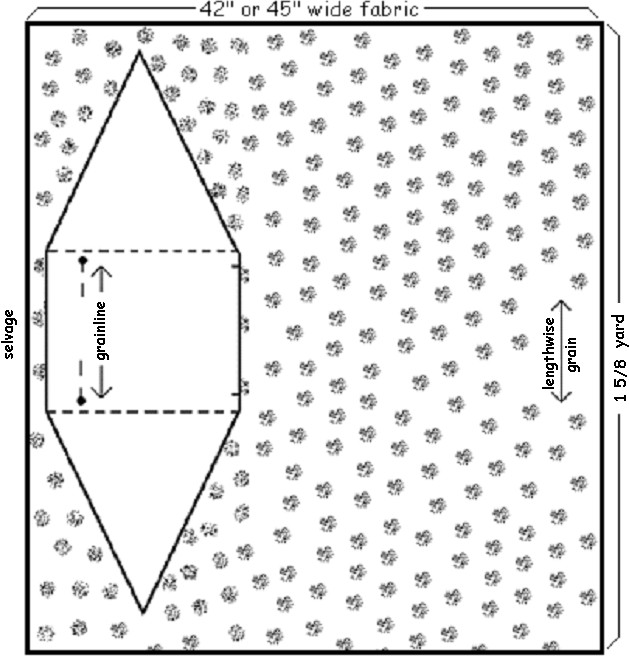
| 42" or 45" wide fabric | 54" wide fabric | |
| 18" | 1 5/8 yards each of two contrasting fabrics* | 5/8 yard each of two contrasting fabrics (1/2 yard will not work)** |
*This yardage will make two pillows.
**Fabric width must be a minimum of 54 inches.
Pattern markings:
Sewing clue—becoming familiar with the markings in the Diagram Key will aid you in reading instructions. Most patterns have similar keys.
Diagram Key:

Pattern
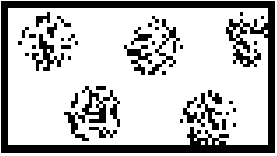
Fabric
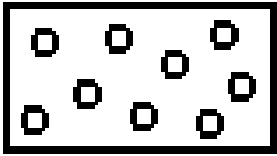
Fabric

Wrong Side of Fabric
![]()
cutting line
-------------------------------
stitching line
![]()
marking line
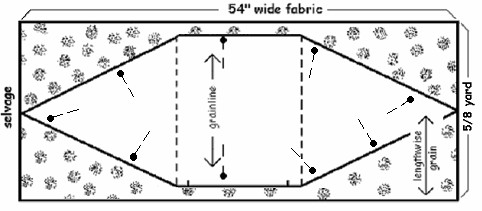
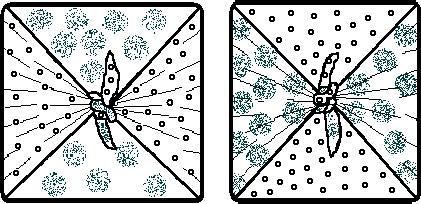
Pattern creation:
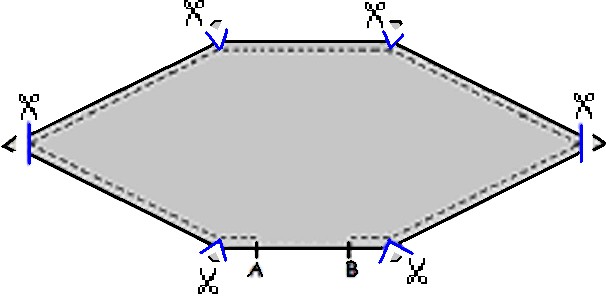
Step #1
- Draw a rectangle 54" by 18" on pattern paper.
- Divide rectangle into three 18" squares.

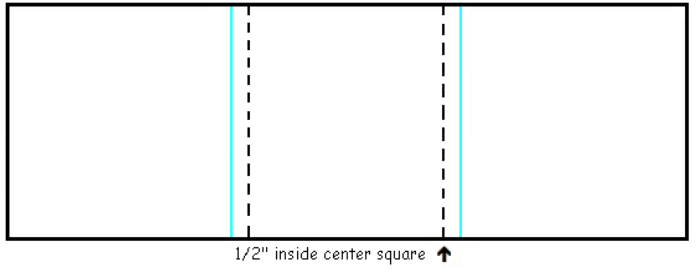
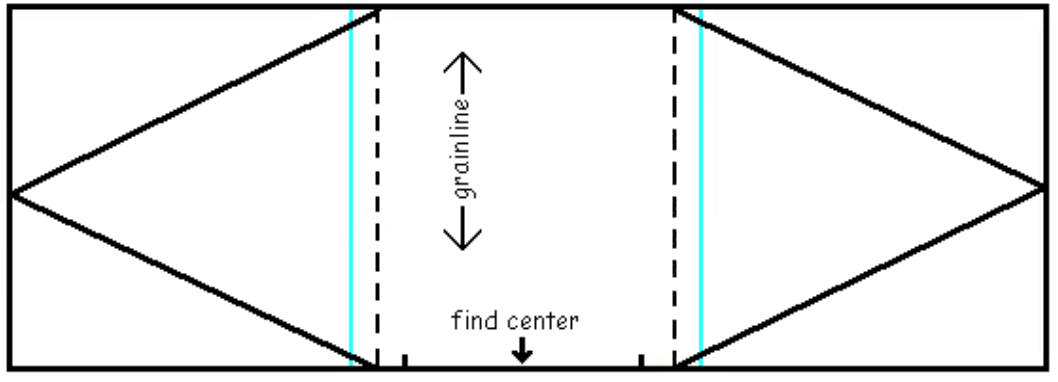
Step #2
- Draw two lines ½" inside center square. This represents the stitching line in a later step and is the base of the triangle that forms the tie end.
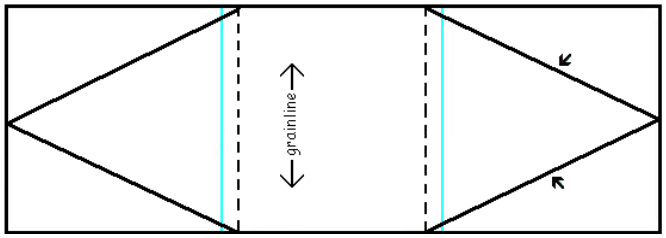
Step #3
- Create the tie ends by drawing a line from the stitching line to the center of the end squares. Establish a grainline parallel to the stitching line as indicated in the diagram to the left.
- Mark an 11" opening along one edge of the center square. Center the opening.
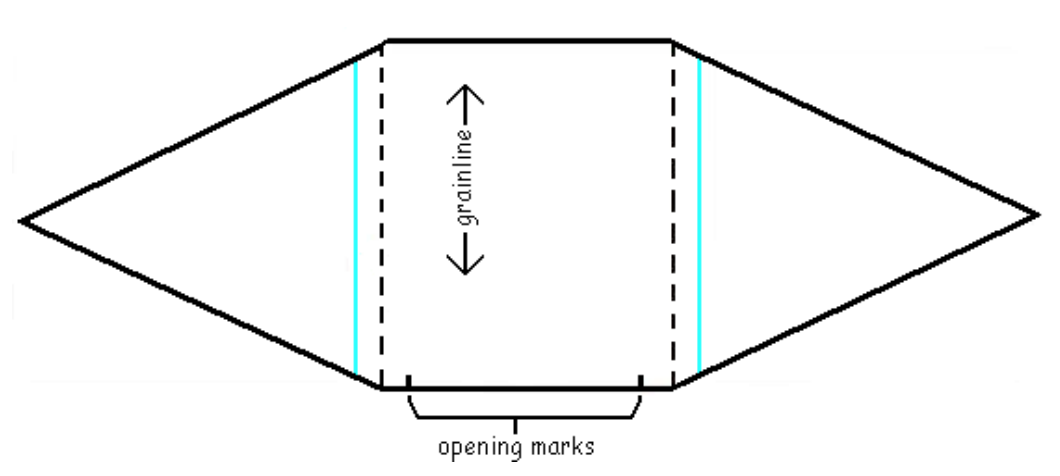
Step #4
- Cut out pattern following the cutting line. This completes the pattern preparation.
Fabric preparation:
Wash fabric before cutting to eliminate shrinkage and remove excess dye. Straighten and press.
Pillow construction:
Sewing clue—Getting the pattern to align with the fabric grainline is done easily by putting a pin through the pattern and fabric at one end of the grainline. The pin becomes a pivot point to adjust the pattern. Measure from the grainline to the selvage edge and remember the measurement. Go to the other end of the grainline mark and measure to the selvage. Pivot the pattern until the measurements at both ends of the grainline match.
Step #1
- Cut two pillow pieces by placing pattern on fabric straight of grainline. Cut one pattern piece from each of the contrasting fabrics.
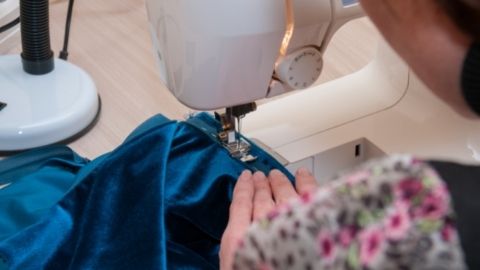
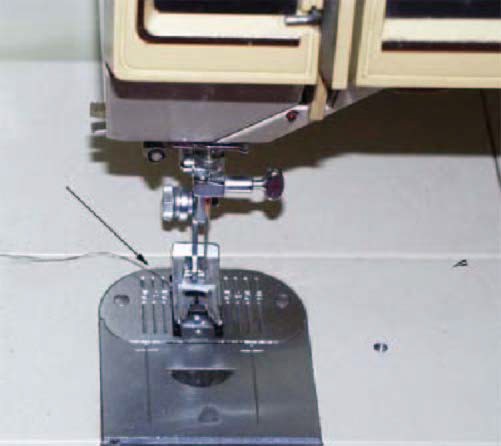
Sewing clue—Sewing machines have a plate which is generally referred to as a throat plate but can be called a stitch plate, or needle plate depending on the machine brand. There will be a series of marking on the plate which will assist the seamstress in sewing accurate seam widths. Markings will be at ⅛" spaces, starting at ⅜" and can continue as wide as 1". If there is no seam width marking, one can be established by putting the sewing machine needle in the down position through the one inch mark on a tape measure. Measure out to the desired seam width and place a piece of tape at that point on the throat plate.
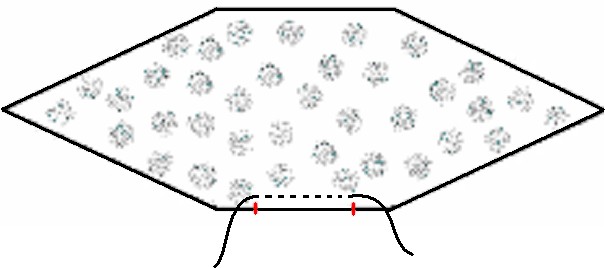
Step #2
- Stabilize the opening on both pieces by stitching ½" from the edge of the fabric using a stitch length of 12 stitches per inch. Clip thread ends.
Sewing clue—To check the stitch length, sew on a scrap of fabric in a straight line 1 ½" long. Mark 1" by using two pins and count the stitches in between the pins.
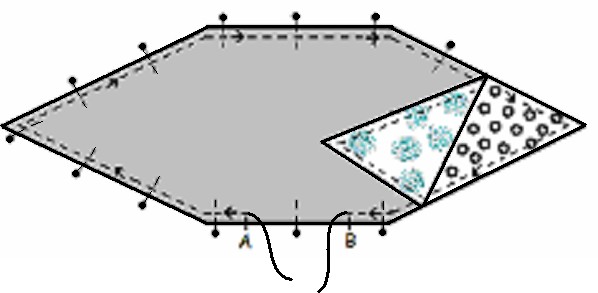
Step #3
- Pin pillow pieces with right sides together matching points. Begin sewing at point A, sew around the pillow to point B using a ½" seam allowance and 12 stitches per inch. Remove pins as you sew. Back stitch at points A & B to lock stitching. Clip thread ends
Sewing clue——A reinforcement stitch can be done 1″ either side of the pointed ends and angled corners. Reinforcement stitching prevents areas which need to be trimmed or notched from tearing out. A reinforcement stitch is created by shortening your stitch length to 20 stitches per inch.

Step #4
- To reduce bulk, notch angled corners and trim points to ⅛" from stitching line. Avoid cutting the stitching line.
- Press flat setting the stitches before turning. Press seam open by pressing one seam allowance back toward pillow. Turn right side out through opening.
- Press the seam allowance of the opening to the inside of the pillow using the stitching line as a guide. Press flat.
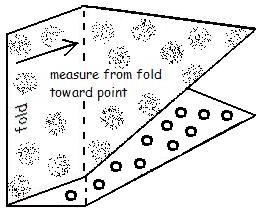
Step #5
- Establish a sewing line to form the pillow pocket by folding the pillow in half matching the points. Draw a chalk line 7 ½" from the fold toward the point. Mark on both sides of the pillow.
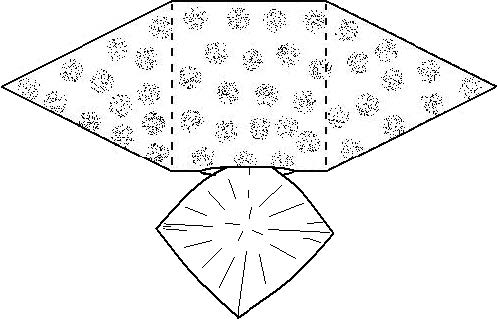
Step #6
- Unfold the pillow and sew along the chalk lines through both layers of fabric to form the pillow pocket. Backstitch at the beginning and end of each chalk line to lock stitch.
- Insert the pillow form into the pillow pocket through the opening. Fold the pillow form in half to make insertion easier.
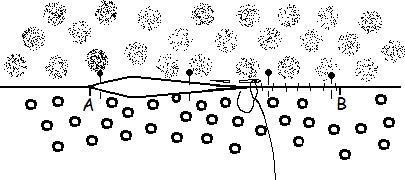
Step #7
- Pin contrasting fabrics along the opening. Sew the opening closed by hand using a slip stitch. This is done by joining the two folded edges of the contrasting fabrics together, stitching from side to side through the folds between points A and B.
Step #8
- Tie pillow ends in a square knot. The knot may be tied to either side of the pillow.
Authors
Ronda H. Olsen, M.S., USU Extension Agent, Uintah County; Debra Proctor, M.S., USU Extension Agent, Wasatch County; Karen Biers, Ph.D. USU Extension Specialist
Related Research
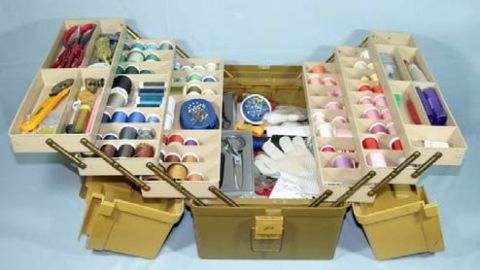
Basic Sewing Supplies
Basic sewing tools are needed for beginning items. A few are essential to use in constructing a sewn item. As you progress in your sewing skills, you may want to include other supplies for more advanced projects. Other supplies make the process easier. Vi
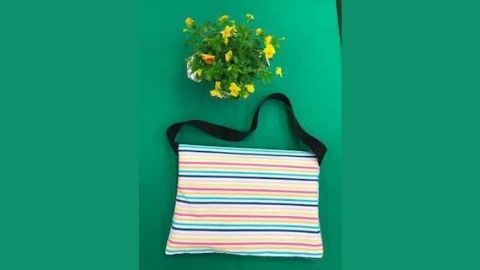

Charity Pillow Cases
Step-by-step instructions on how to make a charity pillow case (assembly line method).


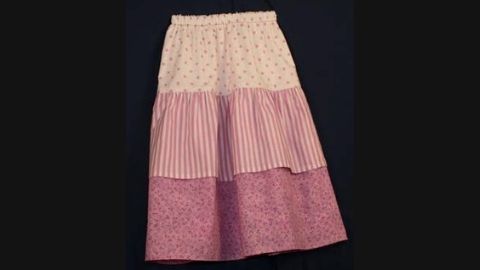
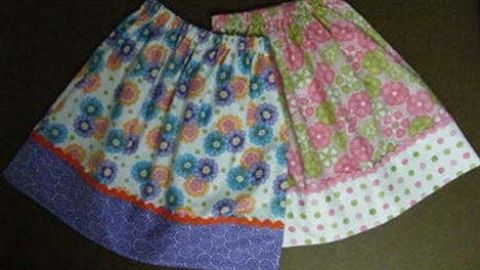
Dropped Waist Skirt with Ruffles
Step-by-step instructions on how to make a dropped waist skirt with ruffles.
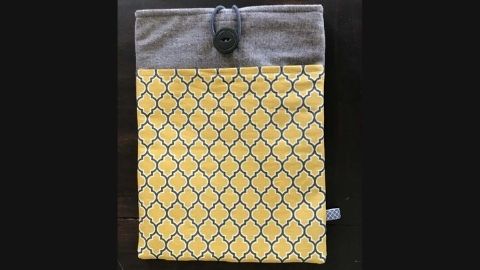
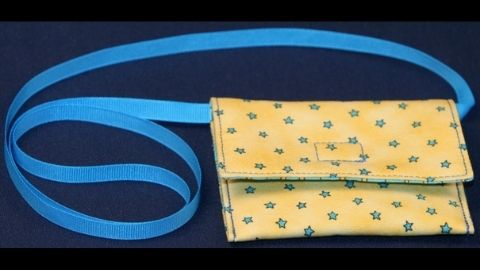
Easy Sewing Maker Projects
Step-by-step instructions on how to make a phone charging holder, lanyard wallet, and travel tissue cover.
Fleece Blanket With Half Hitch Knots
Step-by-step instructions on how to make a fleece blanket with half hitch knots.


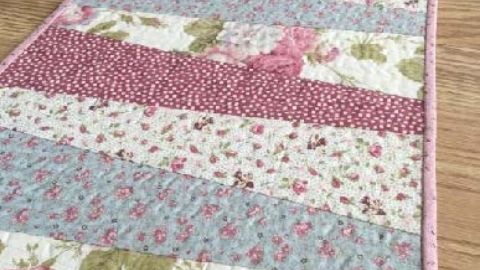
Quilt-as-you-go Table Runner
Step-by-step instructions on how to make a quilt-as-you-go table runner.