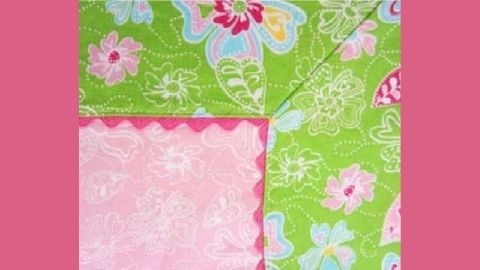
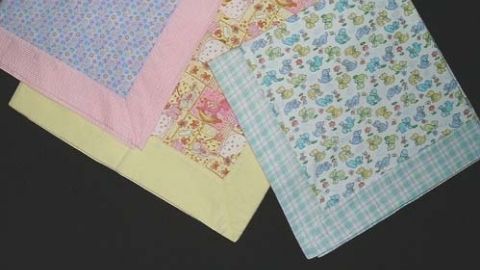
Mitered Corner Baby Blanket
For 36” square blanket, cut:
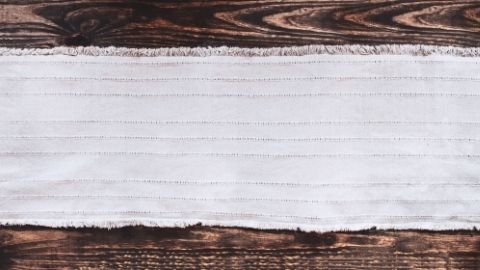
- One 32” square of flannel for the front of blanket
- One 42” square of flannel for the back of blanket
Step #1: Prepare Fabric
- Remove the selvage edge.
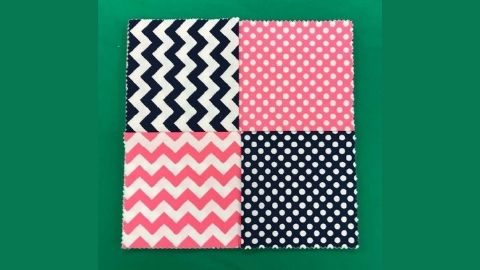
- Cut two pieces of contrasting fabric using the dimensions listed above.
Note: On each piece of fabric, identify and mark the lengthwise grain (same as selvage edges) and the crosswise grain (direction with the most give when lightly stretched).
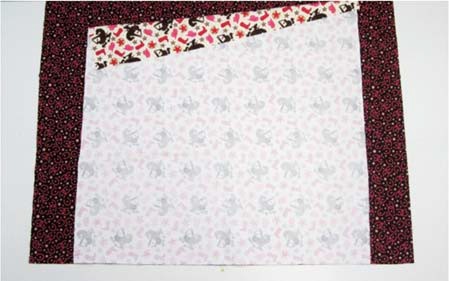
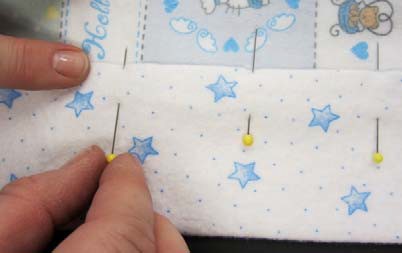
Step #2: Align and Pin
- -Mark the centers on all four sides of both pieces.
- Beginning along one edge, place fabric right sides together, matching the center marks. Pin in place.
- Make sure that the excess material has the same measurement on each end.
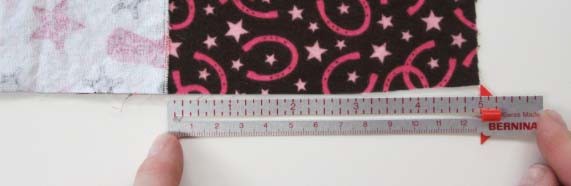
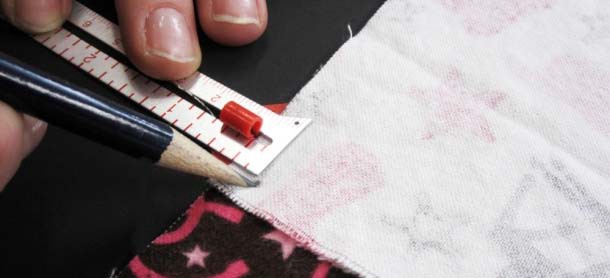
Step #3: Create Stop Points
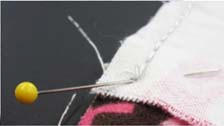
- On the smaller piece of fabric, mark ¼” from each side at the corner and place a pin for a “stop point.” Do so for both corners along the side you are pinning.
- Sew a ¼” seam from one stop point to the other.
- Repeat for the opposite side (match centers, pin stop points, and sew).
Stop Points: sew to it, not through it!
Step #4: Sew Remaining Seams
- Repeat (match centers, pin stop points, and sew) on the last two sides, leaving a 6” opening in the middle of one side for turning.
- There will be excess material at each corner once all of the sides have been sewn.

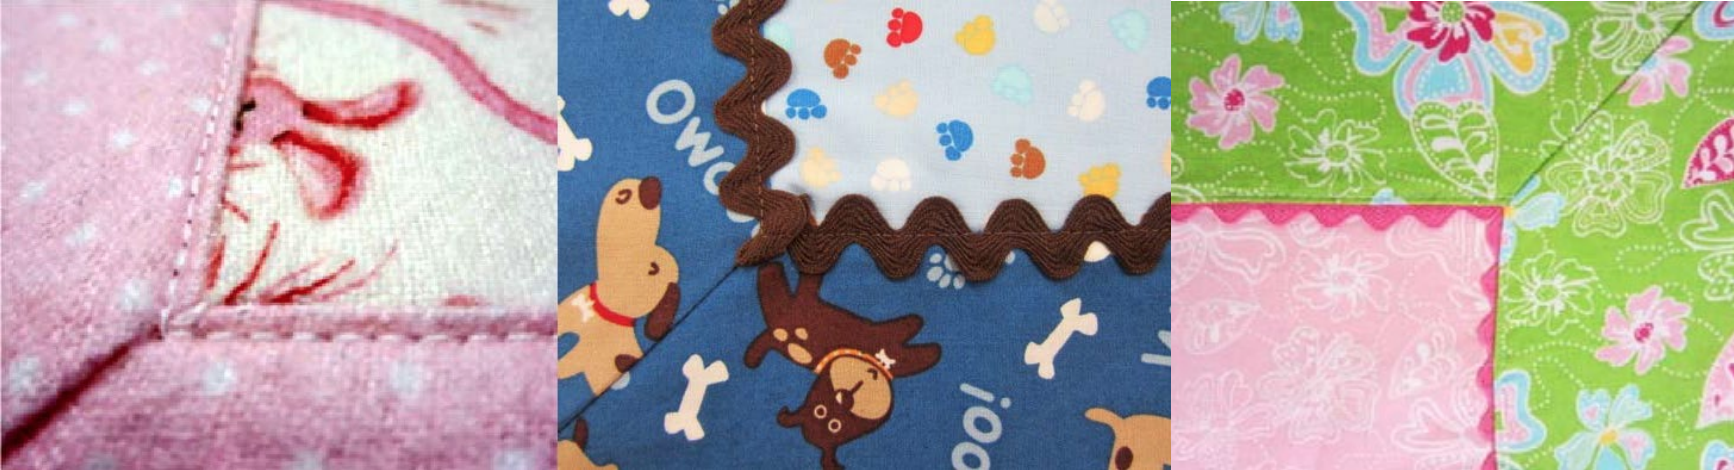
Step #5: Miter Corners
- Holding the corner, fold the blanket so the two seam edges meet.
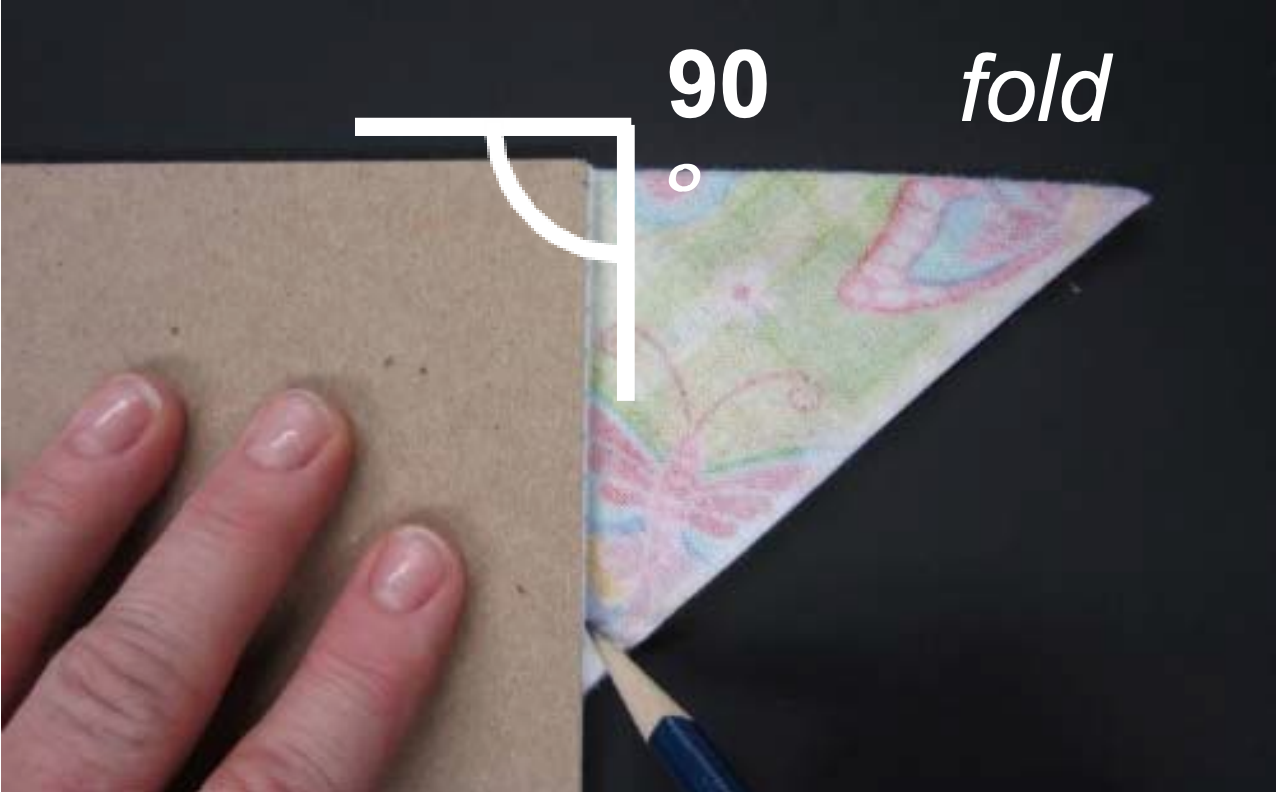
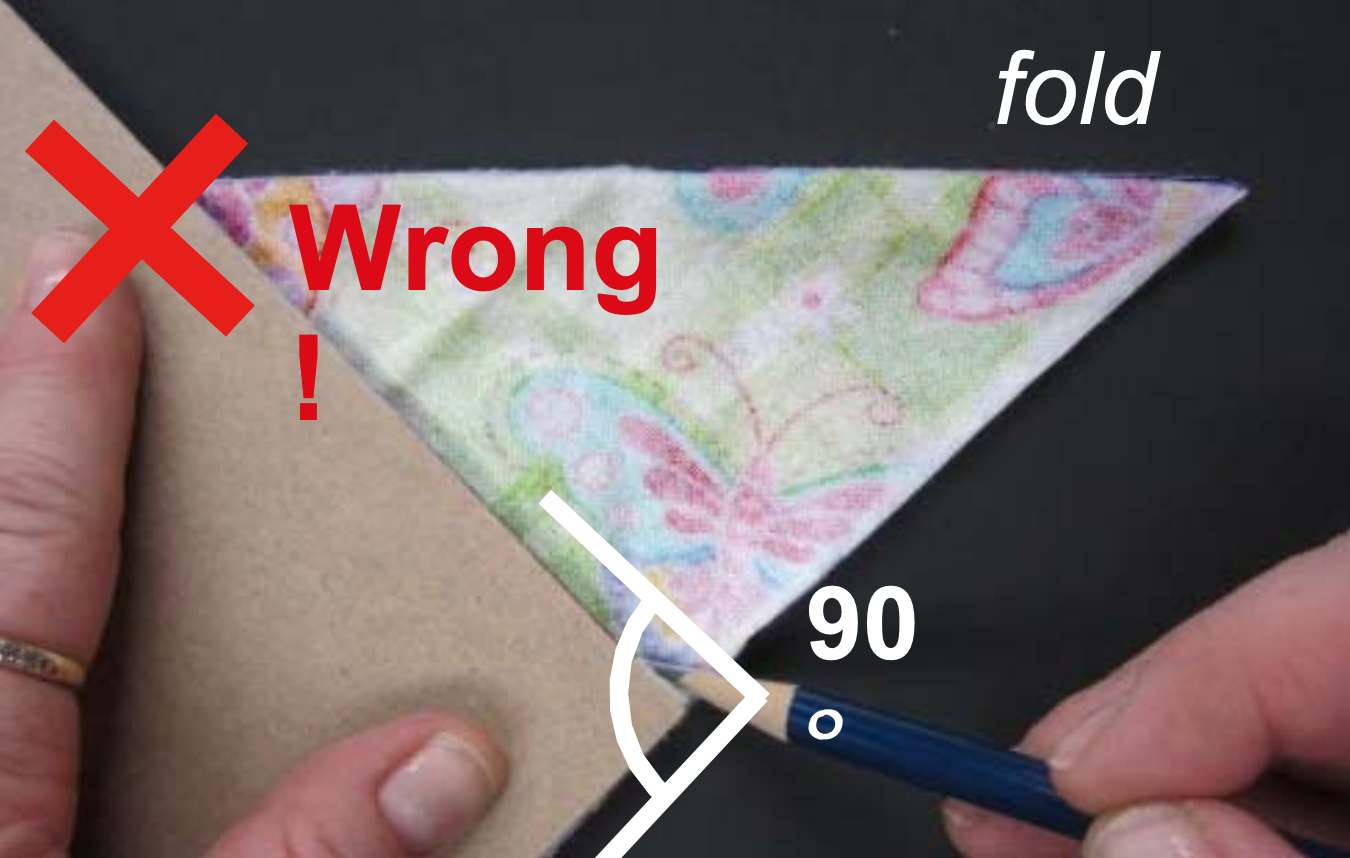
- Mark a line at a 90º angle from the fold to the stop point.
- Stitch along this line. Trim all but ¼” of the excess.
- Repeat for each corner.
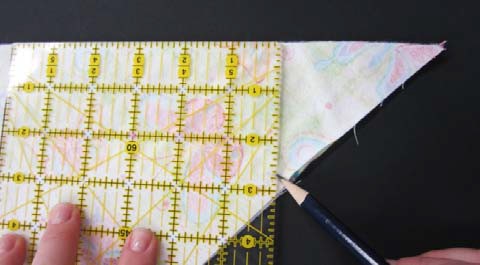
Tip: You don’t even need a ruler for this step. Simply use the corner of a sheet of paper. Align with the fold, not the raw edge.
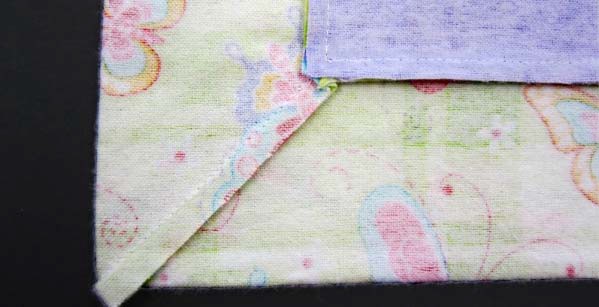
Step #6: Press and Turn
- Lay the blanket out flat, small piece on top. Notice that the back panel folds over the front.
- Press the seams toward the outside edges.
- Turn the blanket right side out through the gap.
- Use a pin or point turner to square the corners.
Step #7: Finish
- Lay the blanket flat so the border is an equal width on all sides.
- Pin around the blanket at the seams and at the opening where you turned the blanket being careful to fold the seam allowance under.
- Press the blanket flat, then top stitch around the blanket by the seam edge (on border side of seam).
Authors
Margie Memmott, Southern Region Extension Director Family and Consumer Sciences Services Program Leader

Related Research
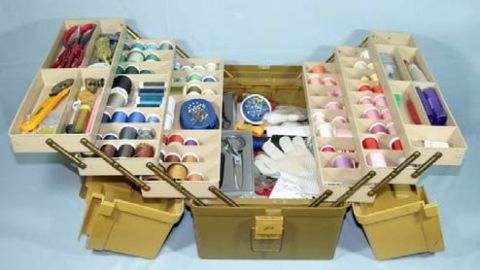
Basic Sewing Supplies
Basic sewing tools are needed for beginning items. A few are essential to use in constructing a sewn item. As you progress in your sewing skills, you may want to include other supplies for more advanced projects. Other supplies make the process easier. Vi

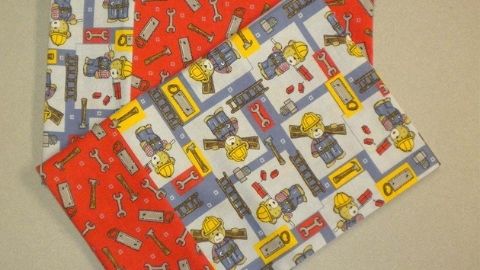
Charity Pillow Cases
Step-by-step instructions on how to make a charity pillow case (assembly line method).


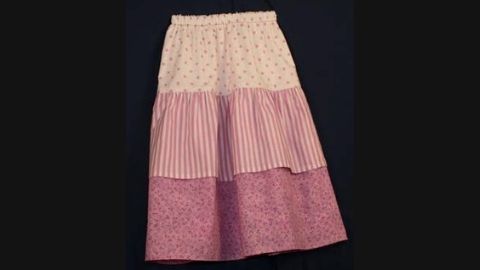
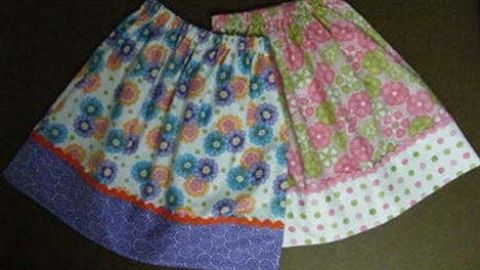
Dropped Waist Skirt with Ruffles
Step-by-step instructions on how to make a dropped waist skirt with ruffles.

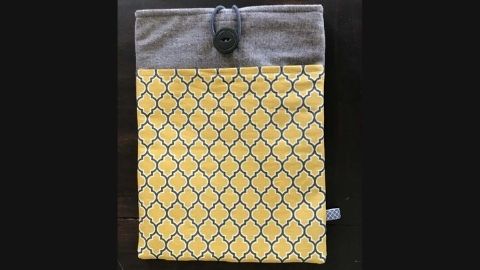
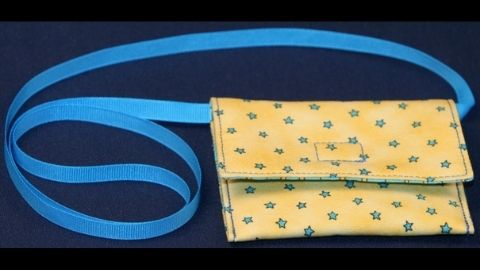
Easy Sewing Maker Projects
Step-by-step instructions on how to make a phone charging holder, lanyard wallet, and travel tissue cover.
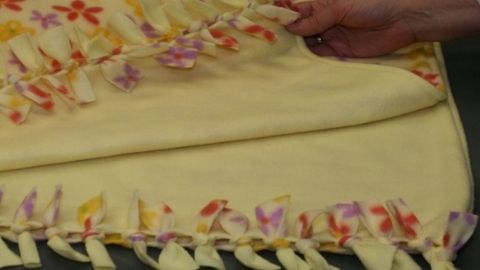
Fleece Blanket With Half Hitch Knots
Step-by-step instructions on how to make a fleece blanket with half hitch knots.


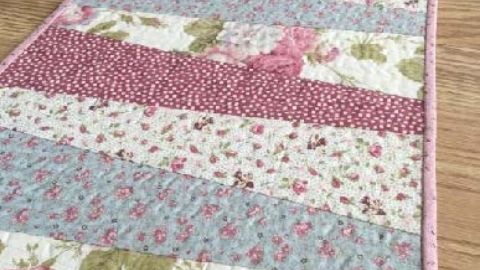
Quilt-as-you-go Table Runner
Step-by-step instructions on how to make a quilt-as-you-go table runner.