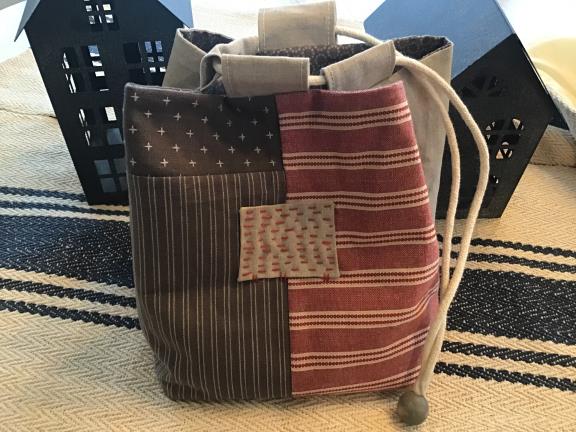
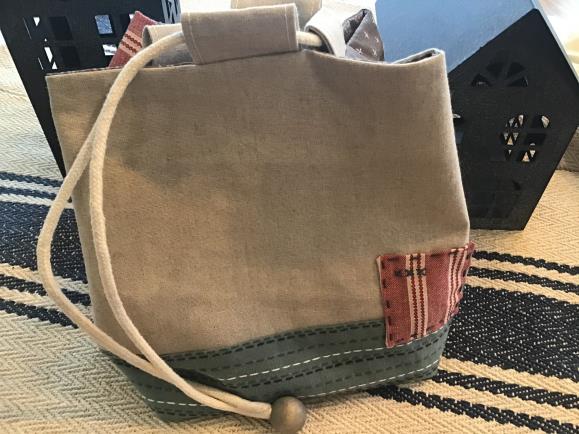
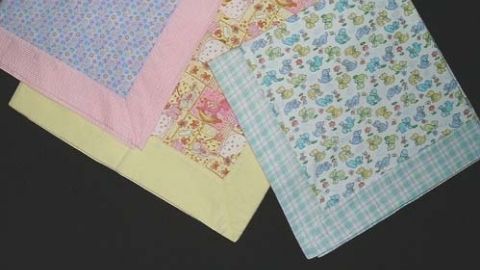
Japanese Rice Bag
USU Clothing and Textile Training 2020
Materials Needed:
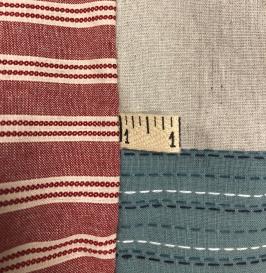
- Fabrics for outside of bag: linen or linen blend fabric, cotton quilting fabric, home décor fabric, textured fabric, light weight denim,
- Outside of bag: Fabric piece or pieces to make a rectangle 24 ½ x 8”
- Tab Fabric: 4" x 10 ½"
- Lining fabric: ¼ yard
- Interfacing: 2/3 yard
- 1 yard ¼-inch cotton cord
- Wooden bead (20mm, 3/8“ hole)
- 3” piece of ribbon (optional)
Cutting Instructions:
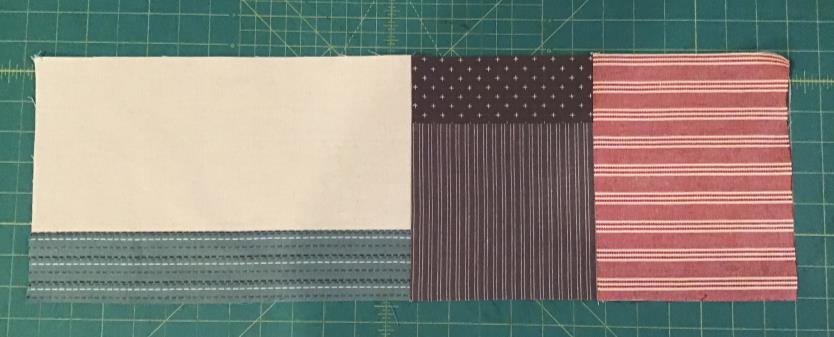
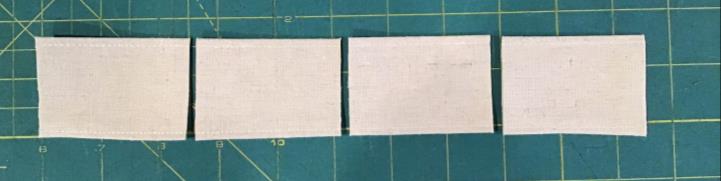
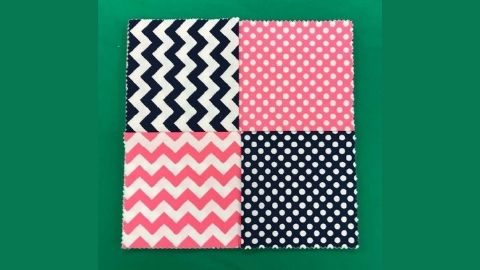
Outside of Bag: Fabric piece 24 ½" x 8" or 5 pieces cut as shown to the right.
Outside Bottom: 6 ½" x 6 ½“
Lining: 24 ½" x 8" & 6 ½" x 6 ½“
Interfacing: 24 ½" x 8" & 6 ½" x 6 ½“
Tabs: 4" x 10 ½"

Assembly Instructions:
(All seams are ¼-inch)
1. Piece together outside pieces. (If using a solid piece skip this step). Sew the 6" x 12 ½" piece to the 2 ½" x 12 ½" piece. Then, sew the 2 ½" x 6 ½" to the 6" x 6 ½" piece.
2. Now, sew the first set to the second set and then the 6 ½" x 8" piece to that. (As shown below).
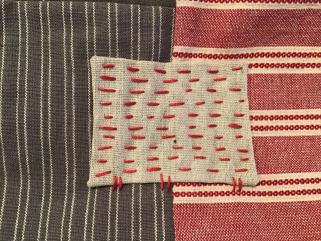
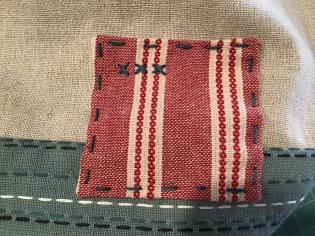
3. Add patches if desired. Using embroidery thread stitch decorative stitching on patches.
4. Fuse interfacing to the back of the 24 ½ x 8” piece and the 6 ½" x 6 ½" outside piece.
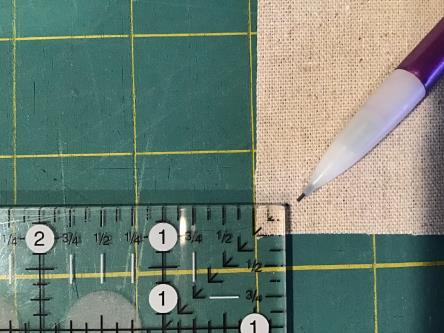
5. Mark the lining and outside fabric 6 ½" x 6 ½" squares ¼" on each corner on the wrong side of the fabric.
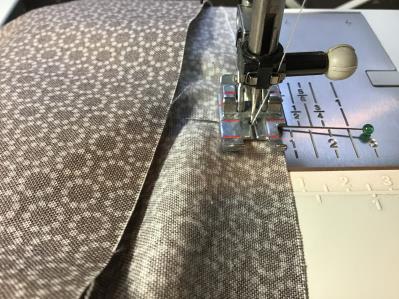
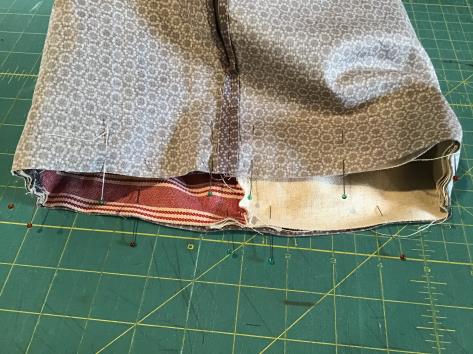
6. Line up the short end of the 24 ½" x 8" lining piece and sew together leaving a 3" opening. Press seam open.
7. Sew the outside fabric piece together on short end. Sew in a piece of folded ribbon (if desired). Place the fold of the ribbon to the inside and the cut end in the seam allowance.
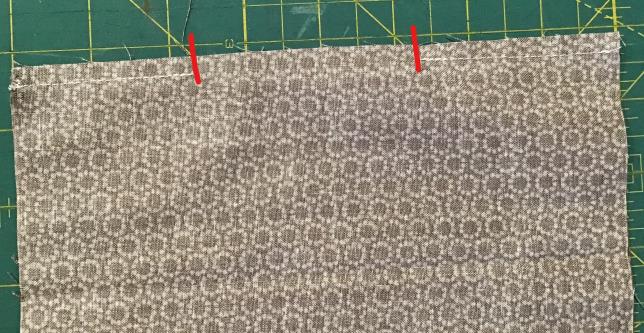
8. Now, find the middle of one side of the lining fabric bottom. Right sides together, match the seam of the upper lining to the bottom lining middle pin.
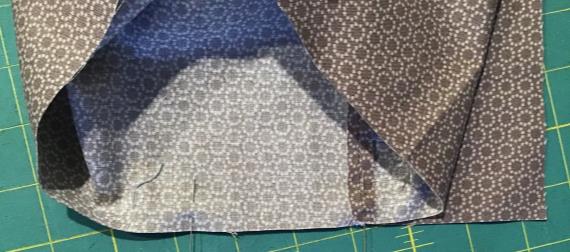
9. Start sewing at the center pin. Pin at the corner point where the marking is. Sew to that point and pivot. Pull top of fabric up to the left and out of the way so that the top fabric lines up with the bottom square. Sew down to the next corner point in the same manner. Pivot and turn again as before. Continue until you have sewn back to where you started.
10. Now, repeat and sew the outside pieces in the same manner.
11. Fold the 4" x 10 ½" piece in half lengthwise and sew along the long edge.
12. Turn out and press.
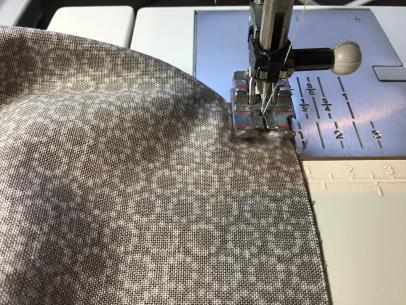
13. Top stitch on both long edges 1/8 inch from the edge.
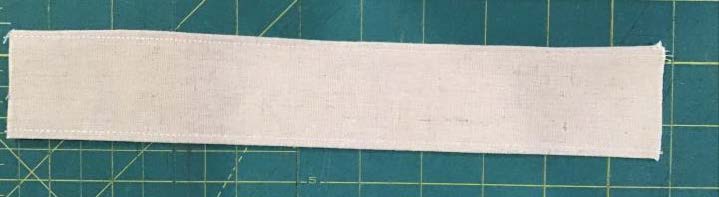
14. Cut into (4) 2 ½- inch pieces.
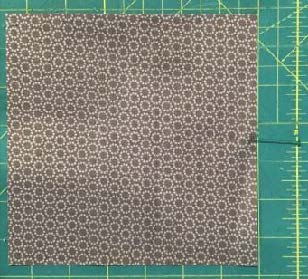
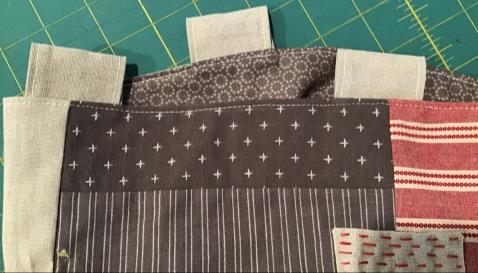
15. Fold each tab piece in half and center and pin one on each seam of the outer fabric (right side) and one half way of the longer piece.
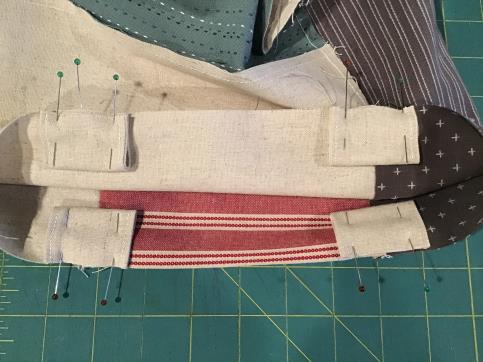
16. Now RST (putting the outside fabric into the inside fabric piece), line up the top edge all the way around and pin together.
17. Sew all the way around top edge.
18. Pull outside fabric out through lining opening.
19. Press around the top and topstitch 1/8-inch from edge.
20. Hand stitch lining opening closed.
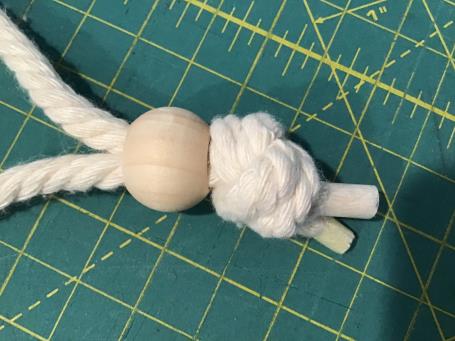
21. Thread cord through tabs. Slide bead (leave natural or paint) through both ends of cord and tie cord together.

Authors
Tricia Mathis, FCS/4-H Educator

Patricia Mathis
Extension Educator | Sewing and Textiles | Wasatch County Director
Home and Community Department
Related Research
Basic Sewing Supplies
Basic sewing tools are needed for beginning items. A few are essential to use in constructing a sewn item. As you progress in your sewing skills, you may want to include other supplies for more advanced projects. Other supplies make the process easier. Vi

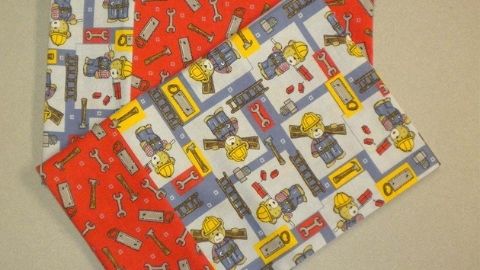
Charity Pillow Cases
Step-by-step instructions on how to make a charity pillow case (assembly line method).


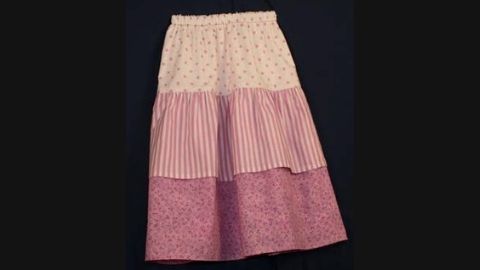
Dropped Waist Skirt with Ruffles
Step-by-step instructions on how to make a dropped waist skirt with ruffles.

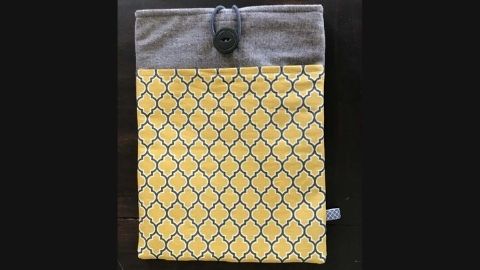
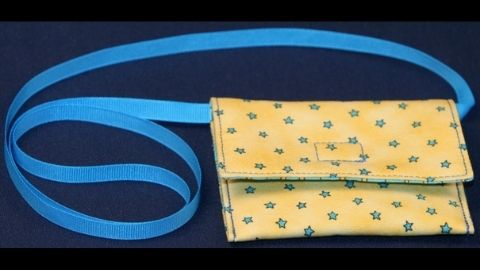
Easy Sewing Maker Projects
Step-by-step instructions on how to make a phone charging holder, lanyard wallet, and travel tissue cover.
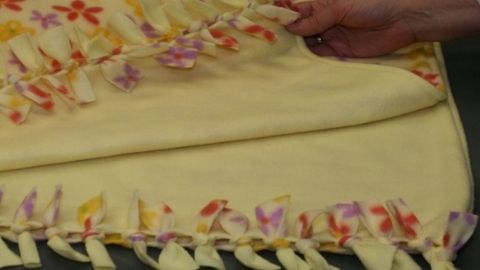
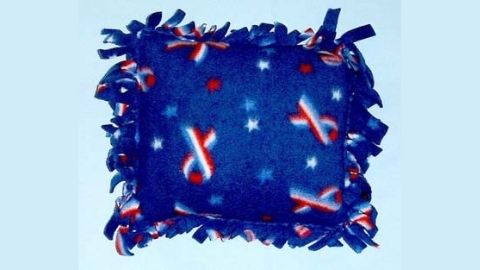
Fleece Blanket With Half Hitch Knots
Step-by-step instructions on how to make a fleece blanket with half hitch knots.


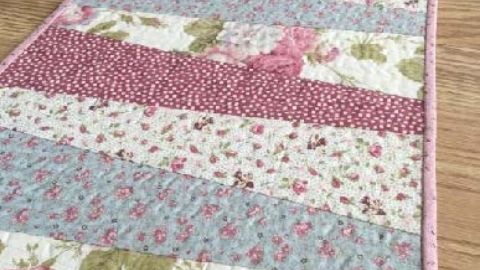
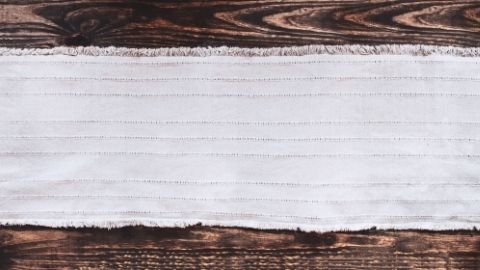
Quilt-as-you-go Table Runner
Step-by-step instructions on how to make a quilt-as-you-go table runner.