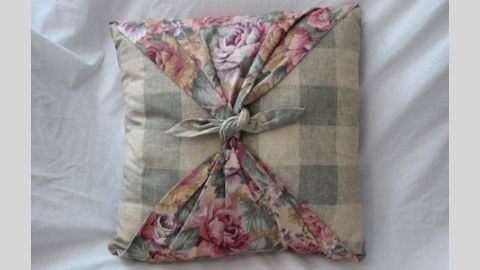
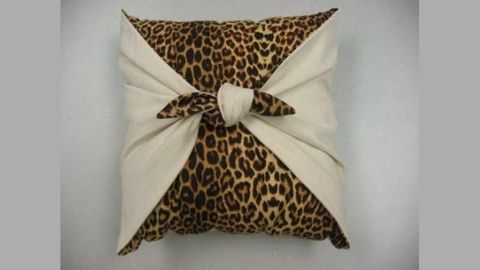
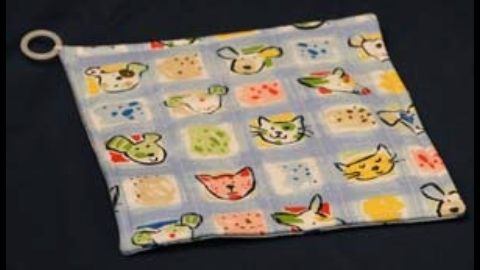
Four Square Pillow
Supplies needed:
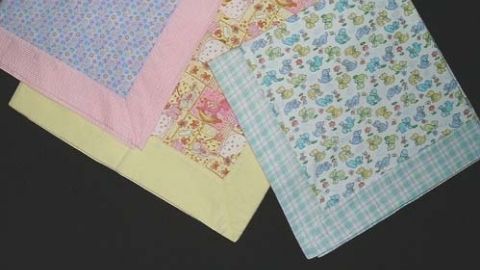
- ¼ yard each of two pieces of complementary fabric (one light, one dark) or a combination of complementary scraps at least 8" x 8" square
- ⅜ yard fabric for back
- One, 3" piece of loop and hook tape
- Basic Sewing Supplies (see Fact Sheet: FL/ST/Construction 2007/101)
- Thread to match
- One 14" square pillow form
Fabric preparation:
Wash fabric before cutting to eliminate shrinkage and excess dye. Small amounts of fabric can be pre-shrunk by placing in a bowl of hot water until the water cools. Remove fabric and lay on a flat surface to dry. Straighten and press.
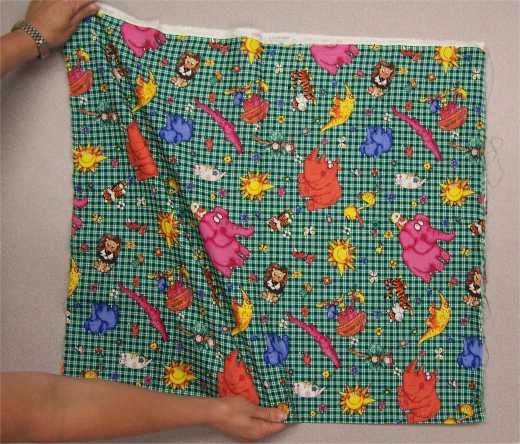 Sewing clue — Woven fabric grainline is established by pulling a thread across the fabric from selvage edge to selvage edge. Clip ½" into the fabric along one selvage edge. Grasp one or two crosswise threads between your thumb and index finger and pull gently while pushing the fabric toward the other selvage edge with your other hand. Cut along the line left by the pulled threads.
Another way to straighten the edge is to tear the fabric. Tearing the fabric causes the edge to become stretched and ruffled. Shrink the stretched edge by steam pressing the fabric back into shape. The fabric will now lie flat.
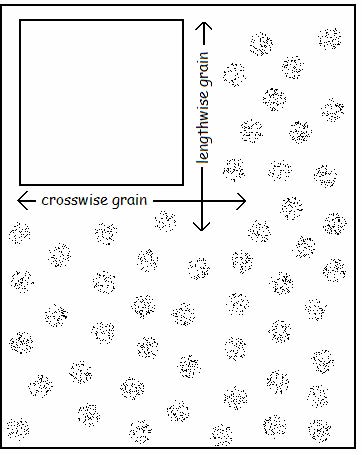
Fold the fabric in half matching the selvages and the newly straightened edges. The fabric should lie flat with the edges matching. If it does not lie flat, realign the fabric by holding the long edge of the fabric along the selvage edge and gently “pulling” the fabric on the bias. This will realign the threads so that the crosswise threads run at right angles to the lengthwise threads.
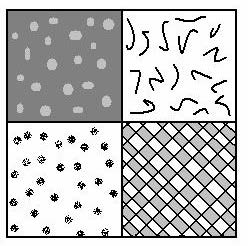
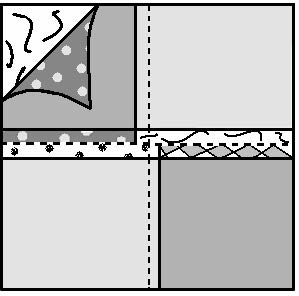
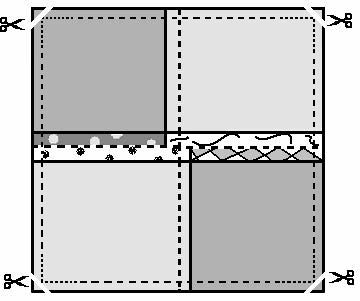
Diagram key:
Fabric

Wrong Side of Fabric
-----------------------------
stitching line
Pattern markings:
Sewing clue — Becoming familiar with the markings in the Diagram Key will aid you in reading instructions. Most patterns have similar keys.
Cutting instructions
Step #1
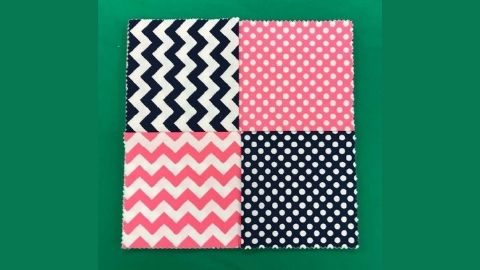
- Cut four, 8" x 8" squares of complementary fabric pieces (2 light, 2 dark) for front.
Step #2
- Cut two, 9 ½" x 15" fabric pieces for back
Sewing clue — This project is a good way to use cotton fabric scraps. Any piece will work as long as it has been cut on grain and is the appropriate size.
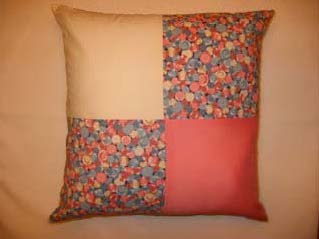
Pillow front construction:
Step #1
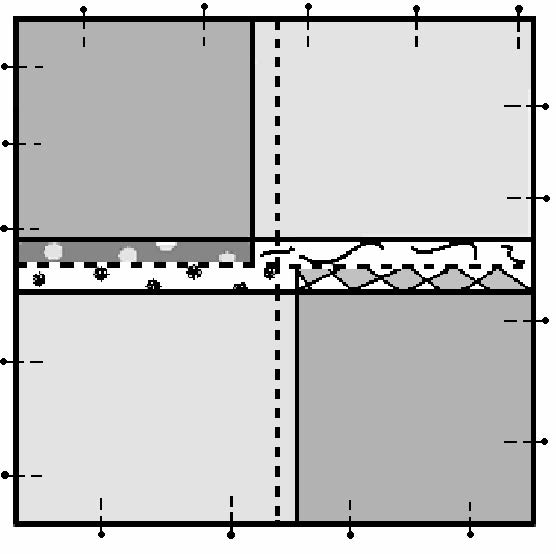
- Decide how you want to arrange the four squares that will make up the front of yourpillow.
Sewing clue — Two practices that contribute to a quality product are back stitching at the beginning and end of a sewn permanent stitching line to secure stitches and trimming threads as you work.
Step #2
- Sew two squares together — one light and one dark — using a ½" seam allowance and 12 stitches per inch or 2.5 on the stitch length regulator. Backstitch 3 or 4 stitches, at the beginning and end of the seam to lock stitches.
- Clip thread ends
- Sew the remaining two squares together.
Sewing clue — To check the stitch length, sew a straight line 1 ½" long on a scrap of fabric. Mark a 1" space on the line by using two pins. Count the stitches in-between the pins. This will give you the number of stitches per inch.
Step #3
- Press seams toward the dark colored fabric.
Sewing clue — Pressing is an important part of sewing. Press each seam flat on the stitching line and on both sides to set the stitches. You will be able to stitch the next step smoothly and evenly, and your article will have a more professional look.
Step #4
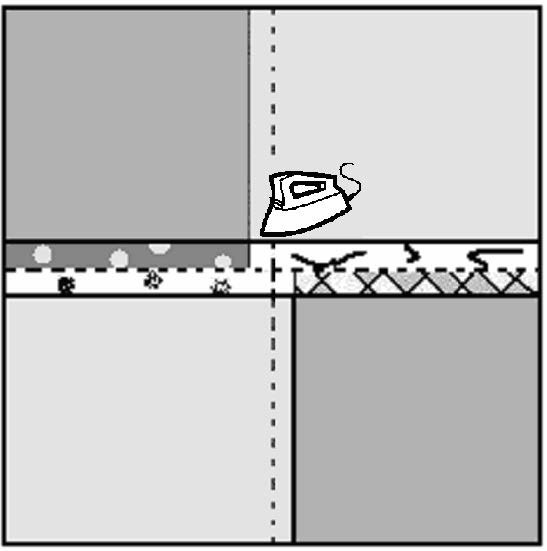
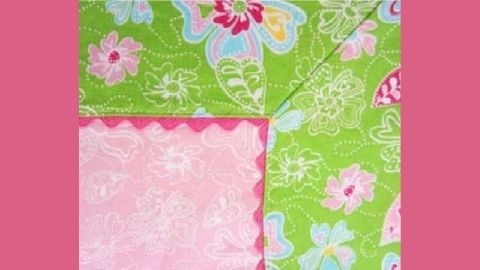
- Pin strips together — dark to light. Match seams at the center point. Seams will butt together allowing them to match exactly.
- Sew using a ½" seam allowance.
Sewing clue — Place pins at a right angle to the cut edge of the fabric. The head of the pin should extend beyond the cut edge. This allows the pin to be easily removed just before the presser foot reaches the pin. Do not sew over pins; they can break or dull the needle.
Step #5
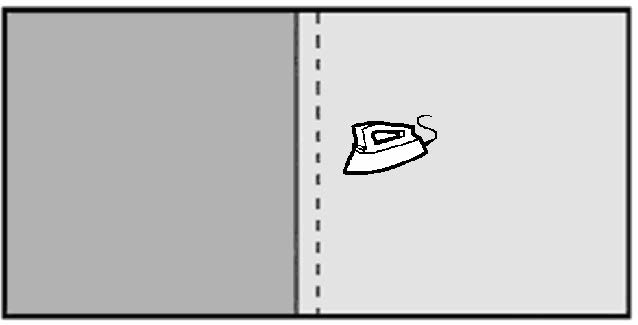
- Press seam flat to set the stitches.
- Press seam open.
Sewing clue — Press along the stitching line on both sides before pressing the seam open to set the stitches. This makes it easier to press the seam open and helps the seam lay smoothly. To press, raise and lower the iron as you move across the fabric; use a gentle up and down motion. This will keep the grain of the fabric straight. Pushing the iron back and forth on the fabric can stretch and distort the grain.
Pillow back construction:
Step #1
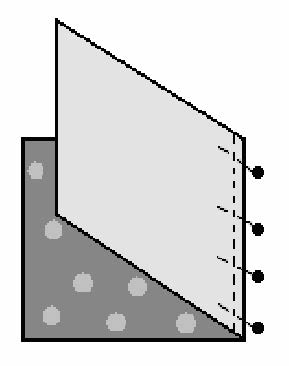
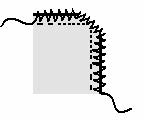
- Stitch along the long (15") edge of each back pillow piece, ¼" in from the cut edge. Turn to the wrong side on the stitching line and press. Stitch in ⅛" from the folded edge. This process is called a clean finished edge.
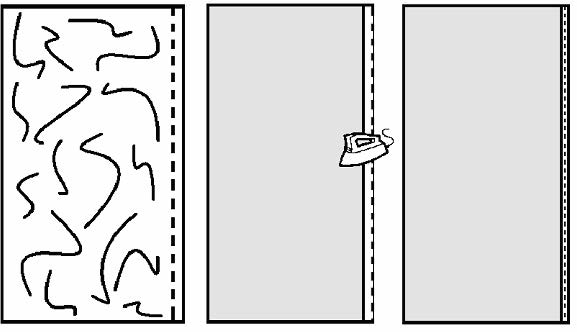
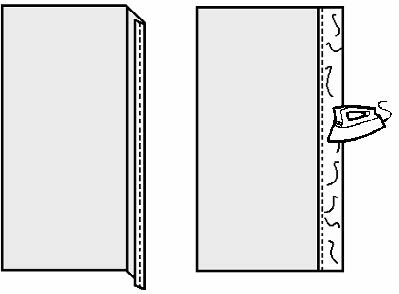
Step #2
- Turn the clean finished edge to the inside 1¼" and press. This forms a facing.
- Stitch through all layers of the pillow back on the stitching line of the clean finished edge. Repeat for other side.
Step #3
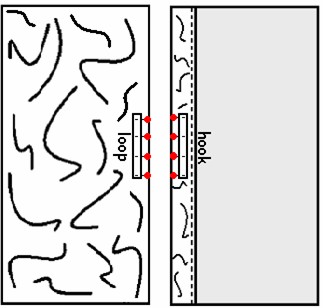
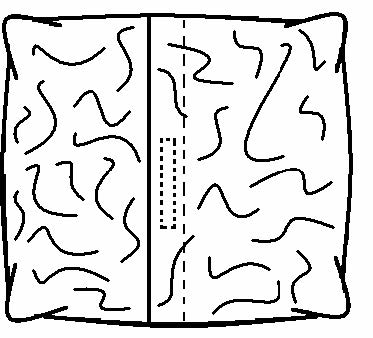
- Center the 3″ strip of loop and hook tape lengthwise on the facing of the two pillow backpieces.
- Center the 3″ strip of loop and hook tape between the folded edge and the clean finished edge.
- The hook is on the back side of the pillow facing and the loop is placed on the front side.
- Stitch in place through all layers.
Step #4
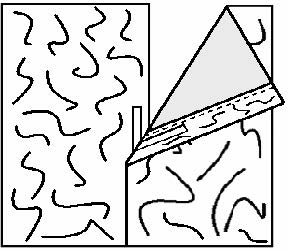
- Lap the top piece of the pillow back over the bottom piece. Baste the two pieces together through the facing ¼" from the raw edges. Baste other end of pillow.
Sewing clue — A basting stitch is a long stitch to temporarily hold two pieces of fabric together. A basting stitch measures 8 stitches per inch or 3.5 on the stitch length regulator.
Pillow assembly
Step #1
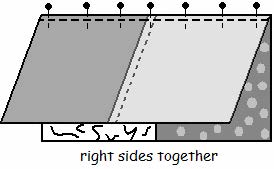
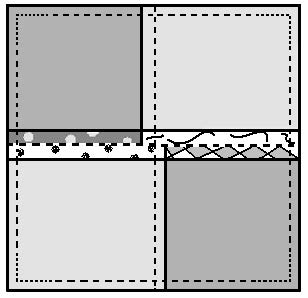
- Lay the pillow back on a flat surface with the “right-side” facing up. Place the pillow top over the back “right-sides” together.
- Check to see to see that the pillow top and bottom are the same size. If necessary, trim edges to make the pillow square.
Step #2
- Pin pillow pieces with right sides together matching corners.
Step #3
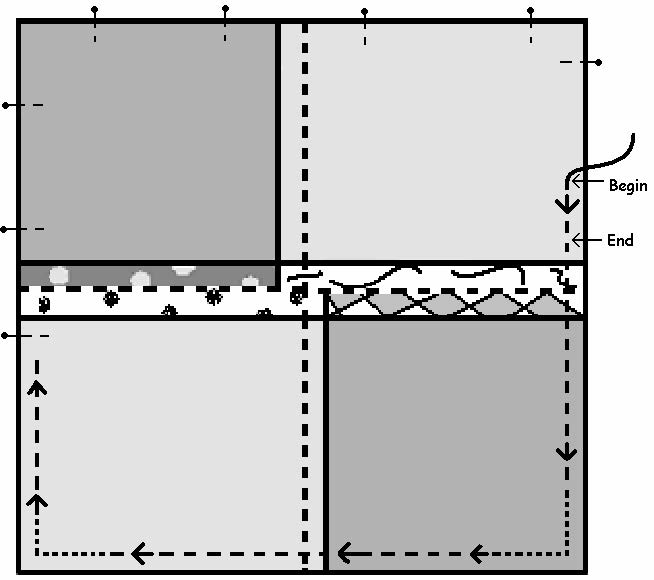
- Sew the pillow together using a ½" seam allowance and 12 stitches per inch or 2.5 on the stitch length regulator. Remove pins as you sew.
- Reduce the stitch length to reinforce the corners.
Sewing clue — A reinforcement stitch can be done 1″ either side of the corners. Reinforcement stitching prevents corners from tearing out after they are trimmed. A reinforcement stitch is created by shortening your stitch length to 20 or 1.5 on the stitch length regulator.
Step #4
- When reaching the point where stitching began, stitch over the top of the existing stitches for about ½" to lock stitches.
- Clip thread ends
Step #5
- Trim corners diagonally to reduce bulk. If the fabric frays easily you may want to zigzag the edge of the seam.
Step #6
- Turn pillow and insert 14″ pillow form.
- Fastenloopandhook
closure.
Authors
Debra Proctor, M.S., USU Extension Agent, Wasatch County; Ronda H. Olsen, M.S., USU Extension Agent, Uintah County; Karen Biers, Ph.D., M.S., USU Extension Specialist
Related Research
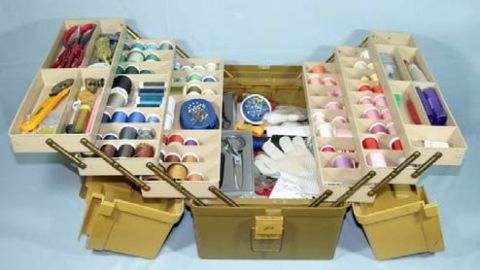
Basic Sewing Supplies
Basic sewing tools are needed for beginning items. A few are essential to use in constructing a sewn item. As you progress in your sewing skills, you may want to include other supplies for more advanced projects. Other supplies make the process easier. Vi

Charity Pillow Cases
Step-by-step instructions on how to make a charity pillow case (assembly line method).


Dropped Waist Skirt with Ruffles
Step-by-step instructions on how to make a dropped waist skirt with ruffles.

Easy Sewing Maker Projects
Step-by-step instructions on how to make a phone charging holder, lanyard wallet, and travel tissue cover.
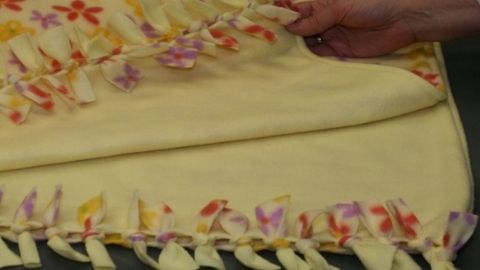
Fleece Blanket With Half Hitch Knots
Step-by-step instructions on how to make a fleece blanket with half hitch knots.


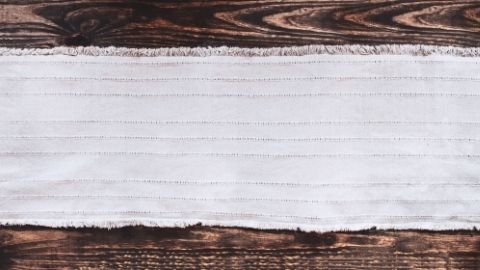
Quilt-as-you-go Table Runner
Step-by-step instructions on how to make a quilt-as-you-go table runner.