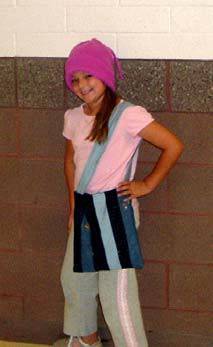
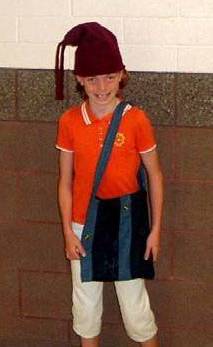
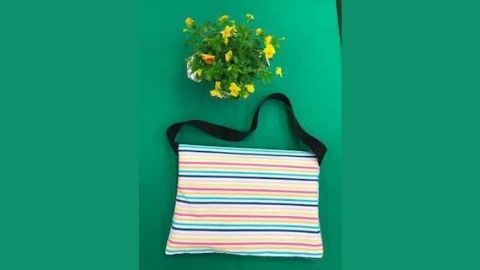
Patchwork Pouch

Supplies
- 3-6 different shades of denim
- 3/8 yard lining fabric
- Matching thread
- Masking tape and pen
- Dowel or yardstick
Directions
Cut fabric into six 3” X 26” strips and two 3” X 30” strips. Cut two 13” squares of lining fabric.
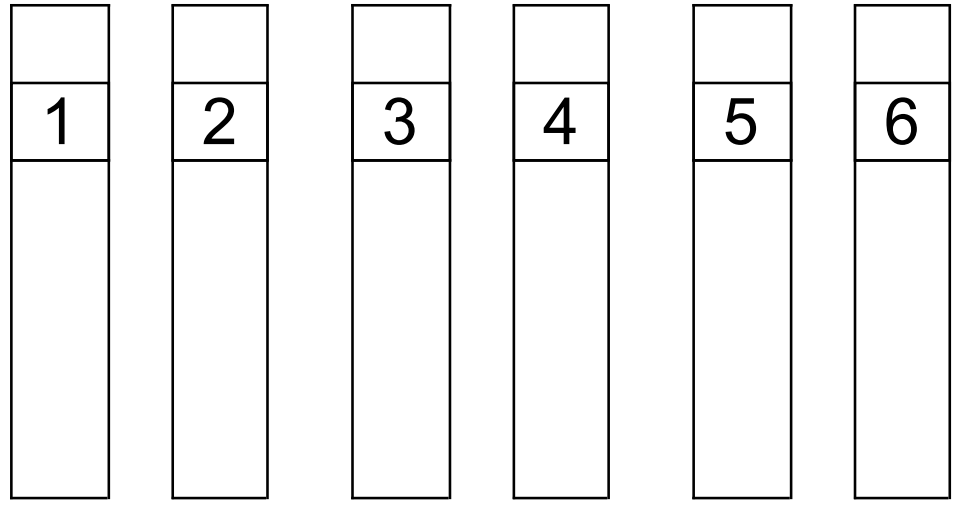
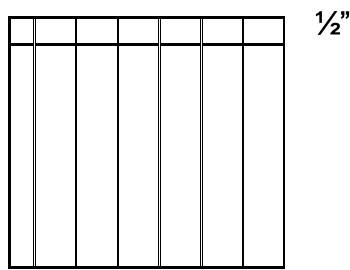
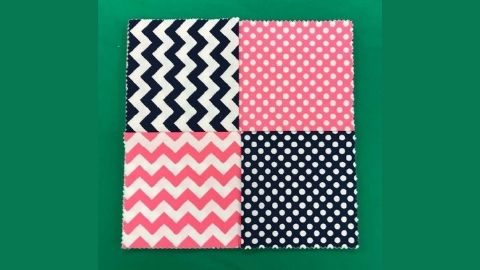
Lay out the six 3” X 26” strips on a table and arrange them to create a pleasing design. Cut six small squares of masking tape and label them 1-6. Place one piece of tape on each strip as shown below. These numbers will help to keep the strips in order as you sew them together.
Next, place strips #1 and #2 right sides together. Stitch on the long side using a ½” seam allowance and backstitching at each end. Then, repeat with strips #3 & #4 and #5 & #6. Press the seam allowances open on all three strips.
Lay the strips out on the table so the numbers on the tape are in order. Now place strips #1 #2 and strips #3 #4 right sides together and sew strip #2 to strip #3 using a ½” seam allowance and backstitching at each end. Press the seam allowances open. Next place strips #1 #2 #3 #4 and strips #5 #6 right sides together and stitch strip #4 to strip #5 using a ½” seam and backstitching at each end. Press the seam allowances open. The body of the bag is now complete.
If you would like to add an appliqué to the bag, now is the time to do it. See appliqué instructions on page 5.
Stitching the bag together
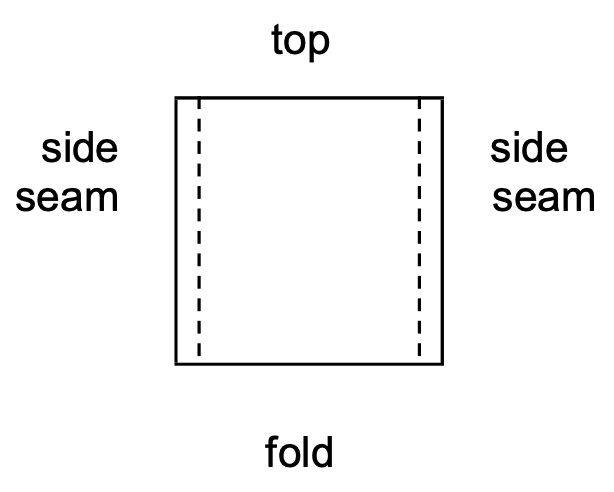
Next, fold the body of the bag in half lengthwise with the right sides together. Match the top and side edges of the fabric. Stitch the side seams using ½” seam allowances and backstitch at each end. Press the seam allowances open.
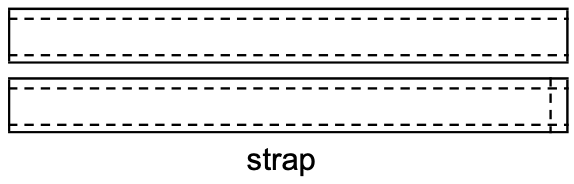
Strap
To make the strap, place the two 3” X 30” pieces of fabric right sides together and stitch the long edges together using ½” seam allowances and backstitching at each end. Sew one of the short ends closed using a basting stitch. Do not backstitch. This will make it easier to turn the strap. To make a basting stitch, set the stitch length on the sewing machine so there are 5-6 stitches per inch. Place a cardboard tube or wooden dowel inside the strap and press the seam allowances open. To turn the strap right side out, place the short seam that was basted closed over the end of a dowel and gently pull the strap down over the dowel. Continue until the strap is turned right side out. Remove the basting stitch in the short end of the strap. Press the strap flat, making sure the stitching on the sides is pulled all the way out to the edge. Stitch both sides of the strap ¼” from the edge.
With the body of the bag turned wrong side out, lay the strap inside the bag making sure that it is not
twisted. Center the ends of the strap over the side seams of the bag. Make sure raw edges are together. Pin in place. Baste the ends of the strap to the upper edge of the bag using a ¼” seam allowance.
Lining
Pin the lining squares together so the right sides are facing each other. Then, starting at the top of the bag, stitch a ½” seam down one side, stopping ½“ from the lower edge. Place the needle in the fabric, lift the presser foot, and turn the fabric so you can stitch across the bottom of the bag. Lower the presser foot and stitch about 3” across the bottom of the bag and backstitch.
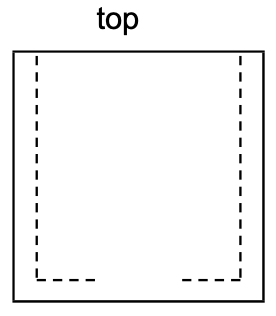
Next, starting at the top of the bag stitch down the other side, turn the corner and stitch across 3”, backstitching at each end. An opening will be left in the bottom of the lining so the bag can be turned
right side out once the lining is attached. Press the seams open. Turn the lining so the right sides of the fabric are on the outside.
Attaching the lining to the bag
With the bag wrong side out, slide the lining down inside the bag so the right sides are together. Match
the side seams of the lining and the bag on both sides and pin in place. Pin the lining and the bag together along the upper edges. Stitch the lining to the bag along the upper edge using a ½” seam. To
secure, overlap stitching about ½” when seam is complete. Turn the bag right side out by reaching through the opening in the lining and pulling the bag through the opening. Press the upper edge of the
bag.
To finish the opening in the lining, pull the lining back out of the bag. Turn the seam allowances of the
opening to the inside and press. Then sew the opening closed by stitching close to the folded edge,
backstitching at each end.
Tuck the lining down inside the bag. With the denim side of the bag up, edge stitch around the upper edge of the bag to keep the lining from rolling to the outside.
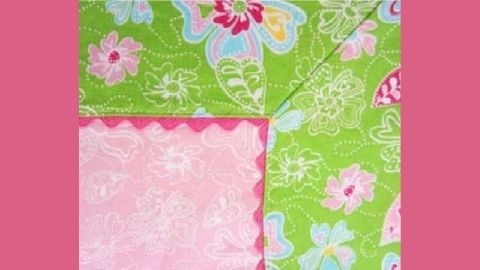
Frayed Seam Allowance Variation
For a completely different look, put all the seam allowances on the outside and let the fabric fray. To make this variation, cut strips the same size as the original bag and use ½” seam allowances.
 When piecing the strips for frayed edges, place the wrong sides of the fabric together and stitch using a ½” seam allowance. Don’t press the seam allowances open.
- To make sewing easier, clip the seam allowances ½” down from the upperedge.
- When sewing the side seams on the bag, fold the bag in half with thewrong sides together.
- When stitching the lining together, do not leave an opening in the lower edge of the lining.
- Wash the finished bag a few times, allowing the seam allowances to fray. The dryer will fluff the fringe. Trim away any loose threads.
Resource: The original bag was designed by Sheila Zent. It was copyrighted in 2003 by PRIMEDIA Inc. Sheila develops sewing projects for the home-sewing industry. Specializing in sewing projects for teens and preteens, she publishes a line of sewing patterns under the label eXpresSew. Visit www.expressew.com for free projects and sewing guidelines.
Wonder-Under®
http://www.pellonideas.com/content/view/21/27/1/0/
Wonder-Under is the paperbacked adhesive web that turns any fabric into a fusible fabric.
Wonder-Under fuses fabric to fabric or to a porous surface such as wood or cardboard. For denim, canvas or other heavy fabrics, use Heavy Duty Wonder-Under, when extra holding power is needed. ALWAYS PRE-TEST.
Wonder–Under has no grain - can be cut and applied in any direction.
Finished item can be washed or dry-cleaned; according to the fabric's care requirements.
General Directions
- PRESS & CUT
- Place rough side of Wonder-Under against wrong side of fabric. Press for 5-8 seconds
with hot, dry iron. Let cool, draw desired shape onto paper backing, then cut - Alternative method: Trace shape onto paper backing, cut to size, then press, rough side down, onto fabric. (Note: To avoid backward letters and numbers, draw on rough side of Wonder-Under with ballpoint pen. For dark fabrics, redraw shape on paper side.)
- Place rough side of Wonder-Under against wrong side of fabric. Press for 5-8 seconds
- PEEL & FUSE
- Gently peel off paper backing. Position fusible fabric, web side down, on the project. Cover with DAMP press cloth.
- With iron at wool setting, press FIRMLY for 10-15 seconds. (Heavier fabrics = more time.) Repeat, lifting and overlapping iron until all fabric is fused.
- Remove press cloth and iron fabric to eliminate excess moisture.
- Tip: Use your damp press cloth as a temperature and timing guide. After 10 seconds, press cloth should be dry. If not, raise iron temperature or hold iron in place a few seconds longer.
- Tip: With “fat/thin" or "heavy/light" fabric combinations, fuse from thinner or lighter side. If necessary, "baste" first by ironing on the right side.
Care Instructions:
- Washable, dry cleanable
- Machine wash Warm, Delicate cycle.
- Do not use fabric softener.
- Tumble dry Low.
Special Techniques
For hems: Cut and press strips of Wonder-Under to hem allowance. Peel off paper, turn up hem and fuse.
For layered appliqués: Press Wonder-Under onto fabric and cut out base shape. Use WonderUnder to fuse details to appliqué then peel paper backing off base and fuse completed appliqué to project. If desired, machine stitch around edges of appliqué.
- Create reversible fabrics or sturdier projects by fusing two layers of fabric together with Wonder-Under.
- Cover wood or cardboard items, such as room dividers, valances and boxes, with fabric using Wonder-Under.
For best results, store unused Wonder-Under by rolling it onto a tube (Instead of folding). Overtime, if Wonder-Under separates from the paper, it can still be used. Simply place the web on the surface to be fused, cover with the Wonder-Under release paper, and press with a hot, dry iron. Fabric, web and paper will stick together. Proceed with directions for cutting, peeling and fusing.
Authors
Ann Henderson, M.S., CFCS, USU Extension Agent, Box Elder County

Ann Henderson
Extension Associate Professor / Box Elder County
Home and Community Department
Related Research
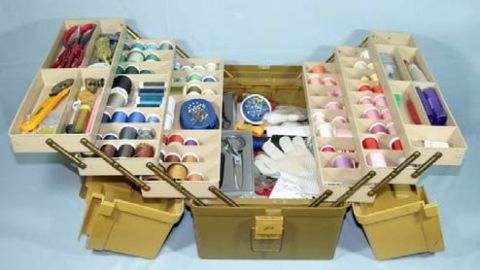
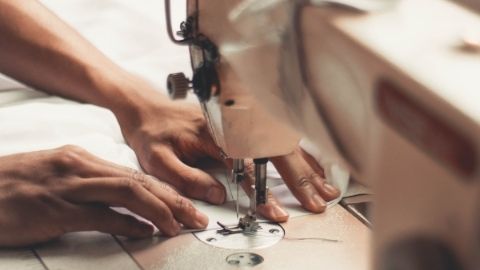
Basic Sewing Supplies
Basic sewing tools are needed for beginning items. A few are essential to use in constructing a sewn item. As you progress in your sewing skills, you may want to include other supplies for more advanced projects. Other supplies make the process easier. Vi

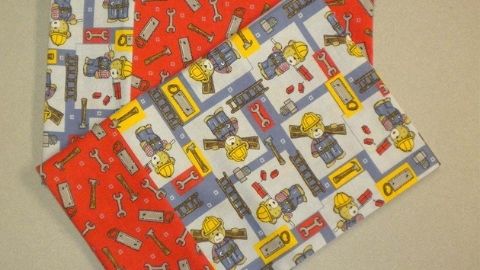
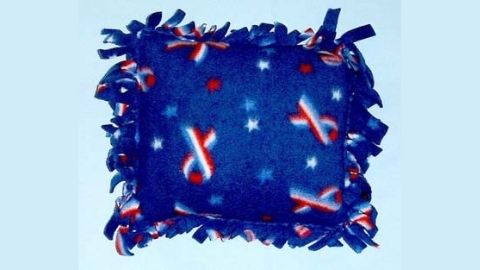
Charity Pillow Cases
Step-by-step instructions on how to make a charity pillow case (assembly line method).

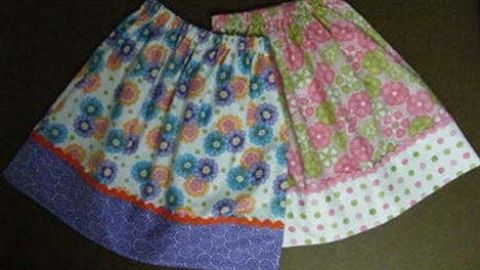
Dropped Waist Skirt with Ruffles
Step-by-step instructions on how to make a dropped waist skirt with ruffles.
Easy Sewing Maker Projects
Step-by-step instructions on how to make a phone charging holder, lanyard wallet, and travel tissue cover.
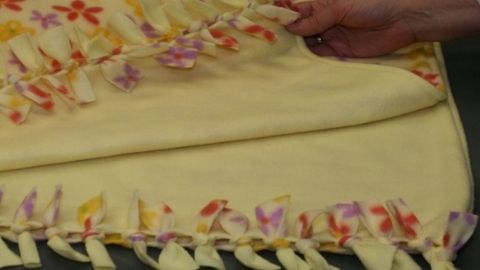
Fleece Blanket With Half Hitch Knots
Step-by-step instructions on how to make a fleece blanket with half hitch knots.


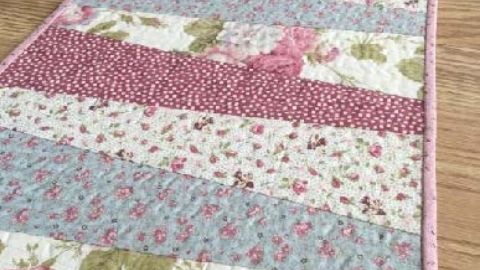
Quilt-as-you-go Table Runner
Step-by-step instructions on how to make a quilt-as-you-go table runner.