Fleece Blanket With Half Hitch Knots
Supplies needed:
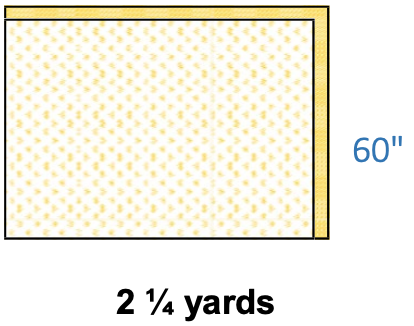
- 2 yards of solid Fleece 60" wide
- 2 yards of printed Fleece 60" wide
- Washable marking pen
- Matching thread
- 1" wide blue painters tape
- Sewing machine
- Basic sewing supplies (see Fact Sheet FL/ST/construction 2008/101)
Pattern markings:
Sewing clue—Becoming familiar with the markings in the Diagram Key will aid in reading instructions. Most patterns have similar keys.
Diagram Key:

solid right side
printed right side
solid wrong side
printed wrong side
Fabric preparation:
It is not necessary to pre-wash fleece prior to construction. It does not shrink or lose excess dye.
Cutting instructions:
Step #1
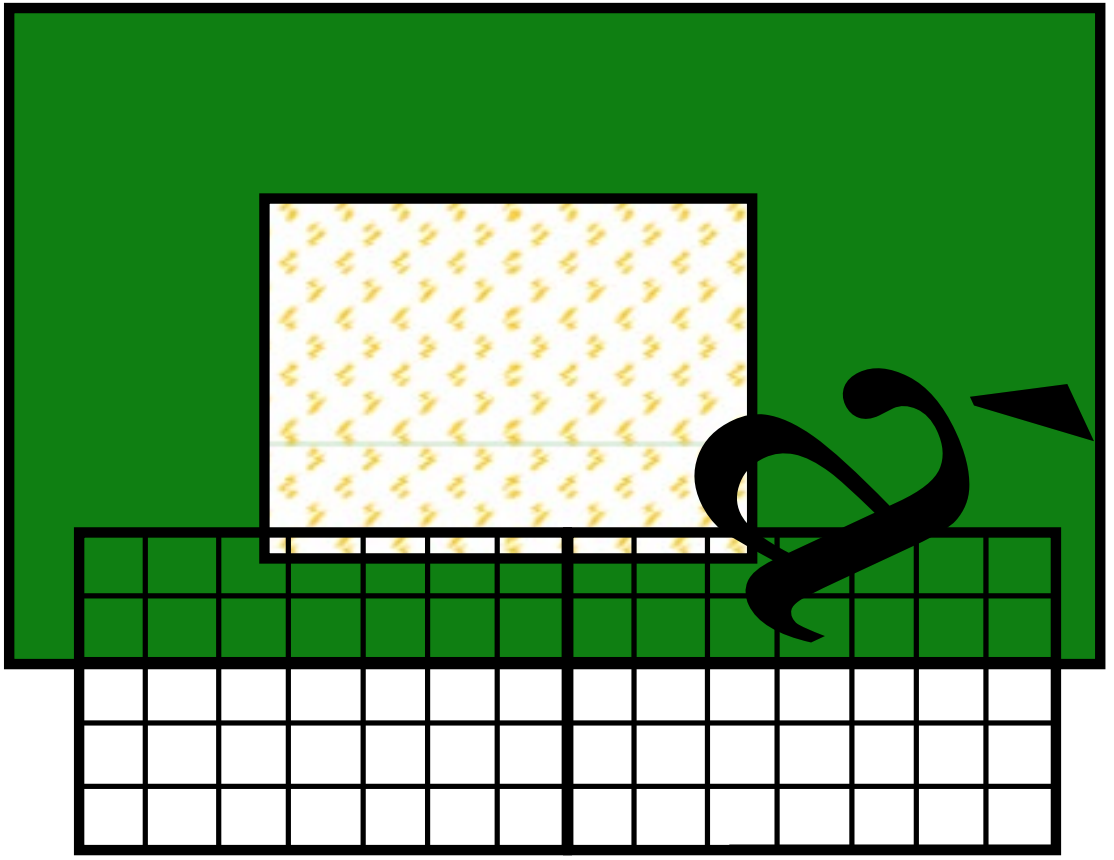
Lay both pieces of fleece out flat right sides together one on top of another. Make sure that both pieces of fleece are exactly the same size.
Step #2
Using a rotary cutter and a ruler, trim off the selvage edge of both pieces. All four edges should be the same size.
Blanket construction:
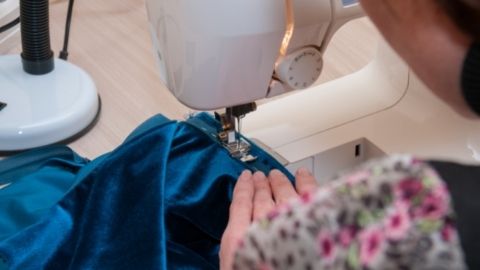
Step #1
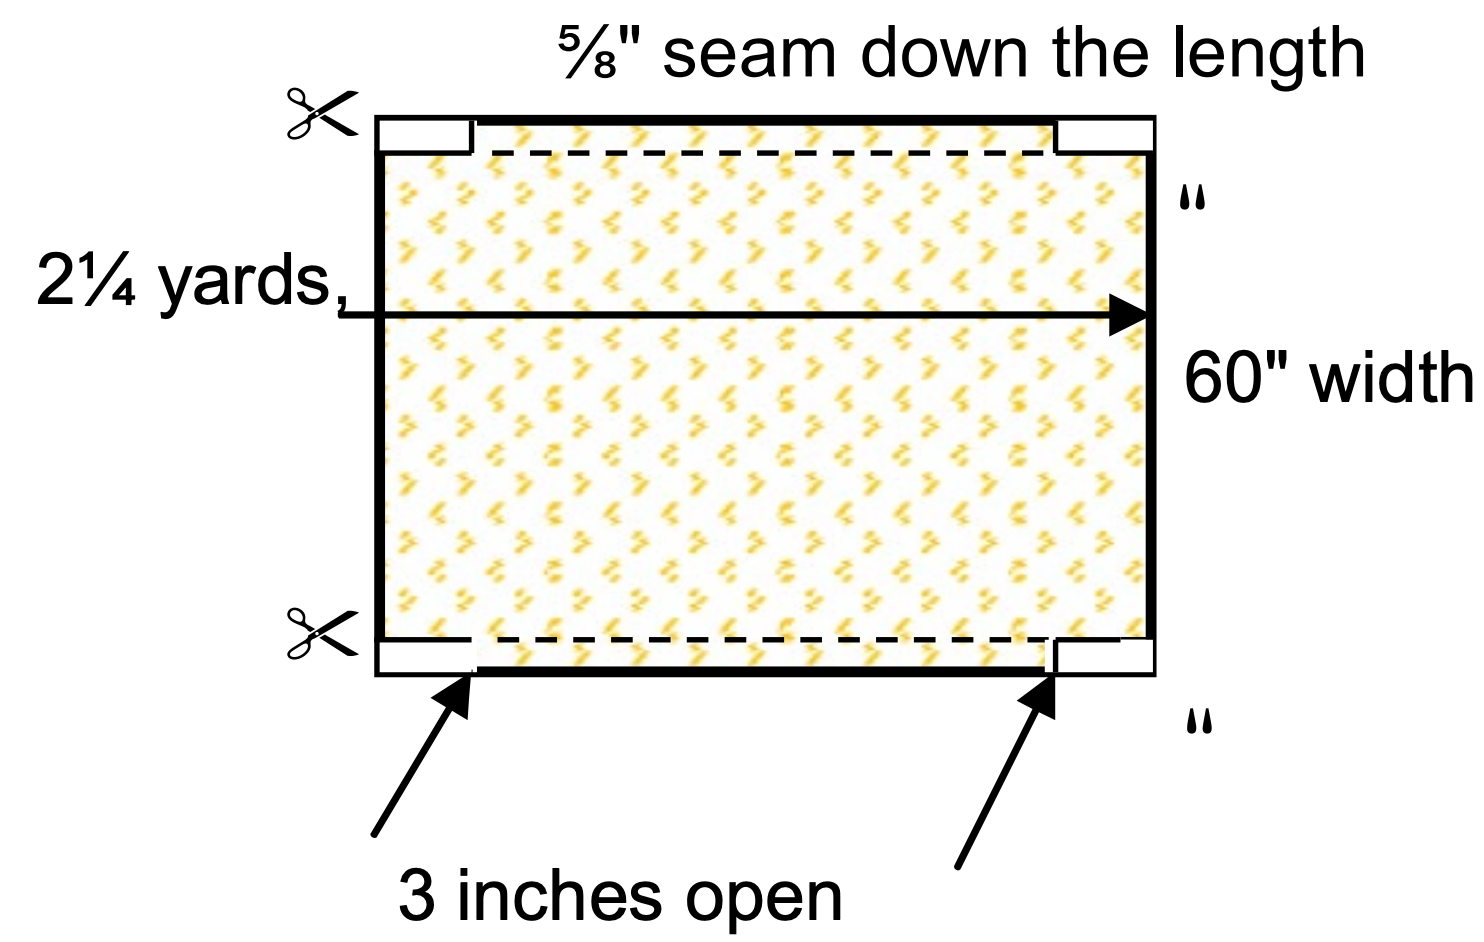
- Right sides, together pin the length of the fleece on both sides.
- Make a 5/8" seam starting 3" in from the beginning of the blanket stopping 3" from the other end of the blanket. Repeat on the other side. Trim out the seam allowance on the unstitched ends at all four corners.
Sewing clue—Fleece has a long nap and holds the thread tight. Back stitching at the ends is not necessary for this project.
Step #2
- Turn right side out. Push seams out (stitch line should be on the out side edge with no folds in the fabric) and press. Top stitch using the right edge of the foot as your guide. (leave 3" ends open)

Step #3
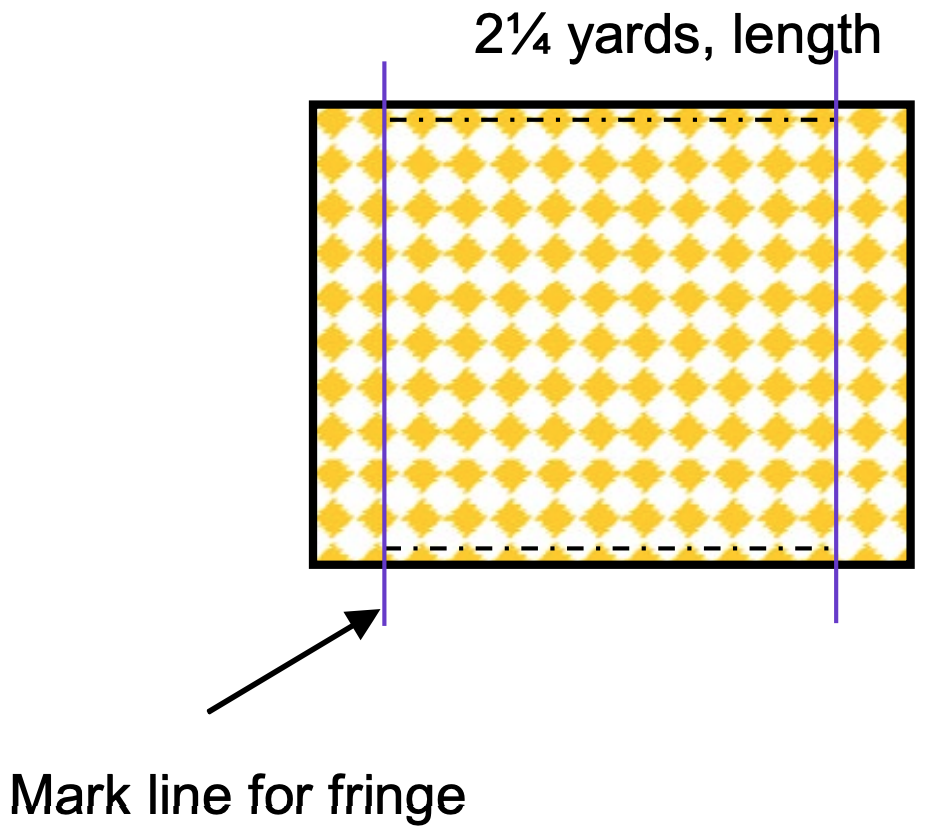
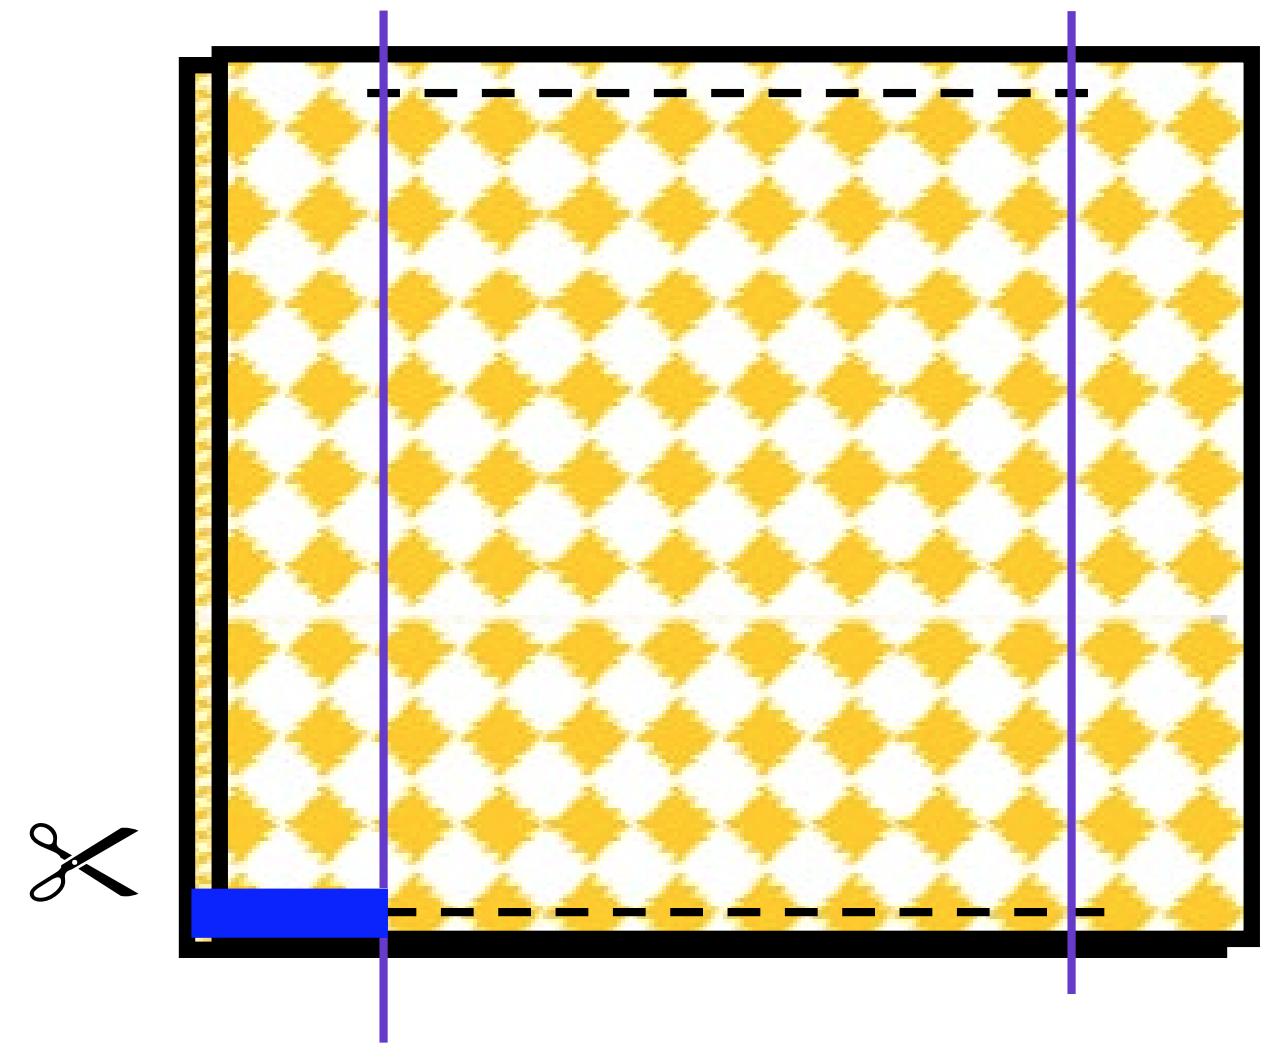
- With a large quilting ruler draw or chalk a line 3" in from the un-stitched end. Move the ruler across the width of the blanket Do both ends of the blanket. This will be used to make the fringe for the knots.
Sewing clue—The washable marking pens work well for marking fabric. Just remember to follow instructions and test it on a scrap piece of fabric.
Step #4
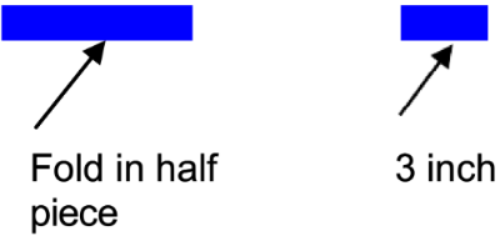
- Take an 8" piece of 1" blue painters tape and fold it with sticky sides together. Measure 3" and cut to use as a pattern to make the fringe for the knot.
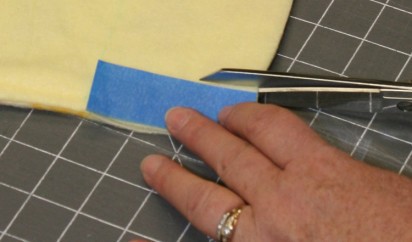
Step #5
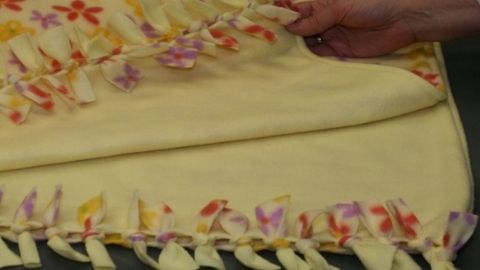
- Using the piece of tape as a guide, cut to the 3" line marked. Cut through both layers of fleece. The tape is the width gauge to cut the fringe for the knots across the bottom. Fringe both ends of the blanket. Tie the knots as shown below.
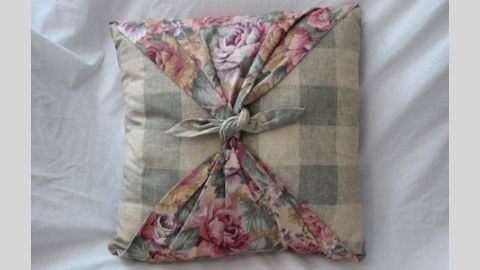
Knot construction:
Sewing clue—Using a Granny knot will give you opposite fringe colors, a square knot will give you matching fringe colors.
Step #1
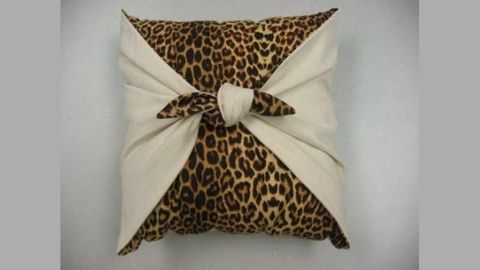
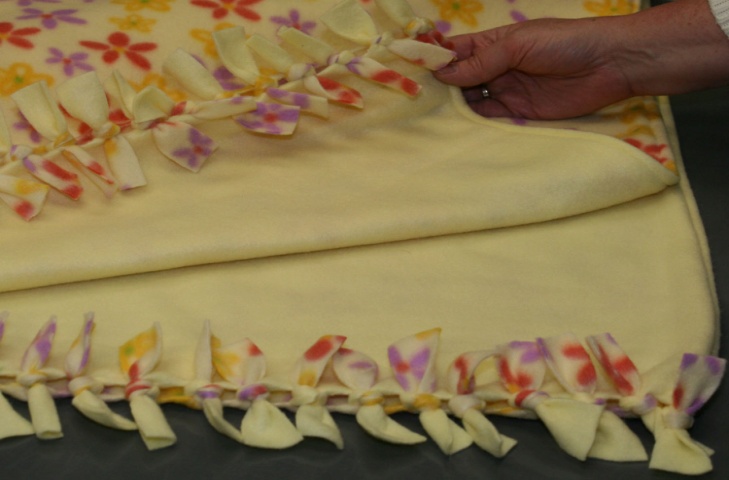
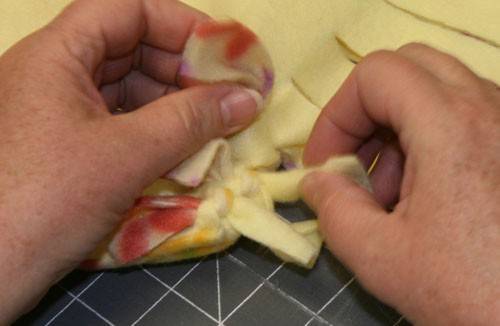
- The knot is a granny knot. Tie the knots using one strip of plain fringe and one strip of printed fringe.
- Take the top plain fringe and tie it over and under the bottom printed fringe.
- Pull the fringe forming half of the knot

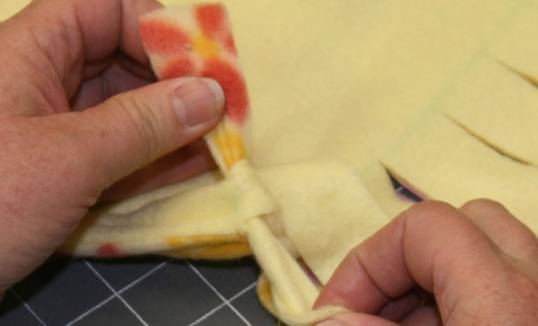
Step #2
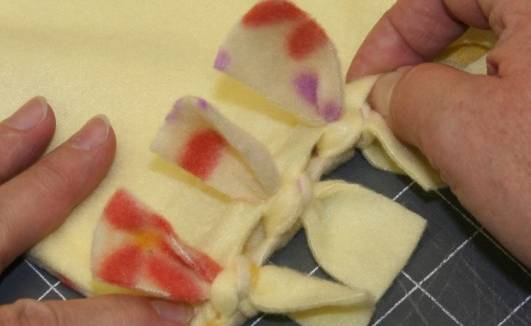
- Take the new top printed piece of fringe and tie it over and under the bottom plain piece of fringe.
- The printed fringe tie should now be on the plain side and the plain fringe tie is on the printed side. See sewing clue above
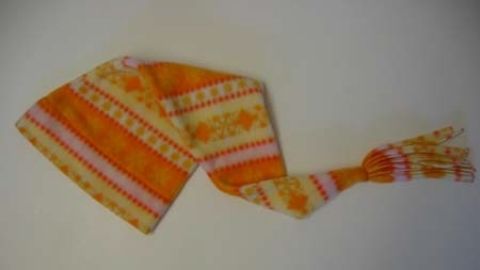
Sewing clue——Stretch the tied knots apart, the fleece will roll to the inside finishing the edge.
Authors
Susan Haws, M.S., USU Extension Agent, Summit County; Debra Proctor, M.S., USU Extension Agent, Wasatch County

Susan Haws
Extension Associate Professor / Sewing and Textiles / Summit County
Home and Community Department
Related Research
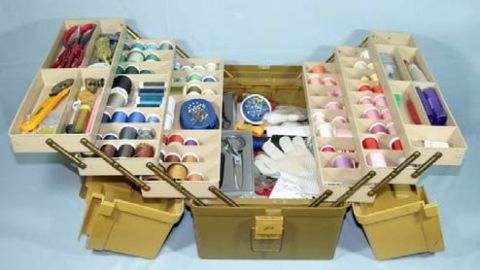
Basic Sewing Supplies
Basic sewing tools are needed for beginning items. A few are essential to use in constructing a sewn item. As you progress in your sewing skills, you may want to include other supplies for more advanced projects. Other supplies make the process easier. Vi

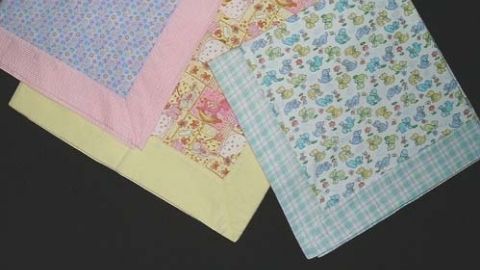
Charity Pillow Cases
Step-by-step instructions on how to make a charity pillow case (assembly line method).


Dropped Waist Skirt with Ruffles
Step-by-step instructions on how to make a dropped waist skirt with ruffles.
Easy Sewing Maker Projects
Step-by-step instructions on how to make a phone charging holder, lanyard wallet, and travel tissue cover.
Fleece Blanket With Half Hitch Knots
Step-by-step instructions on how to make a fleece blanket with half hitch knots.


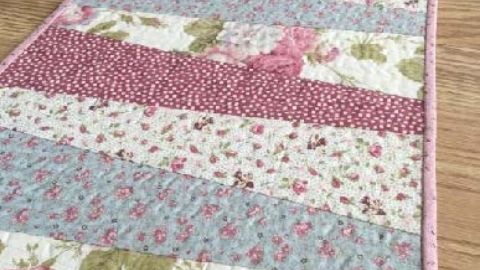
Quilt-as-you-go Table Runner
Step-by-step instructions on how to make a quilt-as-you-go table runner.