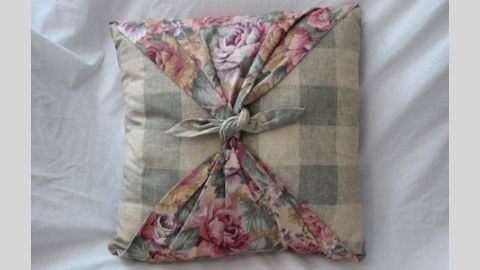
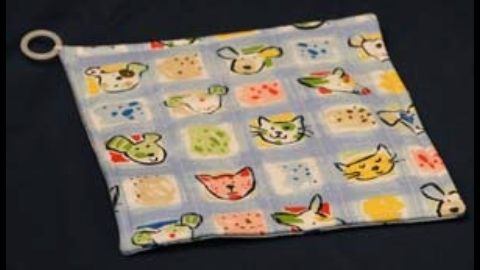
Chenille Hotpad
Materials Needed:
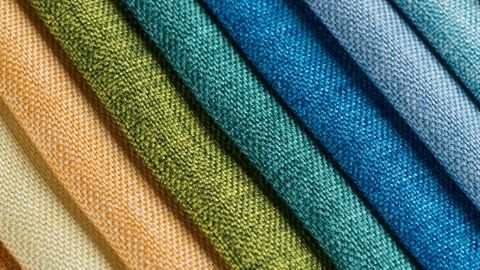
- 1/2 yd. all cotton fashion fabric in your choice of color or pattern
- 1 yd. flannel fabric (any color or pattern you may choose)
Directions (one hot pad)
- Cut two 9" squares of 100% woven cotton fabric. Cut four 8" squares of flannel Cut one 8" square of 100% woven cotton fabric. Cut one 8" square of fleece or two additional 8" squares of flannel.
Steps
- Lay one 9" square piece of the woven allcotton fashion fabric right side down on firm, flat surface (such as table top or cutting board).
- Center one 8" square of fleece fabric right side up on top of the fashion fabric which was set in place in Step 1.
- Next, place the second piece of 9" square fashion fabric right side up on previous two, carefully aligning and matching the edges of the first square.
- Center four additional 8" squares of flannel fabric (for best aesthetic effect, choose different colors and patterns) right side up on top of previous three squares.
- Place final 8" square of fashion fabric on top of flannel stack, aligning all squares very
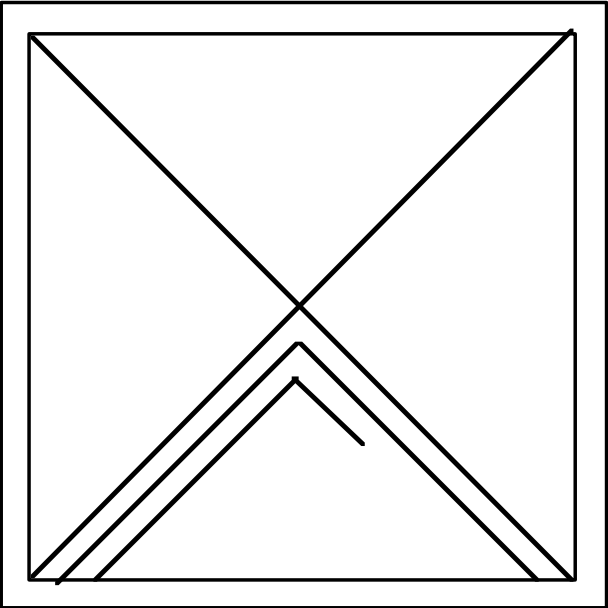
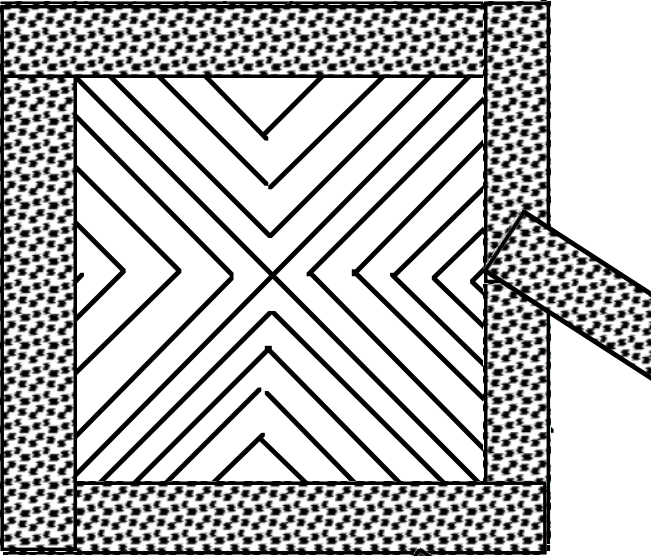
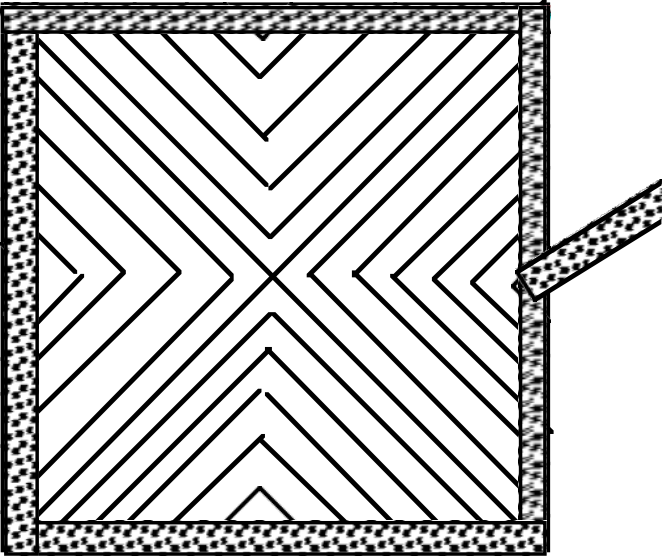
carefully - Using a straight edge and chalk line, draw two intersecting lines from corner-to-corner on true diagonal bias. This will identify center point of fabric squares and serve as a sewing guide.
- Carefully pin all layers of fabric so that they will not move or shift from position.
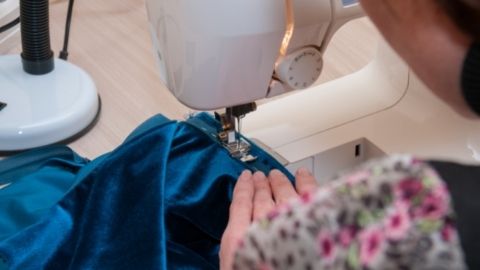
- Using a regular stitch, follow each chalked guide line to form a sewn “X” on top surface of 8" square fashion fabric.
- Using the sewing machine walking foot, sew from outside stitch to 1/4-inch of center. Leaving needle in place, turn fabric 90° and sew from center to outside edge following initial thread stitch as your guide.
- Without cutting thread, LIFT machine needle and pressure foot and reposition so that the opposite side of pressure foot can follow last straight stitch; sewing towards center, again stop 1/4-inch from center. With needle in down position, again turn fabric stack 45° and sew to outside corner of 8" square.
- Continue sewing “chevron” pattern until center position has been reached.
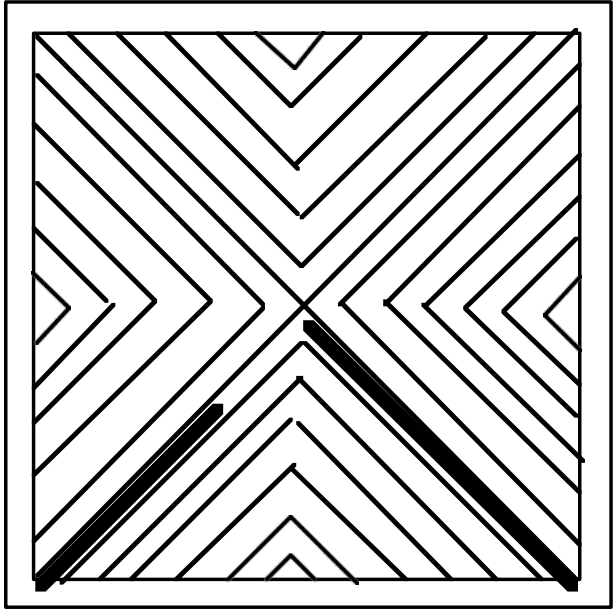
- Repeat Steps 9–11 on remaining three quadrants of hot pad surface.
- Placing point of scissors between 9" square placed in Step 3, and using sewn stitches as outside guides, carefully cut straight line down center of the four flannel 8" squares and one fashion fabric surface square to form a chevron shape; DO NOT cut through thread stitches at any point.
- Continue cutting layers until all four quadrant chevrons are completed.
- Cut away extending fabric of 9" square to same size shape of 8" squares in preparation to bind edge.
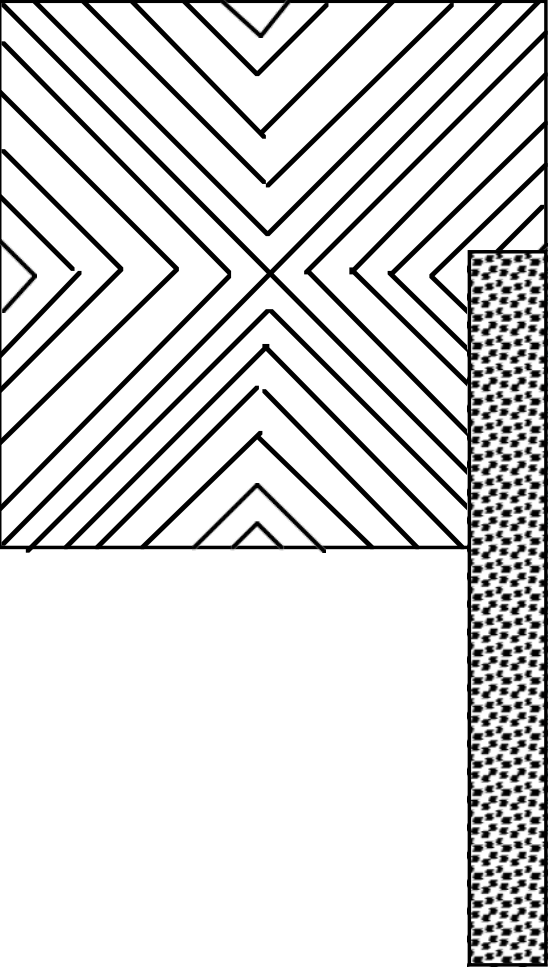
- For binding, cut 2-1/2 wide strip of fabric (either on bias or straight grain) to at least 37" in length.
- Fold 2-1/2 inch wide strip in half, so that wrong sides are together to make binding. Place on top of chenille surface approximately 3/8 inch past center of one outside quadrant. Raw edges to the outside, fold towards center of hot pad. Carefully begin straight stitch for 3/8", then REVERSE stitch to tack starting point securely. Moving forward, stitch approximately 1/4" in from outside surface using sewing machine presser foot as your guide.
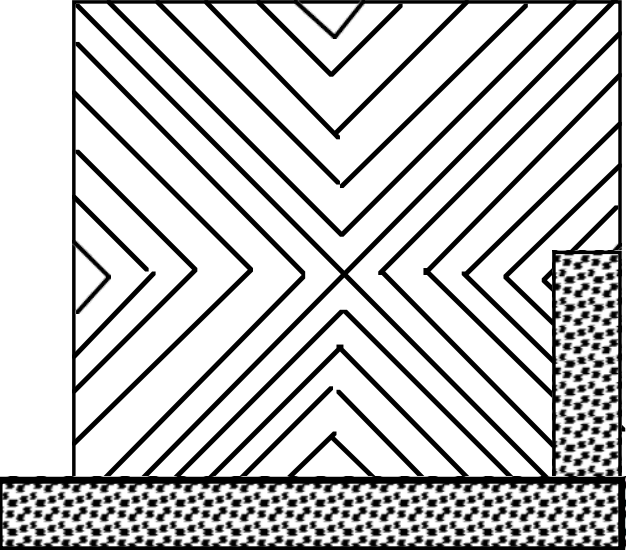
- Sew trim towards first corner, coming to a stop at 1/4" from edge. Leaving needle in DOWN position, rotate hot pad 90° then BACKSTITCH to edge of hotpad.
- Form a mitered corner, folding trim back on itself to make a sharp 90° corner. After aligning trim with outside edge of hotpad, resume sewing to second corner; STOP at 1/4" from edge. Leave needle in DOWN position, rotate hot pad 90° then BACKSTITCH to edge of hotpad.
- REPEAT Step 19 at next two corners.
- Sew toward the starting point of the trim, folding starting trim piece outward on seam. Sew past starting point approximately 1/2" and backstitch about five stitches to secure.
- You should have approximately 4-1/2" of trim fabric extending outward which will be used to form the “hanger” loop.
- Cut threads, turn pad over, and pull bias firmly around the cut edge on reverse side of pad. (The edge of the bias should cover the stitching line.) Pin in place. (Corners should be mitered.)
- From right side, “stitch in ditch, ” catching binding on reverse side.
- Continue to sew as close to the stitching line as possible being careful not to miss the edge of the folded binding (this is called “stitch in the ditch”).
- Continue sewing binding until all four corners are finished and you return to the center of hotpad.
Drop needle to its lowest point. Lift the presser foot. Pull the remaining piece of binding (about 4 inches) until it is perpendicular to the hotpad forcing the raw edges to come together to form a double-fold bias binding. Drop the presser foot and stitch up the edge of the 4-inch strip (sewing the binding together) to prepare the binding to make the loop. - Twist loop fabric to form the loop. The end of the loop will be even with the outside edge of the hotpad. Sew securely in place by following the stitching line. Backstitch. Pull loop into position.
- Place in clothes washer on regular cycle and wash to “fluff” chenille layers. Dry in clothes
dryer; then remove.


Authors
Ronda H. Olsen, M.S., USU Extension Agent, Uintah County
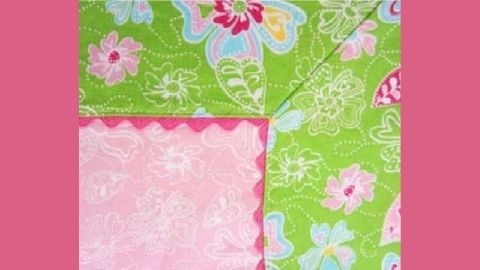
Related Research
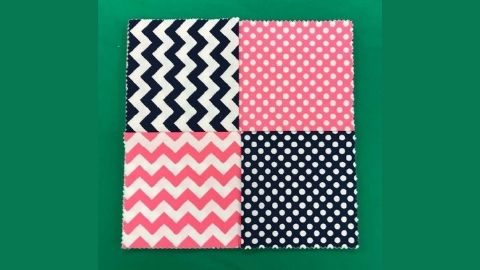
Basic Sewing Supplies
Basic sewing tools are needed for beginning items. A few are essential to use in constructing a sewn item. As you progress in your sewing skills, you may want to include other supplies for more advanced projects. Other supplies make the process easier. Vi

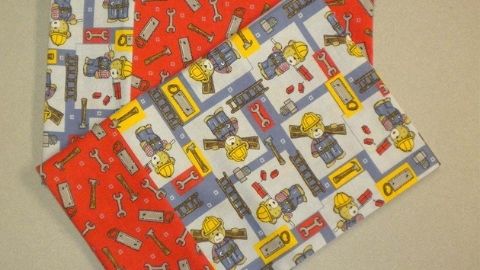
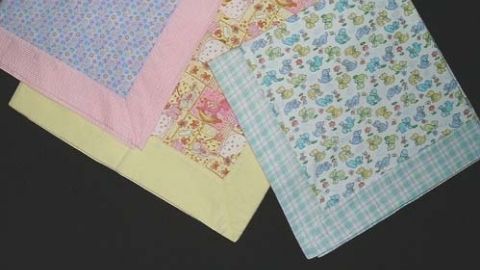
Charity Pillow Cases
Step-by-step instructions on how to make a charity pillow case (assembly line method).


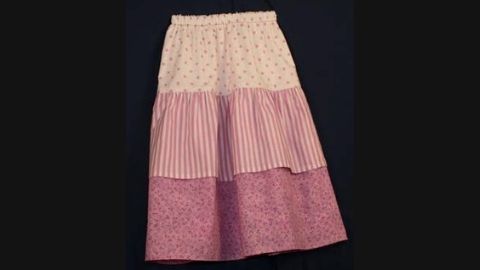
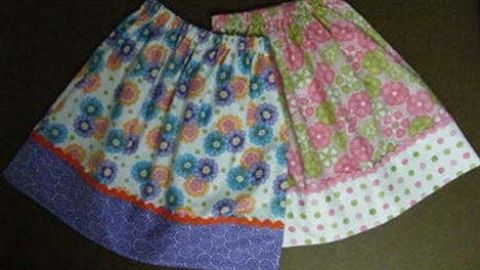
Dropped Waist Skirt with Ruffles
Step-by-step instructions on how to make a dropped waist skirt with ruffles.
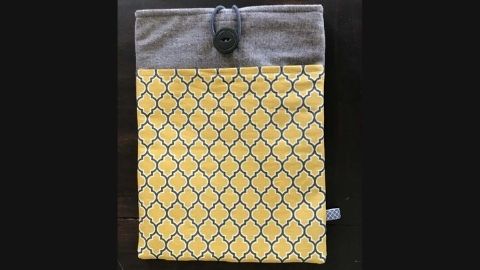
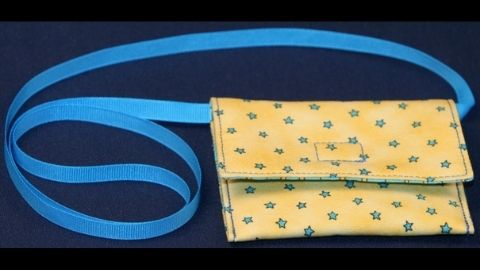
Easy Sewing Maker Projects
Step-by-step instructions on how to make a phone charging holder, lanyard wallet, and travel tissue cover.
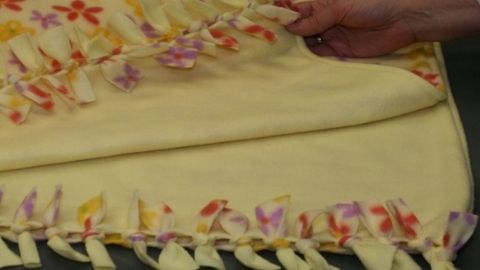
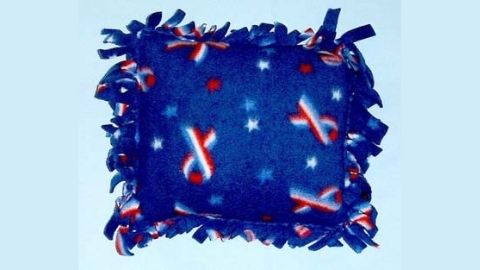
Fleece Blanket With Half Hitch Knots
Step-by-step instructions on how to make a fleece blanket with half hitch knots.


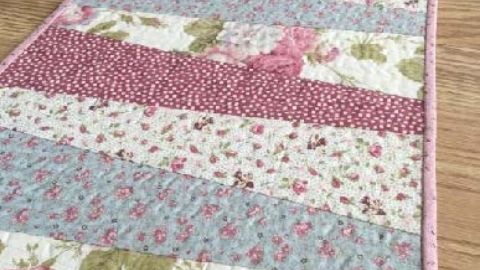
Quilt-as-you-go Table Runner
Step-by-step instructions on how to make a quilt-as-you-go table runner.