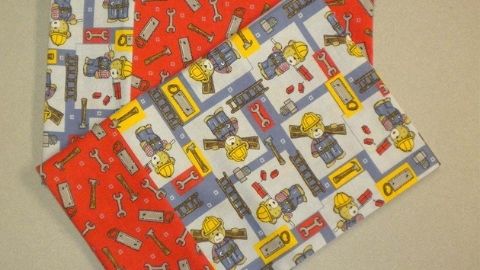
Designer Pillowcase
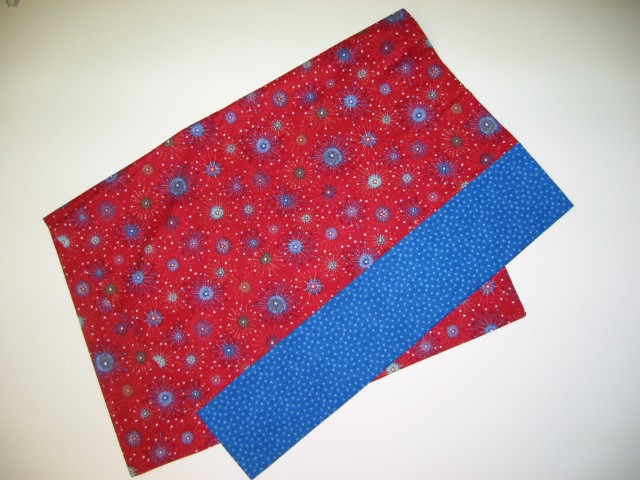
Supplies needed:
- Two coordinating fabrics. See table below.
- Select firmly woven 100% cotton or cotton polyester blend fabric that is a minimum of 42" wide.
- Thread to match.
- Basic sewing supplies
Decorative trim variation
Supplies needed:
- 2" X 42" piece of coordinating fabric for each pillowcase. Or
- 1" X 42" piece of purchased decorative trim such as lace. Other trims such as rickrack or piping can be used.
Sewing clue—Some stores require a minimum purchase of 1/8 yard (4 ½") of fabric.
Determine amount of fabric needed:
| Sizes | Fabric Required | |||||
|---|---|---|---|---|---|---|
| One Case | Two Cases | |||||
| Pillow Size | Case Size | Coordinating Border Edge |
Case Body | Coordinating Border Edge |
Case Body | |
| Standard | 20" X 26" | 20 ½" X 30" | ⅜ yard | ⅞ yard | ⅝ yard | 1 ⅝ yards |
| Queen | 20" X 30" | 20 ½" X 34" | ⅜ yard | 1 yard | ⅝ yard | 1 ⅞ yards |
| King | 20" X 36" | 20 ½" X 40" | ⅜ yard | 1 ⅛ yards | ⅝ yard | 2 ⅛ yards |
Pattern markings:
Sewing clue—Becoming familiar with the markings in the Diagram Key will aid you in reading instructions.
Most patterns have similar keys.
Diagram Key:

Fabric
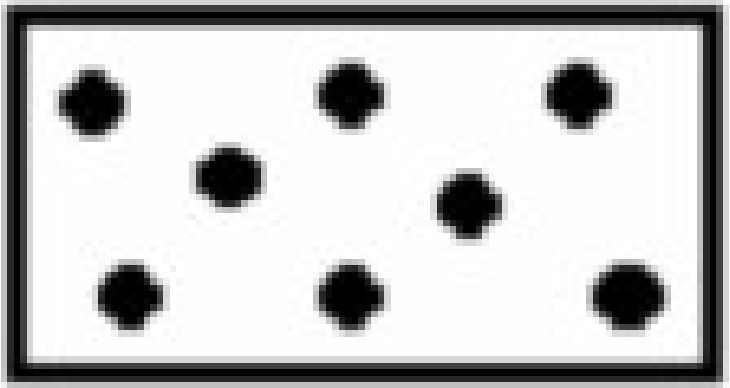
Fabric

Wrong Side of Fabric
-------------------------------
stitching line
Fabric preparation:
Wash fabric before cutting to eliminate shrinkage and remove excess dye. Straighten edges and press fabric.
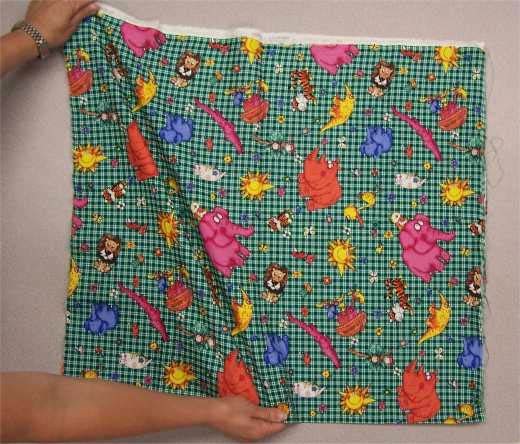 Sewing clue—Woven fabric grainline is established by pulling a thread across the fabric from selvage edge to selvage edge. Clip ½ inch into the fabric along one selvage edge. Grasp one or two crosswise threads between your thumb and index finger and pull gently while pushing the fabric toward the other selvage edge with your other hand. Cut along the line left by the pulled threads.
Another way to straighten the edge is to tear the fabric. Tearing the fabric causes the edge to become stretched and ruffled. Shrink the stretched edge by steam pressing the fabric back into shape. The fabric will now lie flat.
Fold the fabric in half matching the selvages and the newly straightened edges. The fabric should lie flat with the edges matching. If it does not lie flat, realign the fabric by holding the long edge of the fabric along the selvage edge and gently “pulling” the fabric on the bias. This will realign the threads so that the crosswise threads run at right angles to the lengthwise threads.
Step #1
- Cut the pillowcase body and coordinating border edge on the straight of the fabricgrain.
- Cut pillowcase coordinating border edge fabric 9" X 42" for one case or two 9" X 42" pieces for two cases.
- Select your pillowcase body size from the table to the left. Cut pillowcase body fabric according to the dimensions listed.
Note: Use one piece for one pillowcase and two pieces for two pillowcases.

| Pillowcase Body Size | Dimension |
|---|---|
| Standard | 27" X 42" |
| Queen | 31" X 42" |
| King | 37" X 42" |
Step #2
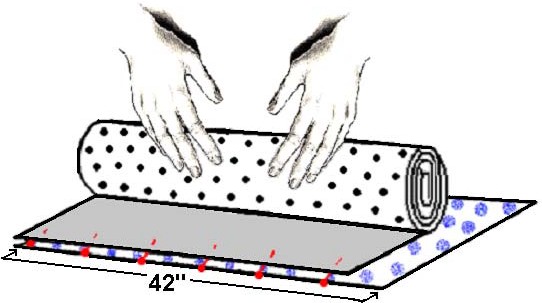
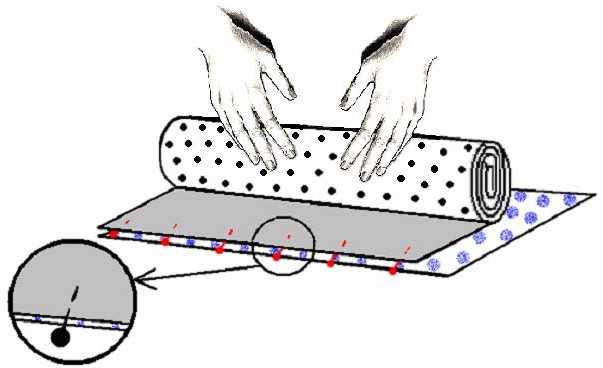
- Lay coordinating border edge on a flat surface with “rightside” up. Place the “right side” of the pillowcase body on the “right-side” of the coordinating border edge matching raw edges. Pin edges together.
Step #3
- Roll the width of the pillowcase body toward the pinned edge. Stop rolling when you reach the center of the border fabric.
Sewing clue—Place pins at a right angle to the cut edge of the fabric. The head of the pin should extend beyond the cut edge. This allows the pin to be easily removed just before the presser foot reaches the pin. Do not sew over pins; they can break or dull the needle.
Step #4
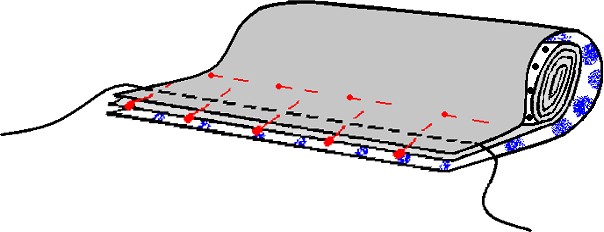
- Wrap coordinating border edge fabric around rolled pillowcase body. Match raw edge and re-pin. Sew a ½" seam allowance along the pinned edge. Back stitch three or four stitches at beginning and end.
Sewing clue—Take care not to sew the pillowcase roll into the seam. If needed pin along the roll, about 1 ½ " in from the cut edge.
Step #5
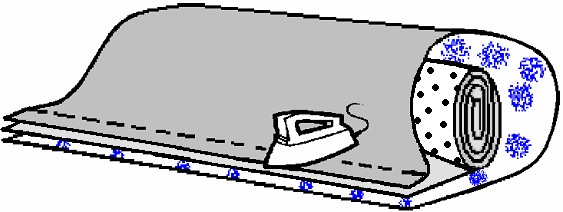
- Press seam flat.
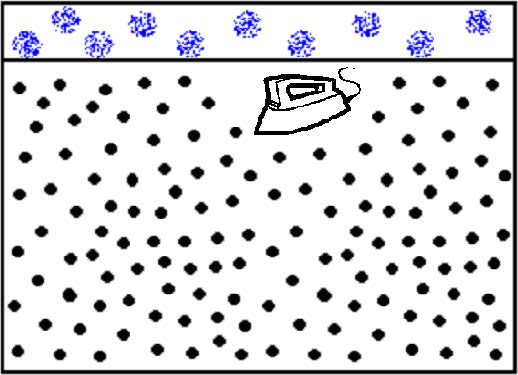
Sewing clue—Press along the stitching line on both sides before pressing the seam open to set the stitches. This makes it easier to press the seam open and helps the seam lay smoothly. To press, raise and lower the iron as you move across the fabric; use a gentle up and down motion. This will keep the grain of the fabric straight. Pushing the iron back and forth on the fabric can stretch and distort the grain.
Step #6
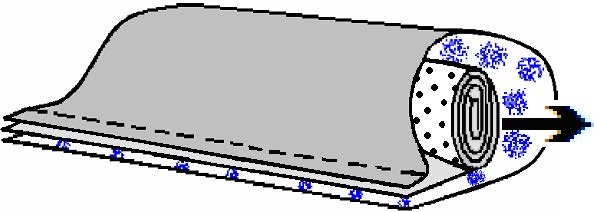
- Reach into the sewn tube and pull the pillowcase body out through the side opening. The pillowcase and coordinating border edge is now “right-side” out.
Step #7
- Press seam flat on both sides until the seam lays flat eliminating wrinkles.
Sewing clue— Pressing is an important part of sewing to shape and set the stitches. Press after stitching each seam. You will be able to stitch the next step smoothly and evenly, and your article will have a more professional look..
Step #8
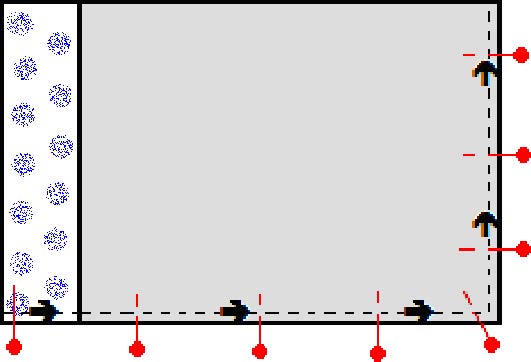
- With “right-sides” together fold the pillowcase in half—matching the raw edges. Pin edges. Sew the side seam with a ½" seam allowance starting at the top of the coordinating border edge and back stitch three to four stitches. Sew to within ½" of the bottom of the pillowcase and put the needle in the down position through the fabric. Turn corner by raising the presser foot and pivoting the fabric on the needle. Put the presser foot down and continue sewing across the bottom of the pillowcase. Back stitch at the end.
Step #9
- Press seams flat to set the stitches.
Step #10
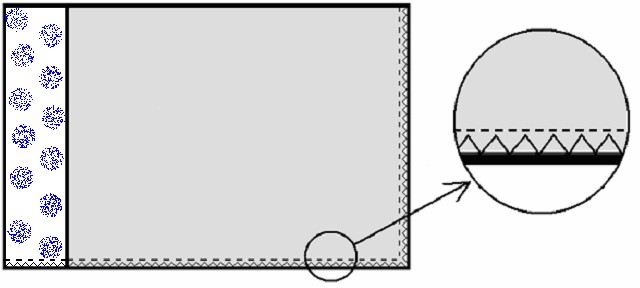
- To prevent the edge from fraying use a seam finish as described in the Sewing clue.
Sewing clue— A seam finish is a way to prevent a seam from fraying. An easy finish is to zig-zag over the seam’s raw edge. On a light weight fabric a three step zig-zag stitch can help prevent a puckered edge. A serged seam would also prevent the edge from fraying.
Step #11
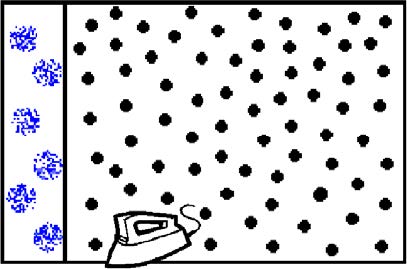
- Turn, “right-side” out. Press the seam and give the pillow case a final press.
Repeat Pillowcase construction to complete a second pillowcase.
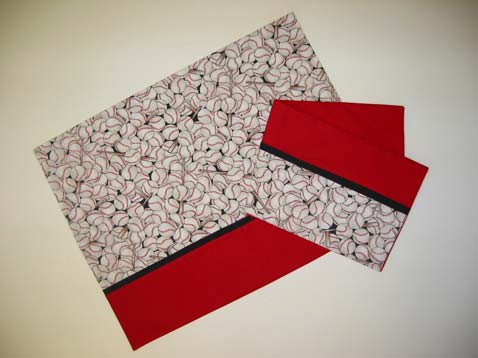
Decorative trim variation
Supplies needed:
- 2" X 42" piece of coordinating fabric for each pillowcase.
- OR 1" X 42" piece of purchased decorative trim such as lace. Other trims such as rickrack or piping can be used.
Sewing clue—Some stores require a minimum purchase of 1/8 yard (4 ½") of fabric.
Decorative trim preparation:
- Cut trim on the straight of the fabric grain, 2" X 42"
- Fold the trim piece wrong sides together so it measures 1" X 42".
- Press the folded trim piece.


Decorative trim variation construction:
Step #1
- Pin the trim piece to the top edge of pillowcase body matching raw edges. Baste at ¼" with machine stitch length regulator set at 8 stitches per inch.
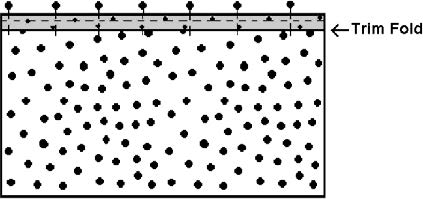
Step #2
- Lay coordinating border edge on a flat surface with “rightside” up. Place the “right side” of the pillowcase body on the “right-side” of the coordinating border edge matching raw edges. Pin edges together.
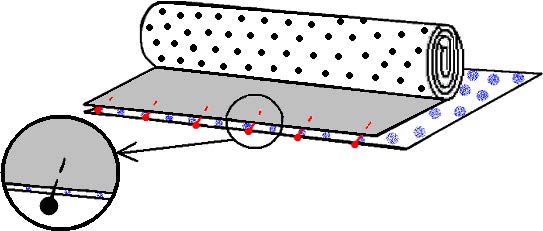
Step #3
- Roll the width of the pillowcase body toward the pinned edge. Stop rolling when you reach the center of the border fabric.
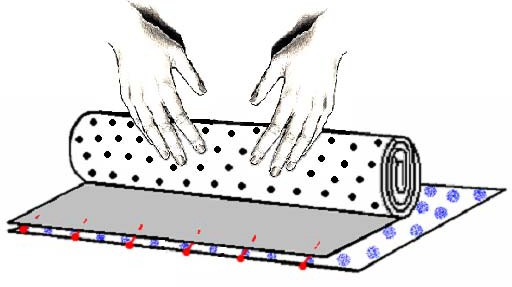
Step #4
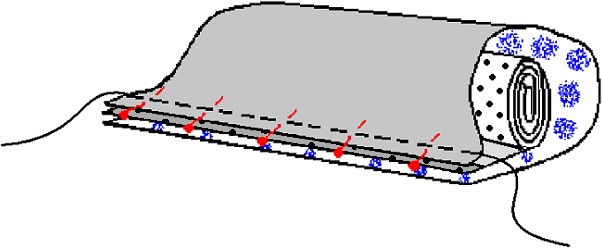
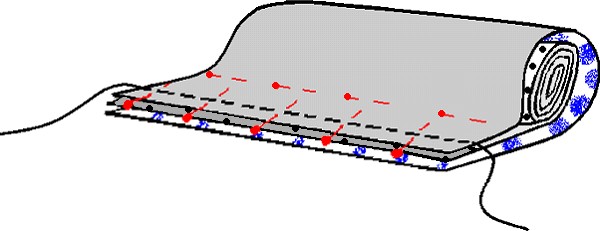
- Wrap coordinating border edge fabric around rolled pillowcase body. Match raw edge and re-pin. Sew a ½" seam allowance along the pinned edge. Back stitch three or four stitches at beginning and end.
Sewing clue—Take care not to sew the pillowcase roll into the seam. If needed pin along the roll, about 1 ½ " in from the cut edge.
Step #5
- Grade seam.
Sewing clue—Seams that are several thicknesses can be graded or cut at different widths after stitching to reduce bulk. This is referred to as grading and helps the seam lie flat without a bulky ridge.

Step #6
- Go to Pillowcase construction and continue from Step #5.
Authors
Debra Proctor, USU Extension Agent, Wasatch County; Ronda H. Olsen, USU Extension Agent, Uintah County; Karen Biers, USU Extension Specialist
Related Research


 Utah 4-H & Youth