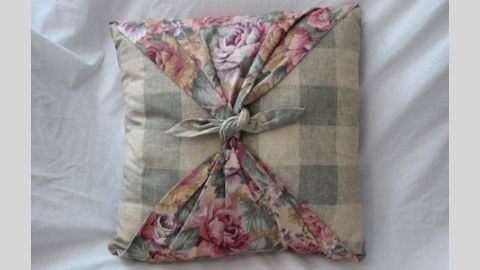
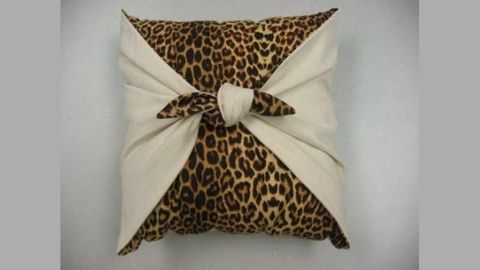
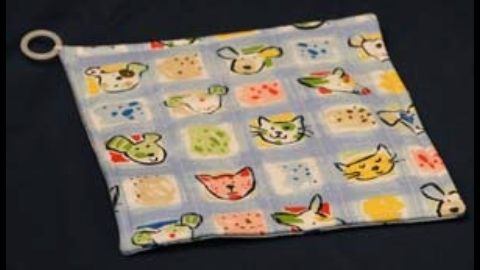
Easy Hot Pad Using Squares
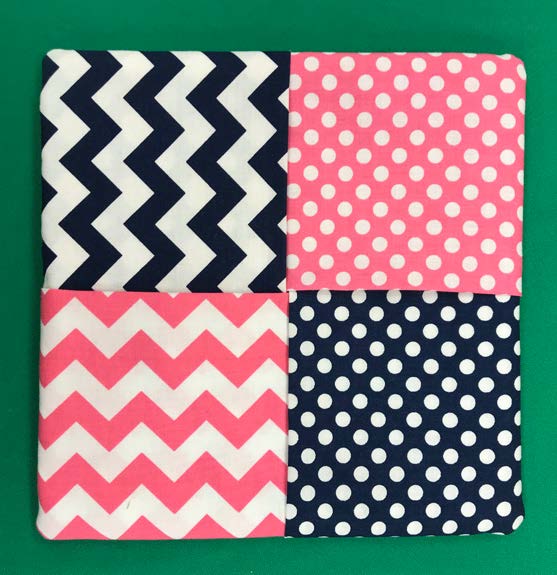
Make this easy and attractive hot pad in less than an hour!
 Materials Needed:
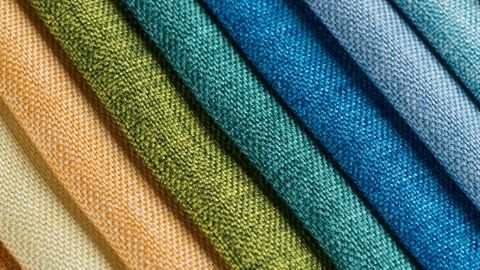
- Five 9” squares of coordinating cotton quilting fabric
- One 9” square of Insulated Lining Material (Insul-BrightTM is an example)
- Coordinating thread
- Straight pins
- Scissors
- Sewing Machine
- Basic sewing skills
Assembly Instructions:
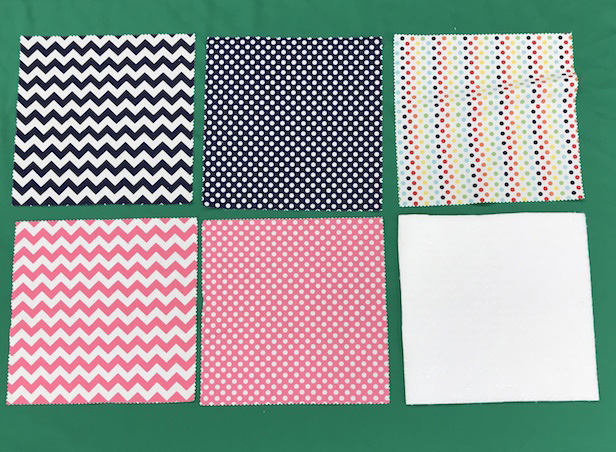
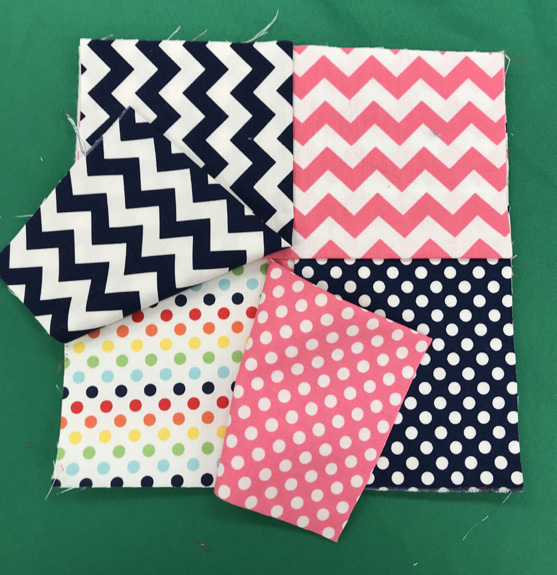
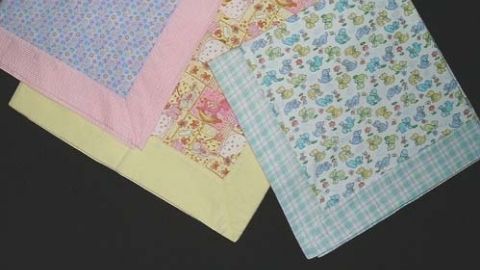
1. Cut out four 9” squares of cotton fabric for the front, one 9” cotton fabric square for the back and one 9” insulated lining material. There will be six 9” squares total.
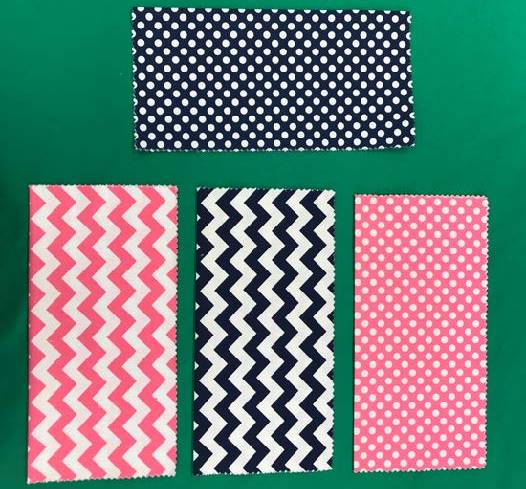
2. Fold in half and press the four front squares.
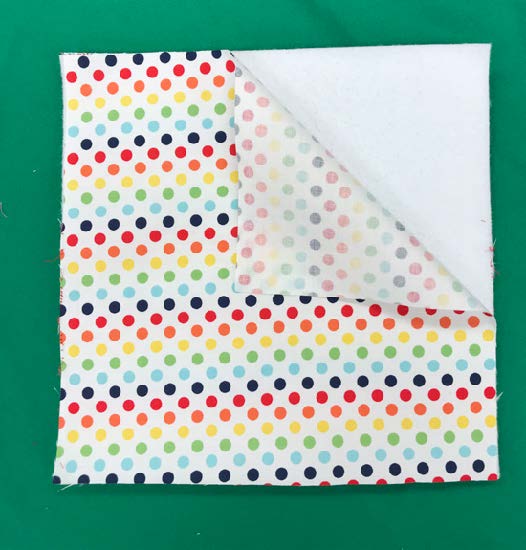
3. Now, start layering the squares. The insulated lining goes on the bottom, then place the back piece right side up.
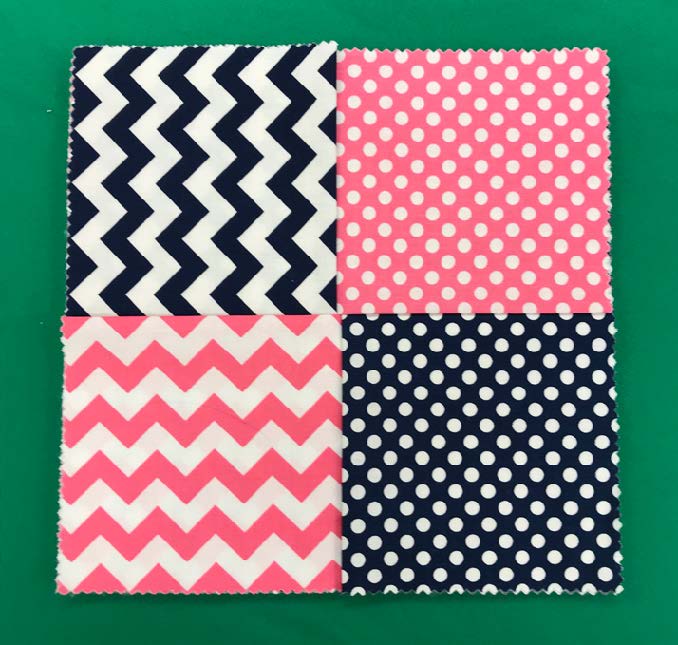
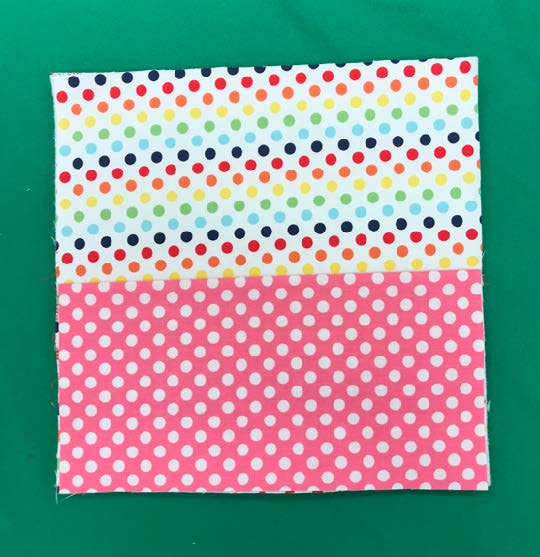
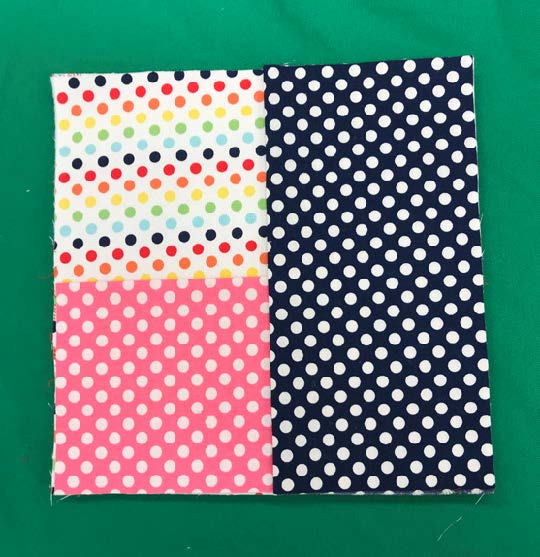
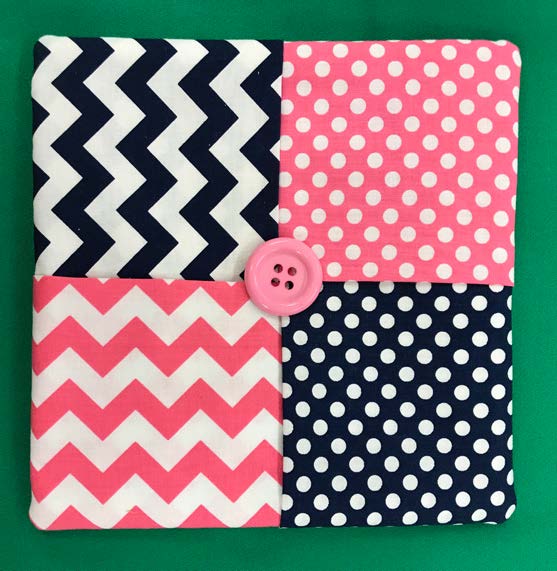
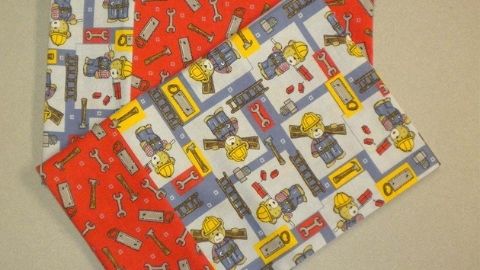
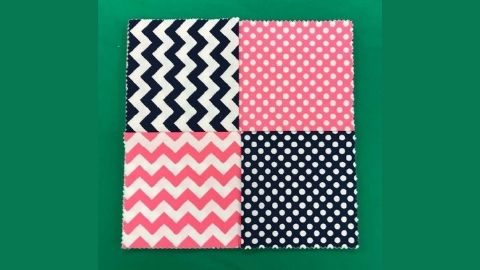
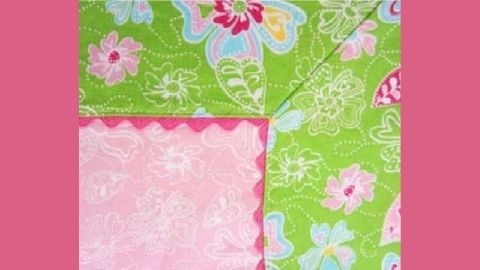
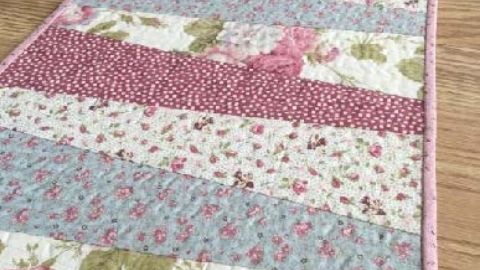
4. Now start layering the top sections. This is where the fun begins! First, place one of the folded pieces onto the back piece with the fold toward the center and the raw edges even with the outside edge. In the sample, the back piece is the multi colored dots and the first folded piece is pink with white polka dots.
5. Continue with the second (dark blue with white polka dots in the sample) and the third (pink and white chevrons in the sample) pieces. I usually put the first piece on the bottom, the second piece on the right side and the third piece on the top.
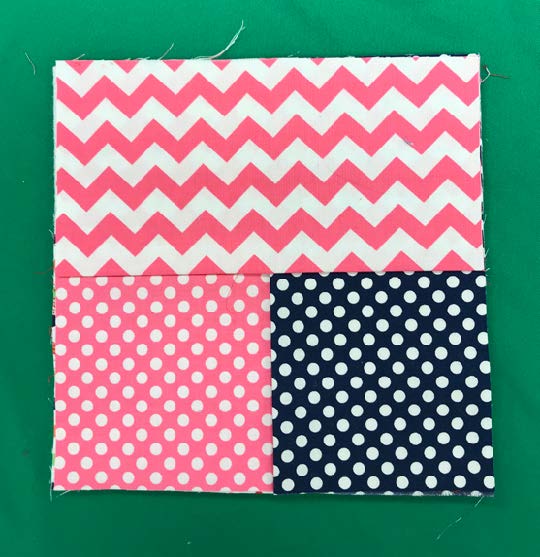
6. The fourth one is a little tricky! Lift the corner of the first piece (pink with white polka dots) and put the fourth piece (blue and white chevrons) down and then replace the first piece. Remember, all pieces should have the folded edges facing the center and the raw edges even with the outside edges.
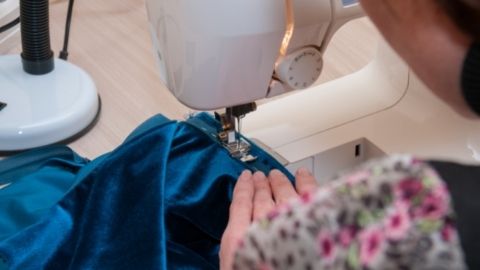
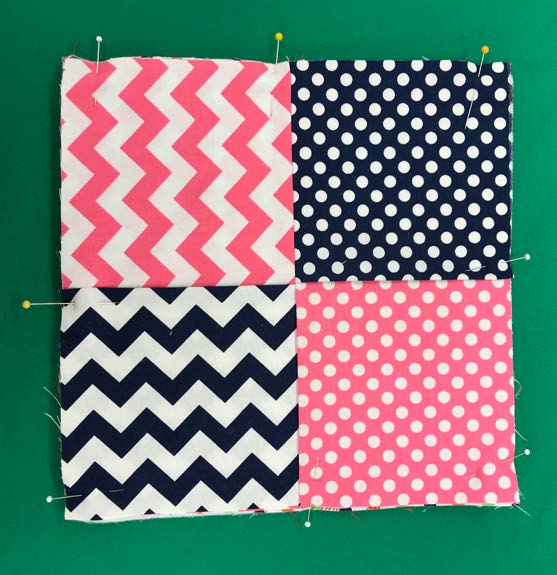
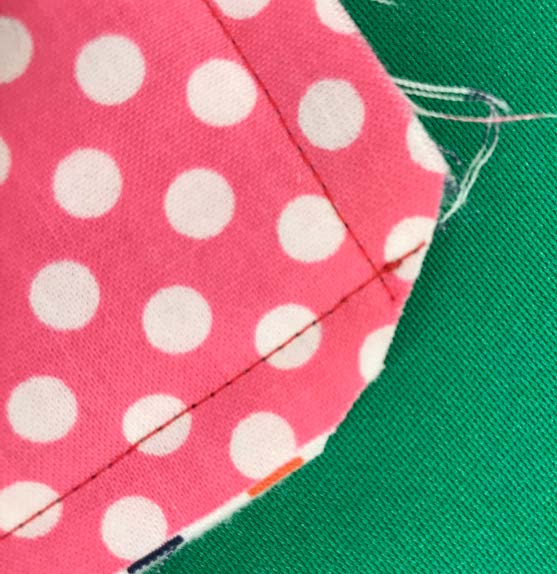
7. Pin in place on each side and sew around all four edges using a ½” seam allowance.
8. Clip the corners.
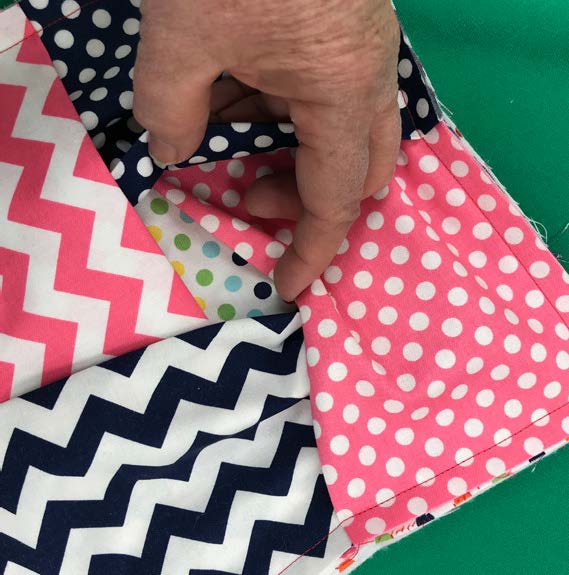
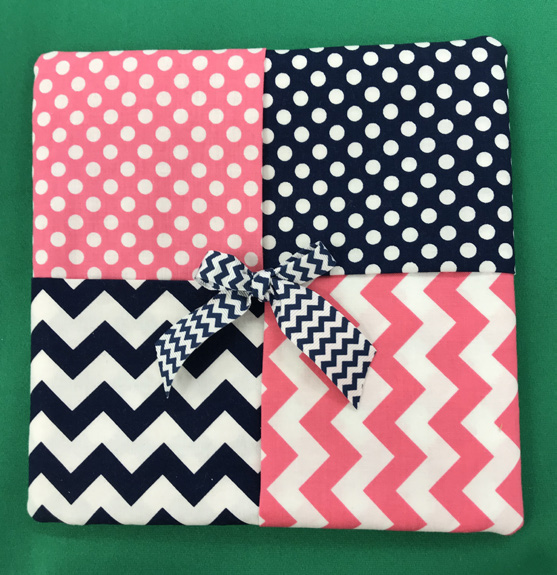
9. Turn the entire hot pad inside out by opening the space between the four front pieces and pulling the back and the insulated piece forward. Turn it completely inside out. Work out the corners and you have a hot pad!
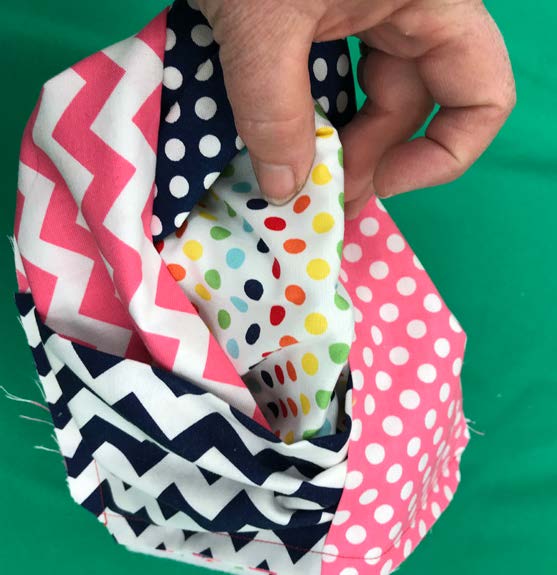
Note: There is an opening where the four pieces come together in the middle that can be left open (some people like to put their hand inside when using like an oven mitt), put some zig zag stitches across the opening or use some embellishment. You could also top stitch around the entire hot pad if desired.
Authors
Gaelynn Peterson, USU Extension Agent, Wayne County; Patricia Mathis, USU Extension Agent, Wasatch County

Patricia Mathis
Extension Educator | Sewing and Textiles | Wasatch County Director
Home and Community Department
Related Research
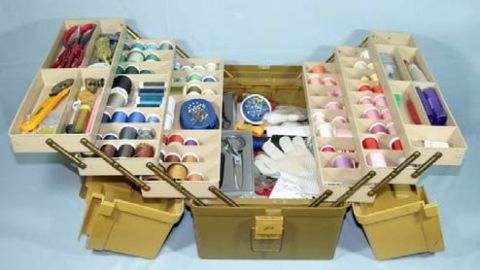
Basic Sewing Supplies
Basic sewing tools are needed for beginning items. A few are essential to use in constructing a sewn item. As you progress in your sewing skills, you may want to include other supplies for more advanced projects. Other supplies make the process easier. Vi

Charity Pillow Cases
Step-by-step instructions on how to make a charity pillow case (assembly line method).

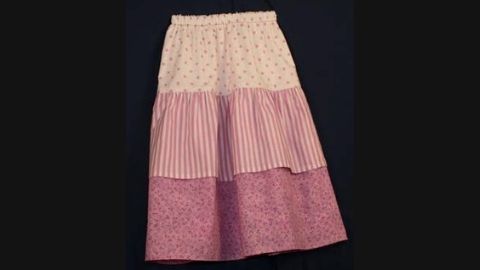
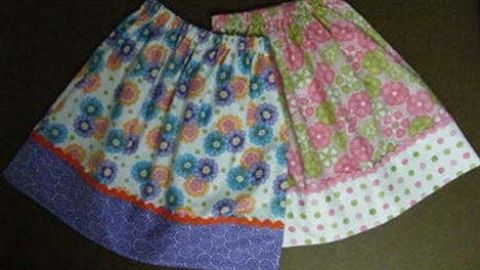
Dropped Waist Skirt with Ruffles
Step-by-step instructions on how to make a dropped waist skirt with ruffles.
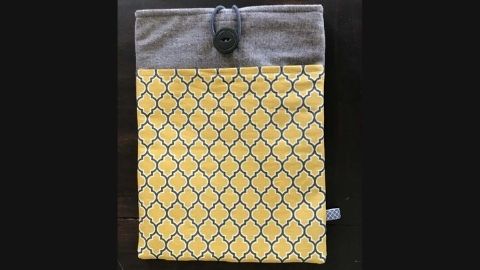
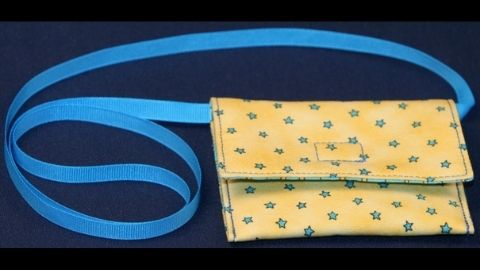
Easy Sewing Maker Projects
Step-by-step instructions on how to make a phone charging holder, lanyard wallet, and travel tissue cover.
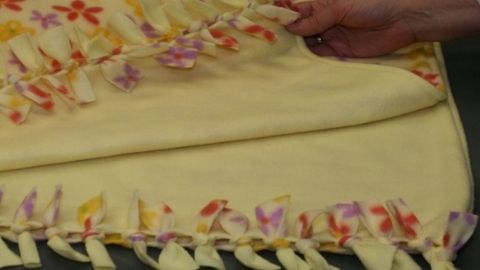
Fleece Blanket With Half Hitch Knots
Step-by-step instructions on how to make a fleece blanket with half hitch knots.


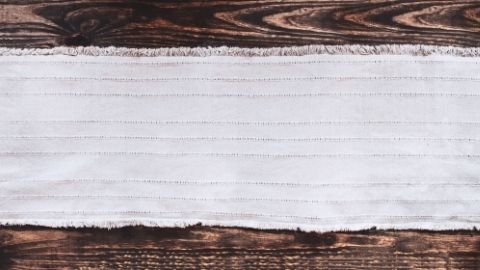
Quilt-as-you-go Table Runner
Step-by-step instructions on how to make a quilt-as-you-go table runner.