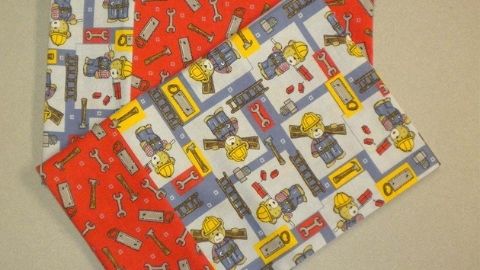
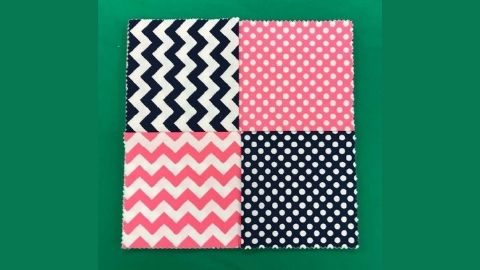
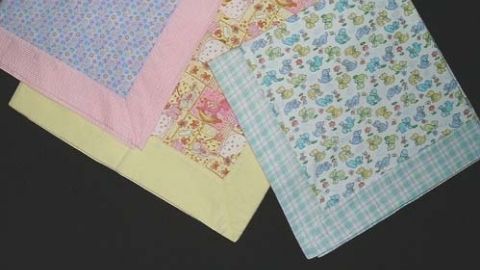
Charity Pillow Cases
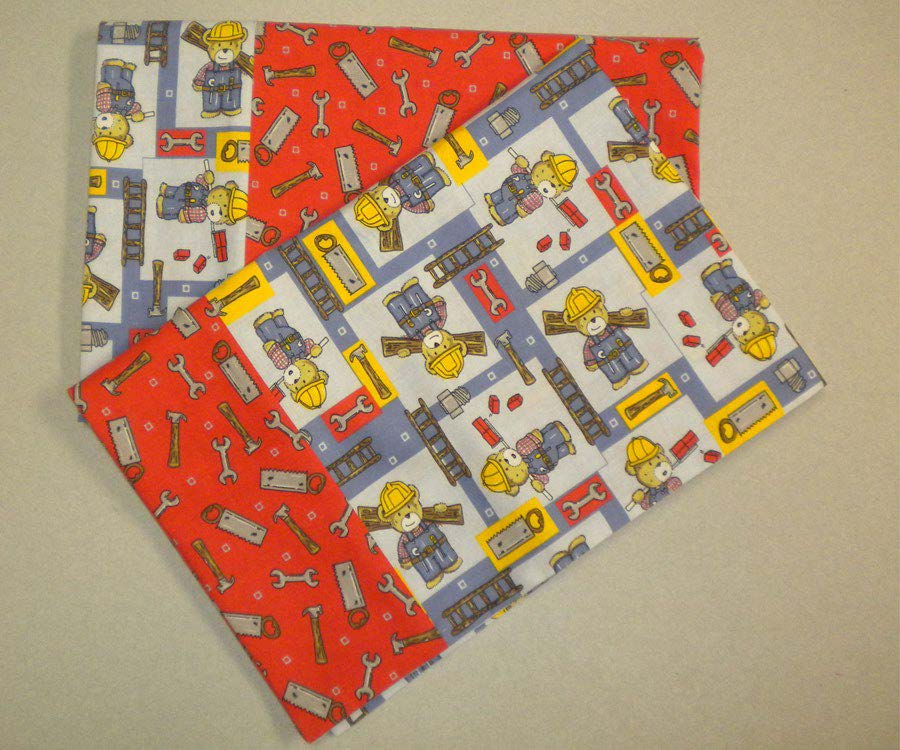
Each member of the group brings: 2—one yard pieces of coordinating fabrics (Makes two pillowcases)
| Stations | No. of People Recommended |
|---|---|
| Station 1 Cutting | 2 |
| Station 2 Roll & pin | 3 |
| Station 3 Sewing border | 3 |
| Station 4 Turning and pressing | 2 |
| Station 5 Pin sides & bottom | 2 |
| Station 6 Sewing | 3 |
| Station 7 Sewing finish on edge | 3 |
| Station 8 Turn and press | 3 |
Equipment Needed:
Station 1: Cutting
- Rotary cutter
- Ruler
- Cutting mat
Station 2: Roll & pin
- Pins
Station 3: Sewing border
- 3 sewing machines
- 3 spools neutral thread
- 3 scissors
- 3 pin cushions
- 3 paper thread bags
- Masking tape
Station 4: Turning and pressing
- 2 Irons
- 2 Ironing boards
Station 5: Pin sides & bottom
- Pins
Station 6: Sewing sides & bottom
- 3 sewing machines
- 3 spools neutral thread
- 3 scissors
- 3 pin cushions
- 3 paper thread bags
- Masking tape
Station 7: Sewing zigzag finish on edge
- 3 sewing machines
- 3 spools neutral thread
- 3 scissors
- 3 pin cushions
- 3 paper thread bags
- Masking tape
Station 8: Turn and press
- 3 Irons
- 3 Ironing boards
Station 1: Cutting
To make two opposite coordinating pillowcases:
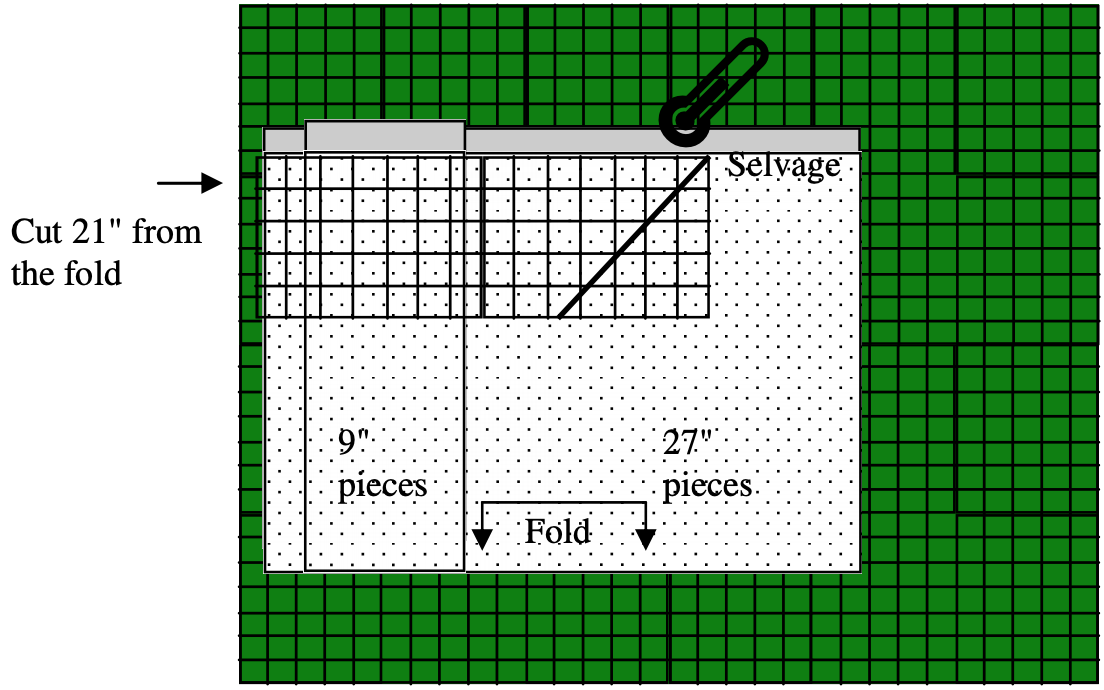
- Stack two 1 yard pieces with folds together.
- Straighten edge along one side.
- Cut two 9" pieces for border.
- Cut two 27" pieces for pillowcase body.
Place 9" and 27" pieces on top of each other with folds together. Cut 21" from the fold the full length of fabric (42" total width).
Take one 9" border and the 27" coordinating pillowcase body and fold together. Pass to next station.

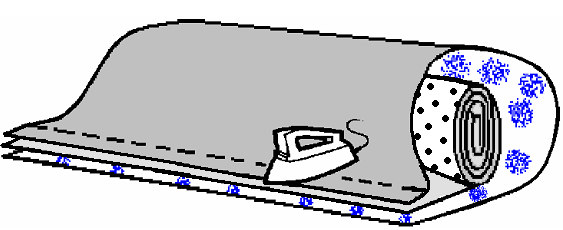
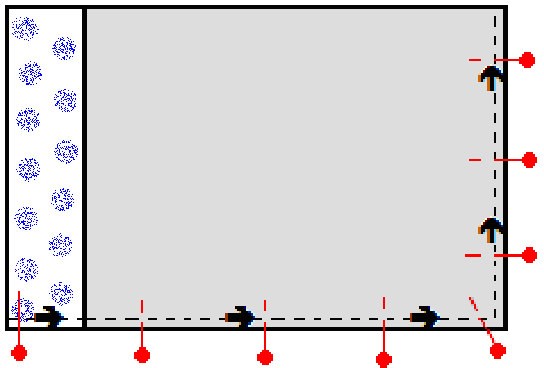
Station 2: Roll & pin
Lay coordinating border edge on a flat surface with “right-side” up. Place the “right side” of the pillowcase body on the “right-side” of the coordinating border edge matching raw edges. Pin edges together.
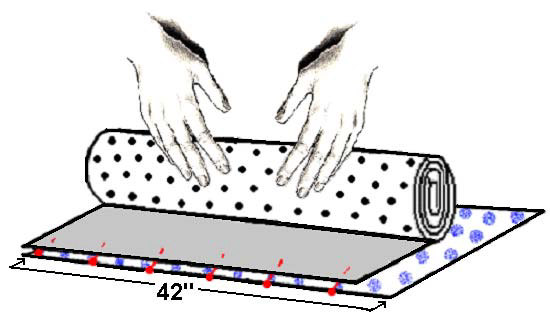
Roll width of pillowcase body toward the pinned edge. Stop rolling when you reach the middle of the border fabric. Do not roll border in with pillowcase body.
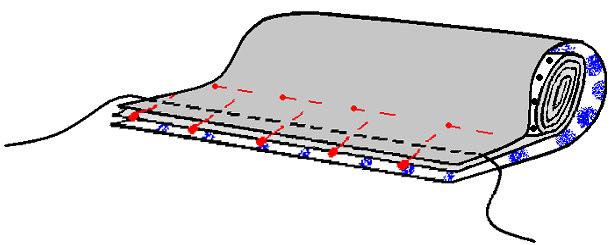
Wrap coordinating border edge fabric around rolled pillowcase body. Match raw edge and repin. Pass to next station.
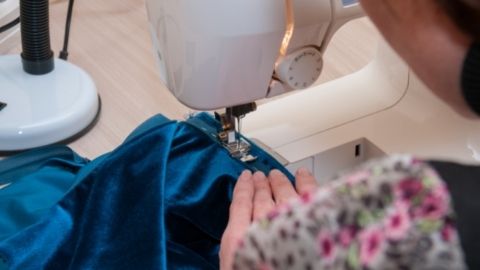
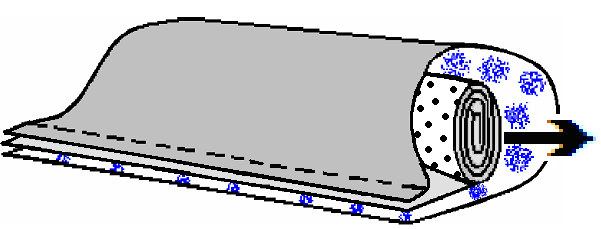
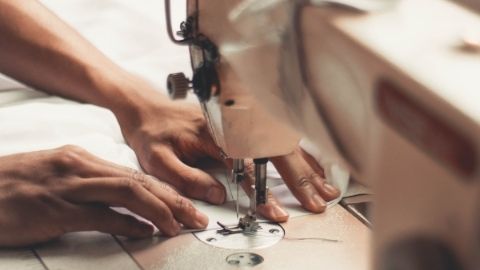
Station 3: Sewing border
Sew a ½" seam allowance along the pinned edge. Back stitch
three or four stitches at beginning and end. Pass to next station.
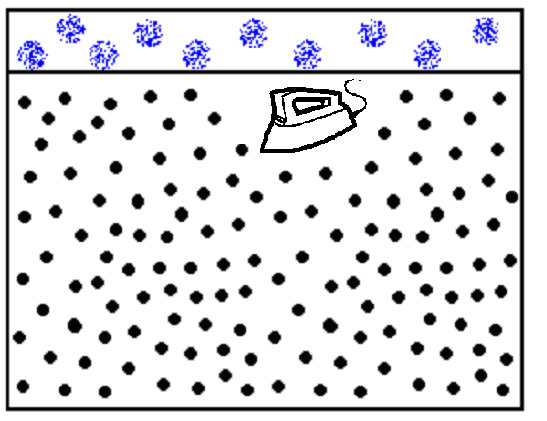
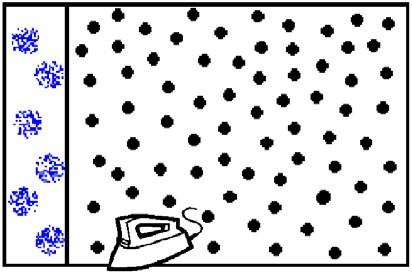
Station 4: Turning and pressing
Press seam flat before turning. Reach into sewn tube and pull the pillowcase body out from the side opening. The pillowcase border and body are now “right side” out. Press seam on both sides of border fabric until the seam lays flat eliminating wrinkles. Pass to next station.
Station 5: Pin sides & bottom
With “right sides” together, fold pillowcase in half—matching the
raw edges. Pin edges. Pass to next station.
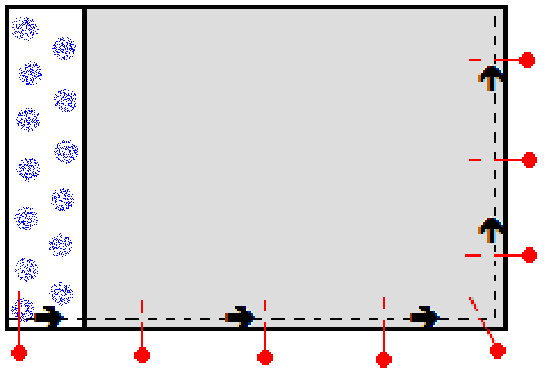
Station 6: Sewing sides & bottom
Sew the side seam with a ½" seam allowance starting at the top of the coordinating border edge—backstitch at beginning. Sew to ½" from the corner, place needle down. Pivot at corner and continue sewing across the bottom of the pillowcase. Back stitch at the end. Pass to next station.
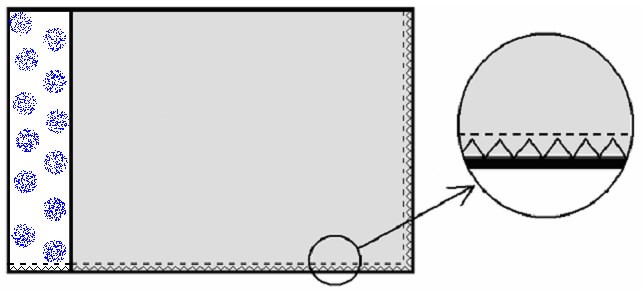
Station 7: Sewing zigzag finish on edge
Zigzag edges to prevent fraying. Pass to next station.
Station 8: Turn and press
Press seams flat to set the stitches. Turn, “right-side” out. Press the seam and give the pillowcase a final press. Fold and box up. Deliver to charity.
Authors
Susan Haws, USU Extension Agent, Summit County; Debra Proctor, USU Extension Agent, Wasatch County

Susan Haws
Extension Associate Professor / Sewing and Textiles / Summit County
Home and Community Department
Related Research
Basic Sewing Supplies
Basic sewing tools are needed for beginning items. A few are essential to use in constructing a sewn item. As you progress in your sewing skills, you may want to include other supplies for more advanced projects. Other supplies make the process easier. Vi

Charity Pillow Cases
Step-by-step instructions on how to make a charity pillow case (assembly line method).

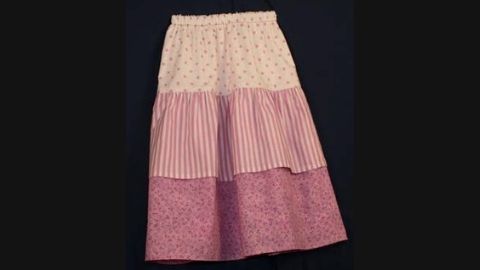
Dropped Waist Skirt with Ruffles
Step-by-step instructions on how to make a dropped waist skirt with ruffles.
Easy Sewing Maker Projects
Step-by-step instructions on how to make a phone charging holder, lanyard wallet, and travel tissue cover.
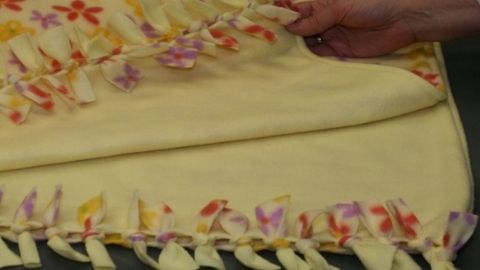
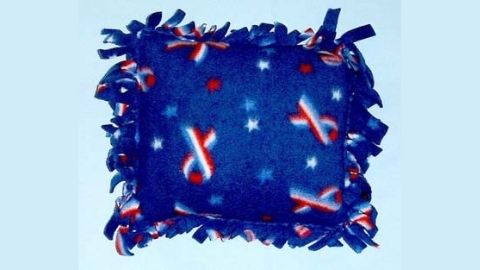
Fleece Blanket With Half Hitch Knots
Step-by-step instructions on how to make a fleece blanket with half hitch knots.


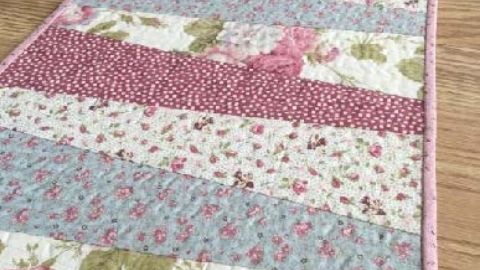
Quilt-as-you-go Table Runner
Step-by-step instructions on how to make a quilt-as-you-go table runner.