Easy Sewing Maker Projects
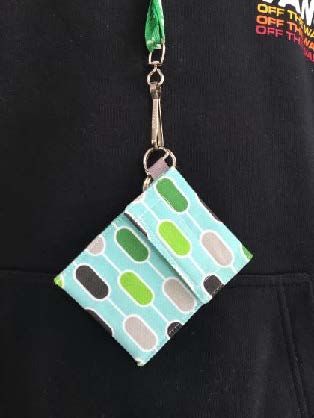
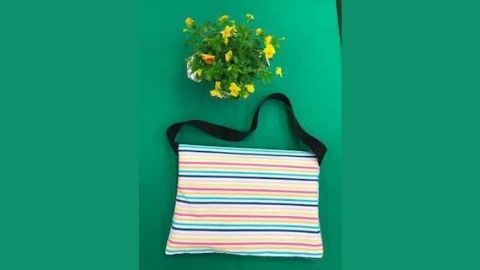
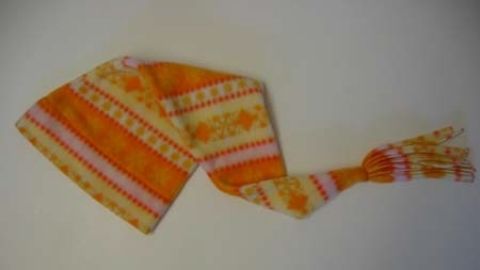
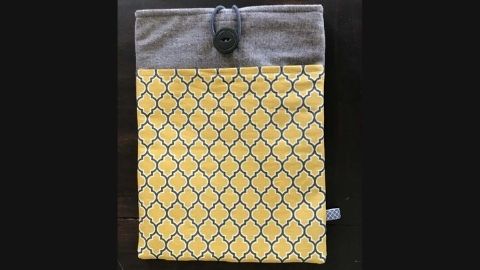
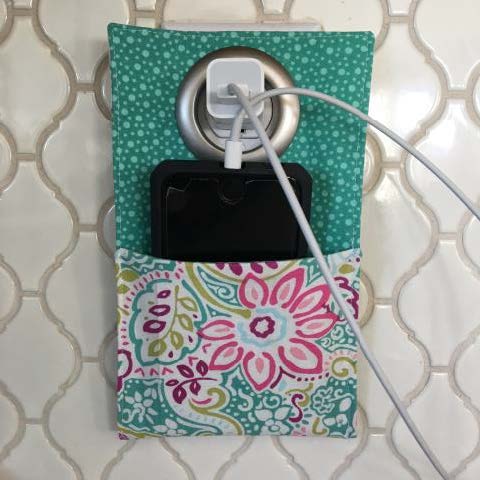 Phone Charging Holder
Materials Needed:
- 2 fabrics (5 ½" x 13")
- Heavy fusible interfacing (5 ½ "x 13")
- Large grommet (2 ½" diameter)
- Coordinating thread
Directions:
1. Press fusible interfacing onto wrong side of inside (lining) fabric.


Place the two fabrics right sides together and pin to secure the two fabrics together.
2. Sew on each side of the fabrics using a ¼" seam and leaving a 3" opening on one side.

3. Clip corners to reduce bulk and turn right sides out. Use a point turner to poke out corners if necessary.

4. Press around edges so that it lays flat. Press the opening in ¼" on each side so that it is flush with the edge seam.
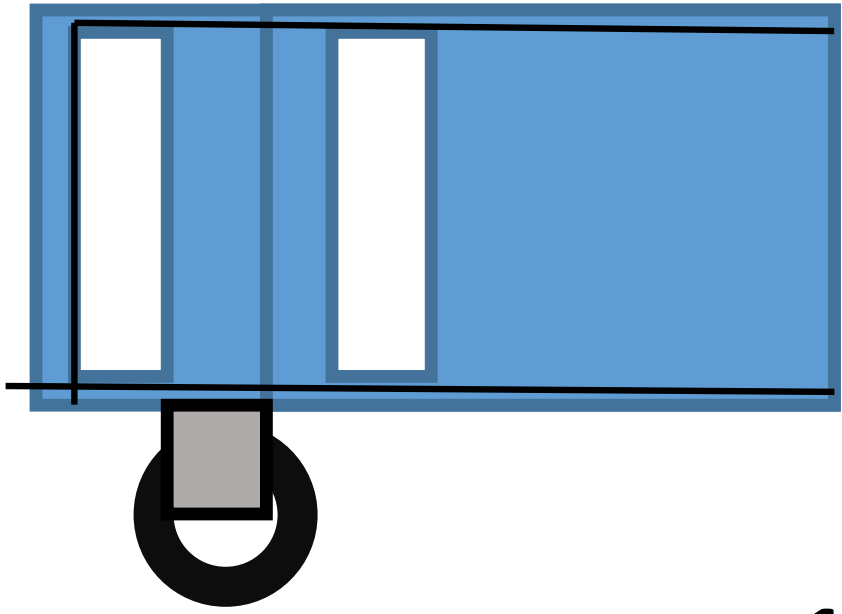
5. With the inside facing up, fold the bottom up 4" and secure both sides with pins.
6. Starting on one bottom corner, sew 1/8" from edge, backstitch, and continue sewing up side, to the corner and pivot, across the top and pivot and then down the other side and to the bottom corner and back stitch.
7. Last, add the grommet. Find the middle and approximately ¼" from the top, trace the template onto the fabric. Cut out the circle. Then place the raised center of grommet in hole from the back side to the front side of holder. On top, position the other side of the grommet and press until it clicks together.
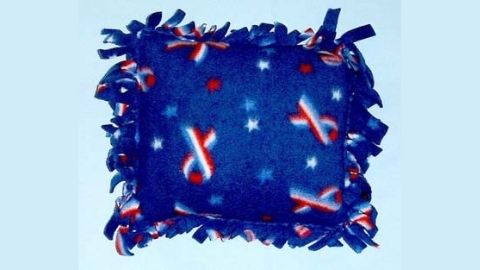
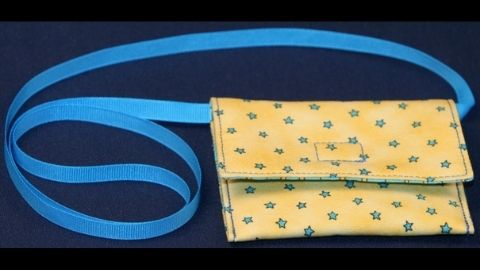
 Lanyard Wallet
Materials Needed:
- 2 fabrics (3 ¼ " x 9")
- Heavy fusible interfacing (3 ¼ "x 9")
- Velcro ( ¾“ x 2“)
- ½“ D ring Ribbon (1 ½" of 3/8“ wide)
- Coordinating thread
Directions:
1. Press fusible interfacing onto inside fabric.
2. Place the two fabrics right sides together and pin to secure the two fabrics together.
3. Fold ribbon in half with D ring 2“ from the top end and pin to the inside.
4. Sew on each side of the fabrics using a ¼" seam and leaving a 3" opening on one side.
5. Clip corners to reduce bulk and turn right sides out. Use a point turner to poke out corners if necessary.
6. Press around edges so that it lays flat. Press the opening in ¼" on each side so that it is flush with the edge seam.
7. Sew Velcro onto top inside flap and the bottom of the outside.
![]() Velcro piece on back side end.
Velcro piece on back side end.
8. With the inside facing up, fold the bottom up 3" and secure both sides with pins.
9. Starting on one bottom corner, sew 1/8" from edge, backstitch, and continue sewing up side, to the corner and pivot, across the top and pivot and then down the other side and to the bottom corner and back stitch.
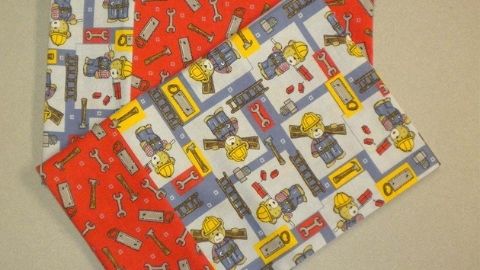
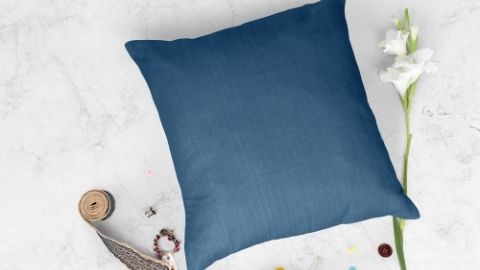
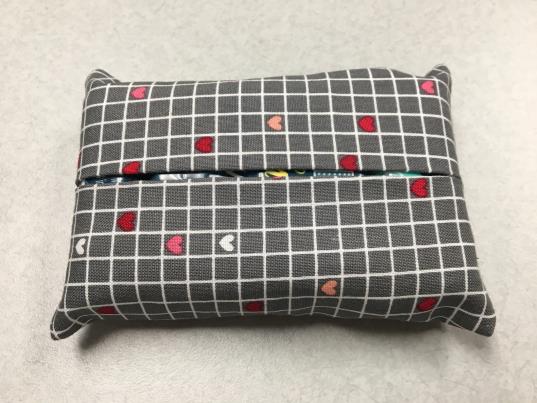 Travel Tissue Cover
Materials Needed:
- Fabric - 5 ¾" x 14"
- Thread
Directions:
1. Fold fabric in half right sides together, so that the short sides are together.
2. Sew ¼" seam along the short side.

3. Press seam open.
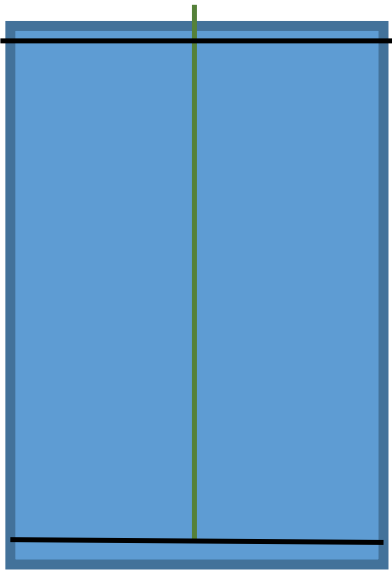
4. Turn right sides out and center the seam.
5. Place the fabric so that the seam side is down.
6. Now, bring the folded edges in to the center seam.
7. Pin in place.
8. Next, sew the 2 short raw edges ¼" and back stitch on each end.
9. Clip corners and turn right side out.
Authors
Tricia Mathis, FCS/4-H Educator; Susan Haws, FCS/4-H Associate Professor

Patricia Mathis
Extension Educator | Sewing and Textiles | Wasatch County Director
Home and Community Department
Related Research
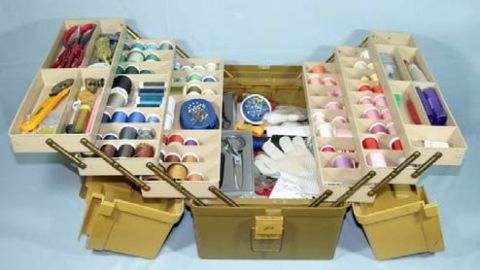
Basic Sewing Supplies
Basic sewing tools are needed for beginning items. A few are essential to use in constructing a sewn item. As you progress in your sewing skills, you may want to include other supplies for more advanced projects. Other supplies make the process easier. Vi

Charity Pillow Cases
Step-by-step instructions on how to make a charity pillow case (assembly line method).


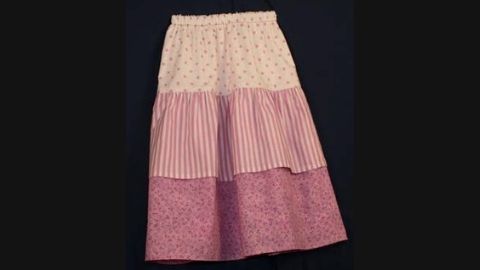
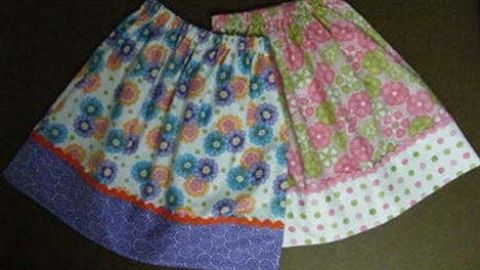
Dropped Waist Skirt with Ruffles
Step-by-step instructions on how to make a dropped waist skirt with ruffles.

Easy Sewing Maker Projects
Step-by-step instructions on how to make a phone charging holder, lanyard wallet, and travel tissue cover.
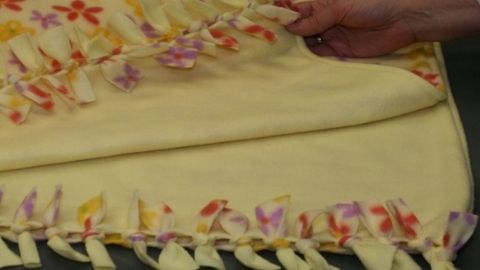
Fleece Blanket With Half Hitch Knots
Step-by-step instructions on how to make a fleece blanket with half hitch knots.


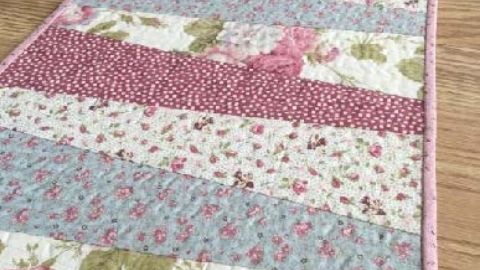
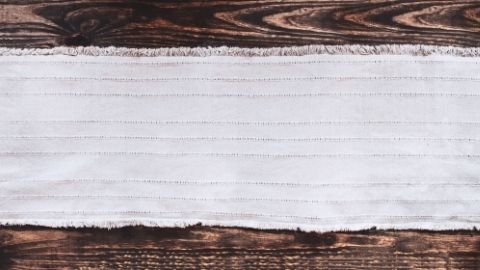
Quilt-as-you-go Table Runner
Step-by-step instructions on how to make a quilt-as-you-go table runner.