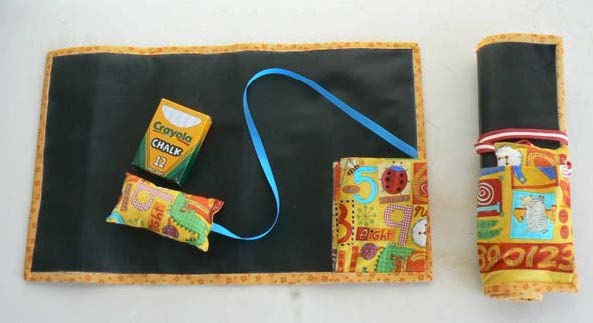
Chalkboard With Pockets
Supplies needed:
- 1—18" X 11" rectangle Chalkcloth™
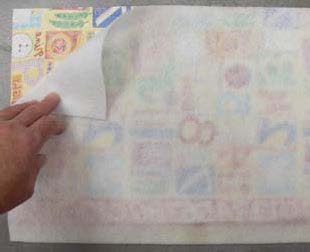
- 1—18" X 11" rectangle fusible batting
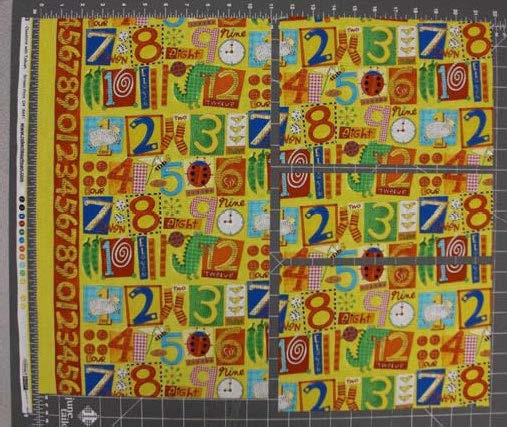
- 1 fat quarter of fabric for back & pocket
- 1/4 yard fabric for binding
- 18" grosgrain ribbon
- Stuffing
- Thread to match
- Water soluble glue stick
- Basic Sewing Supplies (see Fact Sheet:)
Pattern markings:
Sewing clue—Becoming familiar with the markings in the Diagram Key will aid you in reading instructions. Most patterns have similar keys.
Diagram Key:

Right side of fabric
Wrong side of fabric

Right side of Chalkcloth

Fusible fleece
Cutting instructions:
Step #1
- Cut 1—18" X 11" rectangle of fat quarter for back
- Cut 1—7" X 11" rectangle of fat quarter for pocket
- Cut 1—4" X 11" rectangle of fat quarter for eraser
- Cut 1—18" X 11"rectangle of Chalkcloth™
- Cut 1—18" X 11" rectangle of fusible fleece
- Cut 2—2 1/4" X width of fabric for binding
Chalkboard construction:
Step #1
- Fuse fleece to back of fabric using manufacturers' instructions.
Step #2
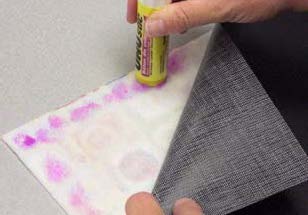
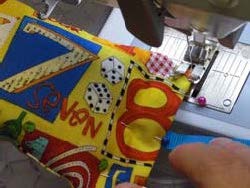
- Place Chalkcloth™ on top of fleece and fabric. Use a water soluble glue stick to hold the edges together.
Sewing clue—the Chalkcloth™ is a vinyl fabric. Pins will make permanent holes in the fabric. Use a water solu- ble glue stick instead of pins.
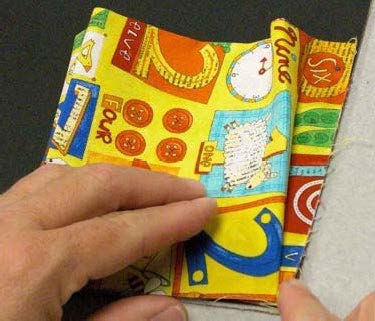
Pocket construction:
Step #1
- Fold 7" X 11" rectangle fabric for pocket in half lengthwise, wrong side out.
Step #2
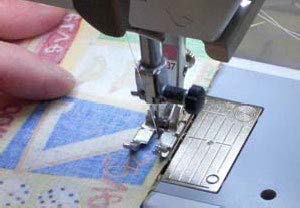
- Sew left side of pocket with 1/4" seam, backstitch at each end. Clip corner.
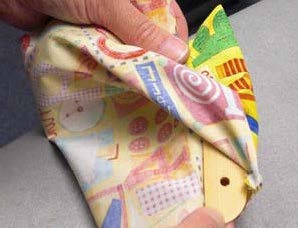
- Press seam on both sides to set stitches. Turn right side out.
Press fold and left side flat.
Step #3
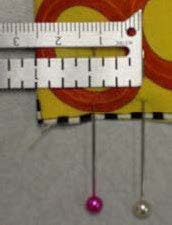
- Mark with a pin 1/2" and 1" across left side bottom of pocket. On right side of pocket mark at 1 1/4" and 3/4"
Step #4
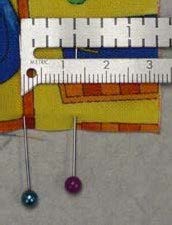
- Press a pleat on the right side at 1 1/4" and 3/4" allowance. The 1/4" seam allowance will stick out on right side.
- Press a pleat on the left side at 1" and 1/2". Meeting the seam on the left side.
Step #5
- Glue stick across the bottom of pocket, left edge of pocket and along right side. Be sure to keep left edge of pocket parallel to right side of pocket.
Step #6
- Glue on bottom right side of Chalkcloth™.
Step #7
- Sew next to left edge. Backstitch to secure top and bottom of pocket.

Eraser construction:
Step #1
- Fold in half lengthwise right sides together. Press.

Step #2
- Sew on each side with 1/4" seam. Clip corners.
- Turn right side out. Press edges flat.
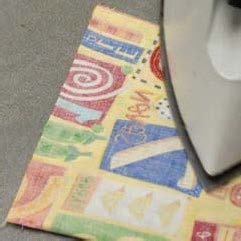

Step #3
- Fold 1/4" seam allowance in on open edge. Press.
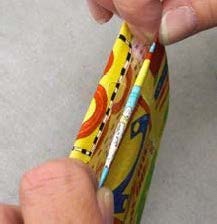
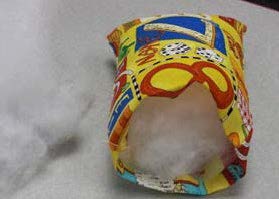
Step #4
- Fill eraser with stuffing.
- Pin opening with ribbon in the center.
Step #5
- Sew across opening along edge, backstitch on each end.
Step #6
- Bind edge using Double Cross Grain Binding instructions.
Authors
Debra Proctor, M.S., USU Extension Agent, Wasatch County; Kami Williams, Wasatch County 4-H Alumni
Related Research
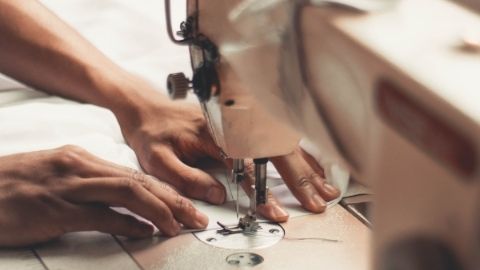
Basic Sewing Supplies
Basic sewing tools are needed for beginning items. A few are essential to use in constructing a sewn item. As you progress in your sewing skills, you may want to include other supplies for more advanced projects. Other supplies make the process easier. Vi

Charity Pillow Cases
Step-by-step instructions on how to make a charity pillow case (assembly line method).

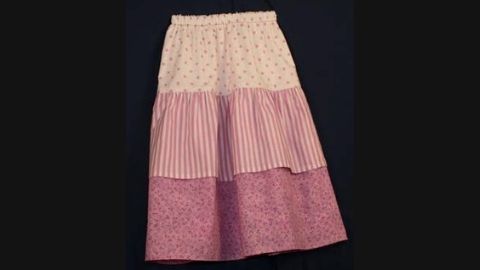
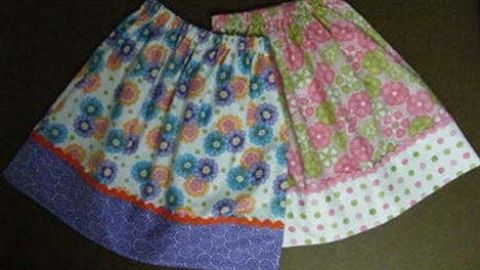
Dropped Waist Skirt with Ruffles
Step-by-step instructions on how to make a dropped waist skirt with ruffles.

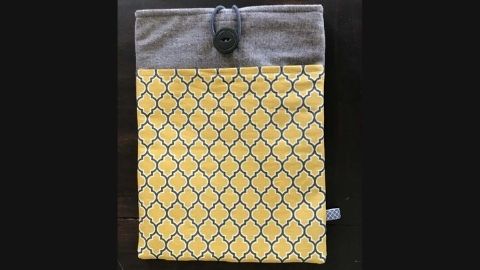
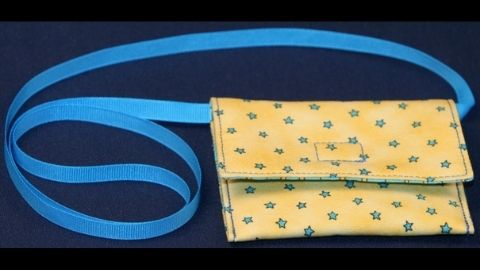
Easy Sewing Maker Projects
Step-by-step instructions on how to make a phone charging holder, lanyard wallet, and travel tissue cover.
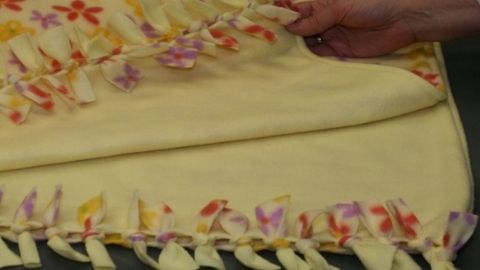
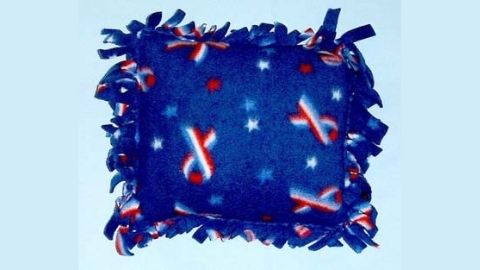
Fleece Blanket With Half Hitch Knots
Step-by-step instructions on how to make a fleece blanket with half hitch knots.


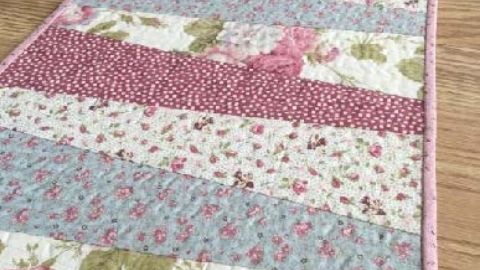
Quilt-as-you-go Table Runner
Step-by-step instructions on how to make a quilt-as-you-go table runner.