Straight Grain Quilt Borders
State 4-H Leadermete April 2008
Sewing Project Skill: Measure and sew borders, keeping quilt square
Life Skills: Learning to learn, making decisions, applying technology
Level: 1B
Border construction:
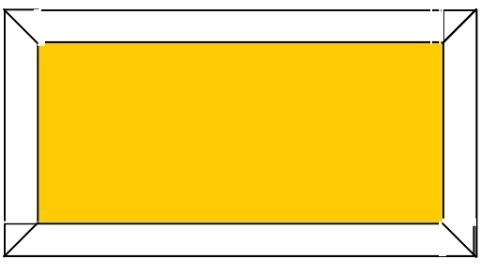
1. Lay the quilt on a flat surface. Find the length of the side borders by measuring the quilt. Take three measurements as illustrated and average them to determine the length to cut the side borders. Quilting clue—Sewing borders of different lengths will make the differences more obvious and the quilt will not be square.
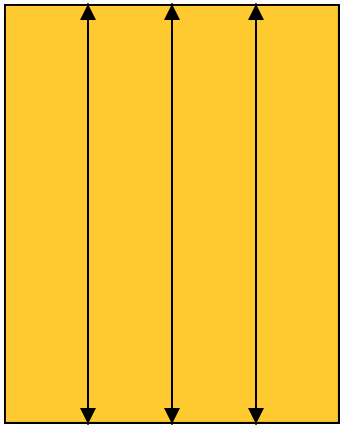
2. CUT two side border strips the length of the average measurement of the quilt. Borders cut on the crossgrain have a little ‘give’. Borders cut on the lengthwise grain do not have ‘give’. If your border needs to be eased to the quilt use the crosswise grain.
Quilting clue—If necessary, piece border strips endto-end to achieve the correct length. Sew the strips together using a 1/4" seam. PRESS seam allowance open to reduce bulk. Trim the strips so that it matches the quilt length measurement.
Quilting clue — Pressing is an important part of quilting. Press each seam flat on the stitching line on both sides to set the stitches.
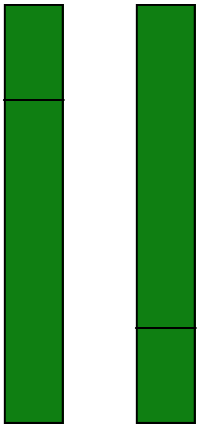
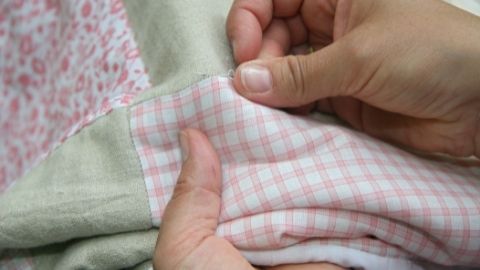
3. PIN side borders to the quilt at each end and in the center. Ease fullness in between pins as needed. SEW side borders on using a 1/4" seam allowance and 12 stitches per inch or 2.5 on the stitch length regulator.
Quilting clue—Place the side with the greatest fullness next to the feed dogs. The feed dogs will help ease in the fullness. SET stitches. PRESS seams toward borders.
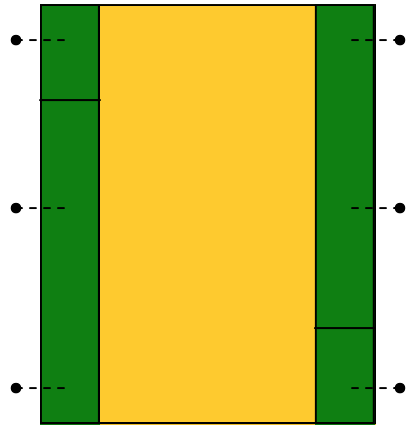
4. Find the top and bottom width of the quilt by measuring across the quilt and side borders. Take three measurements as illustrated and average them to determine the length to cut your top and bottom borders.
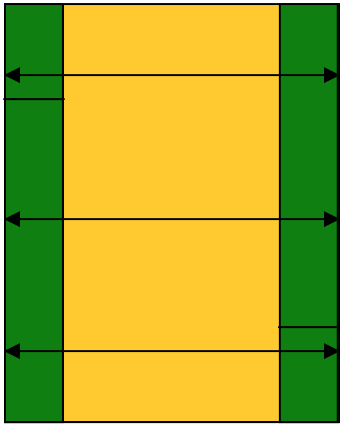
5. CUT top and bottom border strips the average width the quilt. Borders cut on the crossgrain have a little ‘give’. Borders cut on the lengthwise grain do not have ‘give’. If your border needs to be eased to the quilt use the crosswise grain
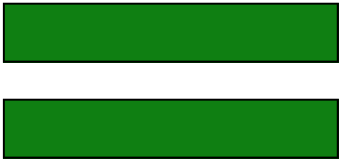
6. PIN top and bottom borders to the quilt at each end and in the center. Ease fullness in between pins as needed. SEW top and bottom borders on using a 1/4" seam allowance.
Quilting clue—to prevent the stitches from coming apart on the outside edges reduce the stitch length on the first and last 1/4" of the seam. SET stitches PRESS seams toward the borders.
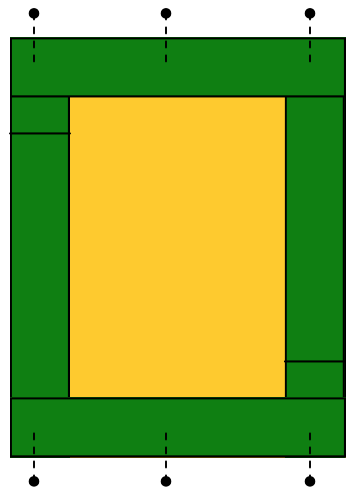
7. You are now ready to layer and baste quilt top for quilting method of your choice.
Authors
Debra Proctor, Wasatch County Extension Agent, FCS/4-H; Deonn Stott, Wasatch County 4-H Leader; Ronda Olsen, Uintah County Extension Agent, FCS/4-H
Related Research


 Utah 4-H & Youth