Machine Appliqué Techniques
Fusible Web Appliqué
- Trace your design on the paper side of your fusible web. I prefer Steam a Seam or Steam a Seam 2 over other brands.
- Cut out around (not on) your traced lines.
- Fuse shape to wrong side of your fabric with an iron. Follow the timing instructions for the type of fusible web you are using, you can actually over do it on some brands and then they won't stick.
- Cut out the shape along the lines that you have traced.
- Remove paper and fuse to your project following manufacturer's directions.
- Finish by stitching around shape using a decorative, satin or blanket stitch by machine or hand.
Mock Hand Appliqué - Freezer Paper
- Trace all shapes you will be using onto the dull side of kitchen freezer paper.
- Cut out shapes along traced lines.
- Using a warm iron, press your shapes, shiny side down, onto the wrong side of your fabric.
- Cut out shapes 1/4" away from edge of paper. Clip curves, blunt outside points and v inside points.
- Lay shapes on newspaper and use temporary basting spray** to spray the backs of all the shapes. Turn edges over paper shape and press into the spray to hold them down.
- Stitch shapes onto project following machine stitching techniques on back side.
** Instead of basting spray you may choose to use a Quilters GluTube or a water soluble glue stock. Apply glue to edges of freezer paper shape and press seam allowances into glue to hold.
Mock Hand Appliqué - Faced
- Use featherweight nonfusible ** interfacing. Trace designs onto interfacing with a pencil or Pigma pen.
- Cut out the shapes leaving a scant 1/4" seam allowance around the drawn lines.
- Place the shapes on the right side of your selected fabric and pin them in place.
- Stitch completely around the shapes, sewing on the drawn line. Using a short stitch length (10-12) will give you smoother curves when you turn the shapes right side out later.
- Cut out the fabric evenly with the interfacing and clip curves and v shape inner points. Blunt trim the seam allowance at any outer points.
- Make a slit across the middle of the interfacing only with sharp scissors and turn shape right side out through the slit.
- Press flat and then hand or machine sew to your project.
**If you prefer to use fusible interfacing, place the fusible side of the interfacing and the right side of your fabric together when you sew the shapes together. Finger press your shape after it is turned right side out and then you may fuse the shape onto your project before hand or machine stitching it down.
Machine Stitching Techniques
- Use an invisible nylon for mock hand appliqué. I like the invisible thread by Sew Art International, comes on a small cone in clear or smoke.
- Use a lightweight cotton thread in the bobbin.
- Adjust tension so the top thread will be pulled slightly to the underside.
- I find it easier to use an appliqué foot so you can see exactly where your needle is going in the fabric. Use a small needle size 60 or 70.
- Set machine stitch to blind hem and adjust stitch length and width to just less than 1.
- If you don't have a blind hem stitch you may also use a zigzag stitch and set the length and width to 1.
- As you stitch the needle should stitch just outside the shape on the background fabric only and then swing over to take a small bite (only a couple of threads) into the appliqué shape.
- Adjust stitch length and width if necessary.
- It is desirable to make sure the machine takes a stitch in the appliqué at any corners or points. You can backstitch or manually adjust the fabric to make sure you get a stitch in the corners.
- After sewing your appliqué shape onto your project, you may want to cut out the back (back ground fabric underneath the shape) 1/4" inside the seamlines to eliminate bulk.
Authors
Jennifer Pate
Related Research
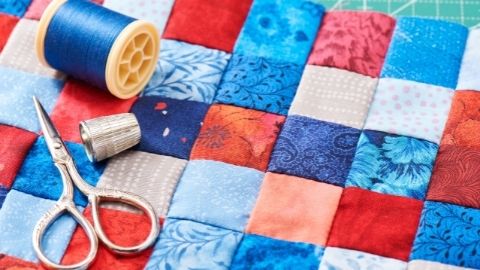
Baby Rail Blues
This is a great quilt for beginning and experienced quilters. Step-by-step instructions are included on how to make this baby rail blues quilt.

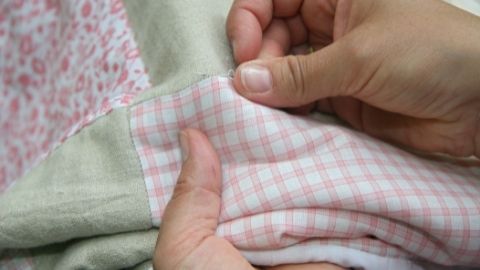
Binding a Quilt
Thread a needle the same color as the binding. Pull the binding over the edge of the quilt and to the back. Hand stitch the binding hiding the stitches in the fold. Continue around the quilt. Miter the corners in the same fashion as when sewing it on with
Double Crosswise Grain Binding
The final step in finishing a quilt is putting a binding on the edge of the quilt. A crosswise grain binding is cut across the width of the fabric and is straight. This is used for straight-edged quilts. Quilts that are curved need a bias edge that will b
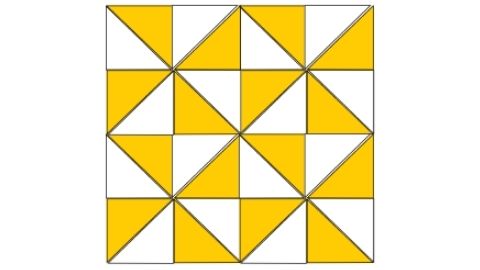
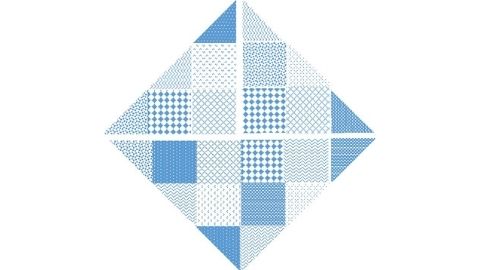
Half Square Triangles, Broken Dishes Block, Pinwheel Block
The triangle is a basic quilt block shape. Half-square triangles are easily made from two squares and cut on the diagonal from corner to corner. When cut the diagonal line is a true bias edge that stretches and distorts very easily. Sewing the bias seam b

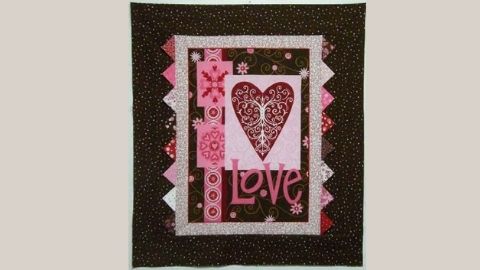
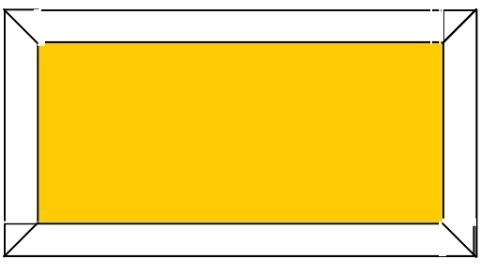
Panel Quilt with Prairie Points
This pattern is for a quick and easy wall hanging using a pre-printed panel for the center and added borders to make it the desired size. It has wider borders on the sides to trick the eye into thinking that the borders are the same size on all four sides

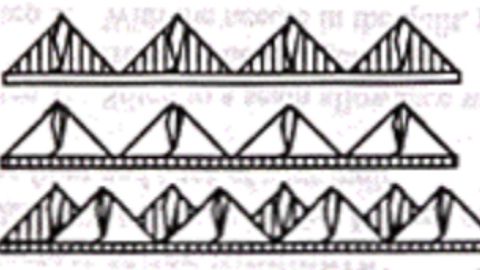
Three Methods of Continuous – Band Prairie Points
The traditional method for making a prairie point edging requires individually cut squares of fabric that can be positioned in several ways to create a variety of edgings. There is another way, though, to make a prairie-point edge that is faster and eas