Machine Quilting
Note: I have never quilted anything bigger than a twin on my sewing machine because I have a larger quilting machine that I use for bigger quilts.
- Spread out the quilt back. Pin it tight to quilt frames, carpet, or cork table, pulling it tight.
- Lay out batting and smooth out any bumps.
- Spread out top and pin it tight to frames, carpet or table. Making sure that it is centered over back.
- When doing the next step of pinning your quilt, try to place the pins in a place that you will not be quilting. But you can always take them out if they are in your way.
- Using quilting safety pins pin every 2” – 3” inches around outside edge of quilt. Pin about ¾” – 1” from edge. Make sure that you are pinning through all layers. When you have pinned around outside edge, then you will pin the rest of the quilt about every 6” to 8”. Again make sure that you are going through all the layers.
Tips: If pinning on carpet slide a piece of cardboard under the quilt and keep sliding it so that you pin on it. If pinning on quilt frames then you will have to keep rolling it.
Now to get your machine ready ...
- You will lower the feed dogs, or cover them up. This depends on the type and brand of sewing machine, as to how it is done.
- Wind bobbin and thread machine with monofilament thread.
- Put on your quilting foot. Some machines will use a darning foot.
Now you are ready to quilt!
- Remember that this is free hand quilting. You are guiding the direction that you are sewing. You can sew sideways, backwards, frontwards, diagonally, and in circles without changing or touching anything on your machine.
- For baby quilts and larger, I like to use bicycle clamps to roll it up and to hold the quilt better. But you can do it without you just have more quilt spread out.
- Check the back side of your quilt periodically and make sure that you have good stitches on the back as well as the front.
- You will learn how fast to sew and how fast to move your quilt with your hands. You want to try to create small even stitches.
- When you start a new line of quilting you will sew 2-3 tiny stitches back and forth, like a back tack. Then you will quilt that run, ending it with a back tack.
- I also quilt right next to the edge of the quilt. Since I have it pinned, if I quilt along there. Then it will lay great when I sew on the binding.
Note: It takes some practice to learn to machine quilt. Don’t get discouraged. It will come. When you have to stop to adjust your quilt or take out a pin, try to stop with your needle down through the quilt. This way you will not move from that point as you move the quilt.
- It is okay to go over a short space twice to get from one piece to another.
- I like to get pins out of the way. So when I do the outside edge or down the straight lines I will remove the pins after that piece is done. Leave the pins where you haven’t quilted.
- If you are moving to a different spot, then make sure that your needle is up and that you raise your pressure foot. This will free up your tensions so that the thread will move freely. Don’t keep cutting your threads as you move, because this monofilament thread seems to unthread.
- When it is all quilted then you will start clipping threads. Clip right next to the quilt. When you have clipped one side then you will turn it over and clip the other side.
- Sometimes as you clip the second side, if you didn’t back tack will enough then some quilting may come undone. Put a pin in to mark it. You may even find a place that you forgot to quilt. When you have finished clipping you will take it back to the machine and catch those places that you need to.
Authors
Loraine Selman, 4-H Volunteer Leader, Box Elder County
Related Research
Baby Rail Blues
This is a great quilt for beginning and experienced quilters. Step-by-step instructions are included on how to make this baby rail blues quilt.

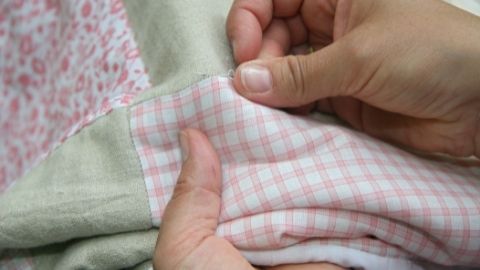
Binding a Quilt
Thread a needle the same color as the binding. Pull the binding over the edge of the quilt and to the back. Hand stitch the binding hiding the stitches in the fold. Continue around the quilt. Miter the corners in the same fashion as when sewing it on with
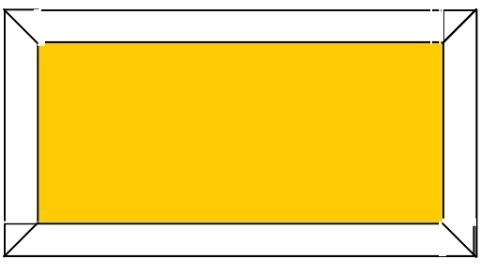
Double Crosswise Grain Binding
The final step in finishing a quilt is putting a binding on the edge of the quilt. A crosswise grain binding is cut across the width of the fabric and is straight. This is used for straight-edged quilts. Quilts that are curved need a bias edge that will b
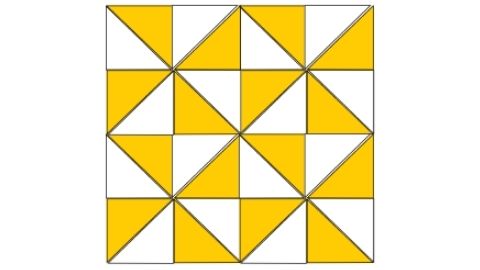
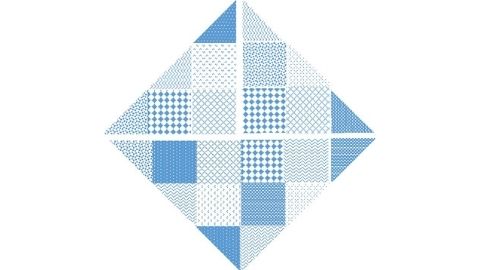
Half Square Triangles, Broken Dishes Block, Pinwheel Block
The triangle is a basic quilt block shape. Half-square triangles are easily made from two squares and cut on the diagonal from corner to corner. When cut the diagonal line is a true bias edge that stretches and distorts very easily. Sewing the bias seam b

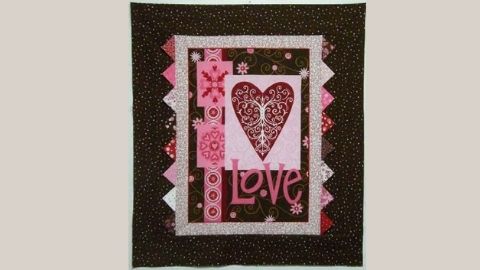
Panel Quilt with Prairie Points
This pattern is for a quick and easy wall hanging using a pre-printed panel for the center and added borders to make it the desired size. It has wider borders on the sides to trick the eye into thinking that the borders are the same size on all four sides

Three Methods of Continuous – Band Prairie Points
The traditional method for making a prairie point edging requires individually cut squares of fabric that can be positioned in several ways to create a variety of edgings. There is another way, though, to make a prairie-point edge that is faster and eas