Double Crosswise Grain Binding
Home Machine Quilting Expo May 2008
Sewing Project Skill: Create a double binding to cover the raw edges of a quilt
Life Skills: Learning to learn, making decisions, applying technology
Level: 1B
The final step in finishing a quilt is putting a binding on the edge of the quilt. A crosswise grain binding is cut across the width of the fabric and is straight. This is used for straight edged quilts. Quilts that are curved need a bias edge that will bend with the fabric. A double binding or French binding is two widths folded lengthwise, the extra layer protects the quilt edge from wear. When choosing fabrics for binding treatments, look for fabric that will give a defining edge to the quilt. Choose solid ground colors with random small prints, petite checks, tone-on tone prints or dense plaids. Avoid obvious directional prints, large stripes or large floral prints.
Determine amount of fabric needed for binding:
To calculate the amount of binding needed for a quilt, use this formula:
_____ Length of quilt + _____ Width of quilt = _____ X 2 (To count all four sides) = _____ (Length of binding) + 7-12 inches (to allow enough length for joining strips and turning corners) = _____ (Total length of binding needed) ÷ 40 (average width of fabric) = _____ (Number of strips) X _____ (width of strips—usually 2.25" (thin batting) or 2.5" thick batting) = _____ inches (Total length of fabric needed)
| Determining Yardage | |||
|---|---|---|---|
| Fabric Length | Yardage Needed | Fabric Length | Yardage Needed |
| 9 inches | ¼ yard | 45 inches | 1 ¼ yards |
| 12 inches | 1/3 yard | 57 inches | 1 1/3 yards |
| 18 inches | ½ yard | 54 inches | 1 ½ yards |
| 24 inches | 2/3 yard | 60 inches | 1 2/3 yards |
| 27 inches | ¾ yard | 63 inches | 1 ¾ yards |
| 36 inches | 1 yard | 72 inches | 2 yards |
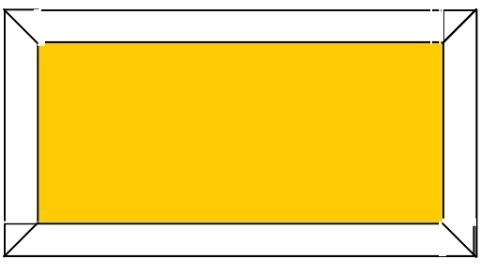
Diagram Key:

Right side of fabric

Wrong side of fabric
Right side of quilt
Wrong side of quilt
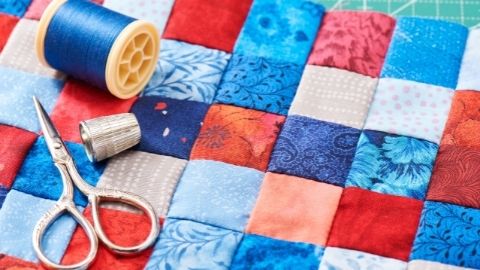
Cut binding strips:
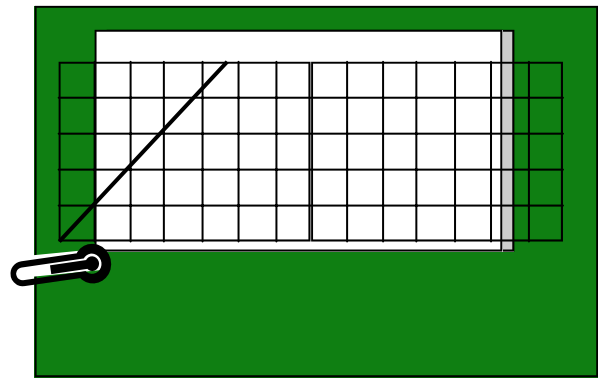
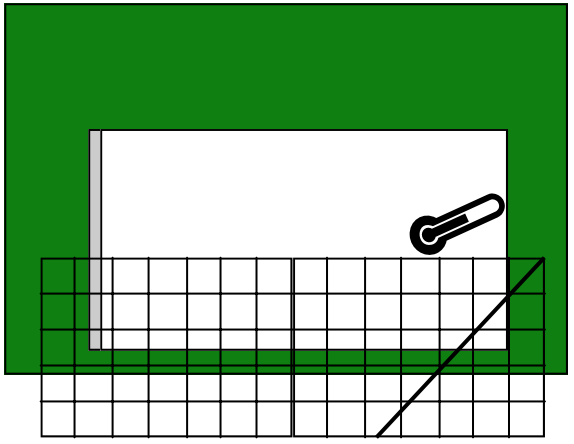
- Square up fabric by placing ruler line on fold. Trim fabric straight using a rotary cutter
- Turn mat around so that fabric will be on the correct side to cut.
- Cut the number of straight binding strips needed the width determined earlier using a rotary cutter.
Sew binding strips together:
1. Cut off the selvage edges on each of the binding strips. Join the strips end to end. Lay the ends at right angles to each other. MARK and SEW a diagonal line across the corner.
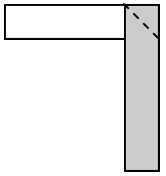
2. Trim to 1/4" seam allowance. PRESS seam open. Quilting clue—pressing the seam open on binding reduces bulk.
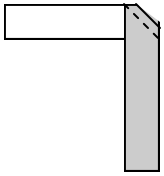
3. Continue adding the strips end to end until the length desired..
![]()
Sew binding strips to the quilt
1. Fold binding strips along the length, wrong side together, and press.

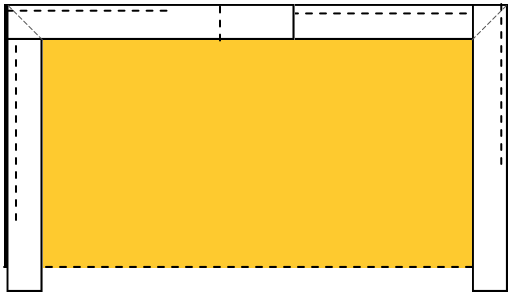
2. Lay binding on the right side of the quilt top, and align raw edges. Leave about a 6" tail free and begin sewing binding to quilt, using 1/4" seam allowance. Backstitch at beginning and end. Stop 1/4" from the first corner, put needle down and stitch off at a 45º angle. Remove the needle from the quilt and cut the threads.
3. Turn the quilt to sew down the next side. Fold the binding straight up, leaving a 45º fold, then straight back down with a fold even with the edge of the binding, forming a mitered corner.
4. Begin sewing at the folded edge, backstitch to secure and continue sewing. Repeat for all four corners.
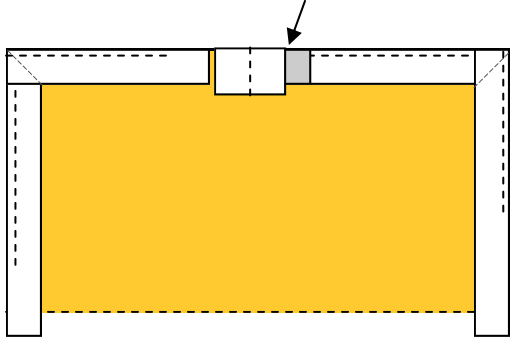
5. After the last corner is mitered, end stitching at least 7" from point at which you began sewing binding. Leave a 6" tail
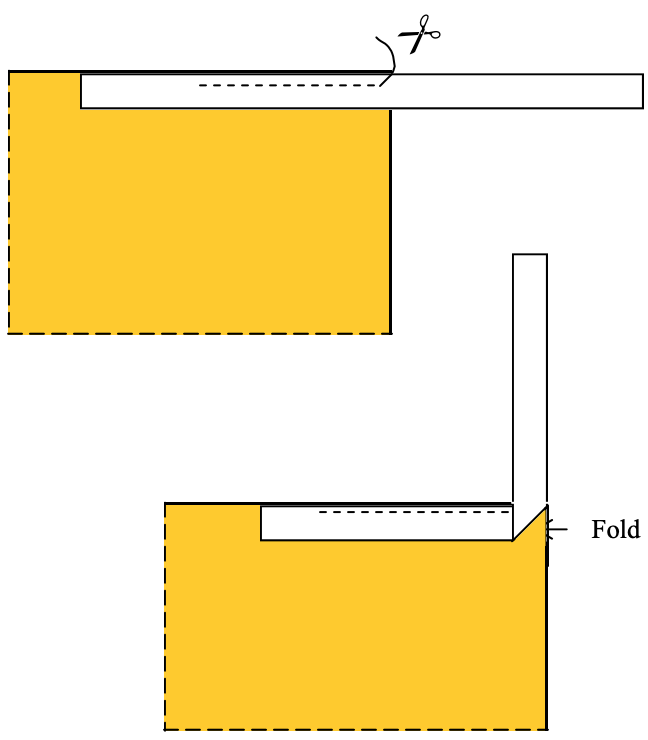
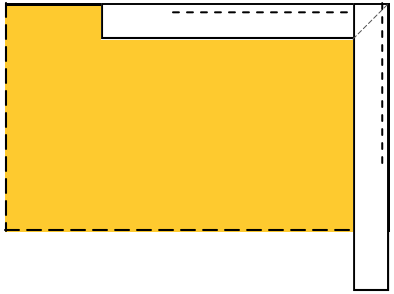
6. On a flat surface, have the binding ends meet in the center of the unstitched space, leaving a scant 1/4” space between them. Fold the ends over, and crease them where they almost meet.

7. Cut off one end at the fold. Then, using the end you have cut off (open it, if it is double binding), use it to measure the binding’s width from the fold. Cut off the second end at that measurement.
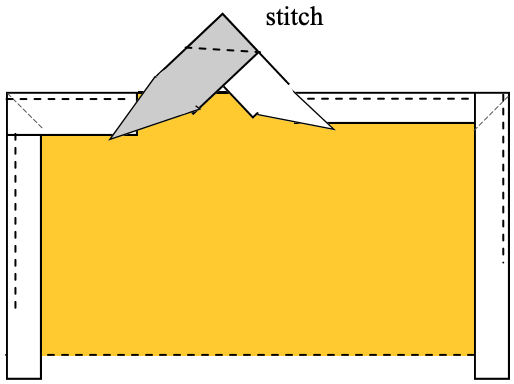
8. Open the folds of each tail and overlap them, right sides together, as the binding was joined to make the long strip. Draw a diagonal line. Pin along diagonal line and check to make sure binding fits the unbound edge. Sew on diagonal line. Trim seam to 1/4" seam allowance. Press the seam open. Refold the binding in half. Finish sewing the binding to the quilt.
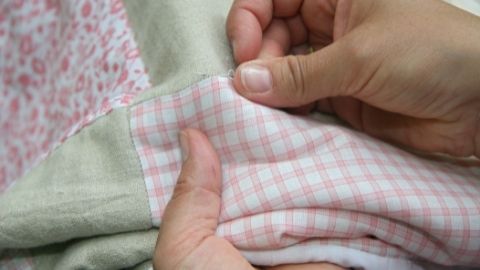
9. Wrap the binding over the edge to the back of the quilt so that it covers the stitching. Hand stitch the binding with a blind stitch.
Authors
Debra Proctor, Wasatch County Extension Agent, FCS/4-H; Deonn Stott, Wasatch County 4-H Leader; Ronda Olsen, Uintah County Extension Agent, FCS/4-H
Related Research
Baby Rail Blues
This is a great quilt for beginning and experienced quilters. Step-by-step instructions are included on how to make this baby rail blues quilt.

Binding a Quilt
Thread a needle the same color as the binding. Pull the binding over the edge of the quilt and to the back. Hand stitch the binding hiding the stitches in the fold. Continue around the quilt. Miter the corners in the same fashion as when sewing it on with
Double Crosswise Grain Binding
The final step in finishing a quilt is putting a binding on the edge of the quilt. A crosswise grain binding is cut across the width of the fabric and is straight. This is used for straight-edged quilts. Quilts that are curved need a bias edge that will b
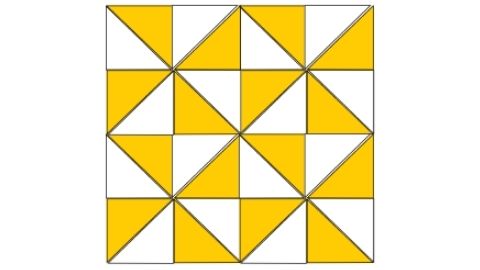
Half Square Triangles, Broken Dishes Block, Pinwheel Block
The triangle is a basic quilt block shape. Half-square triangles are easily made from two squares and cut on the diagonal from corner to corner. When cut the diagonal line is a true bias edge that stretches and distorts very easily. Sewing the bias seam b

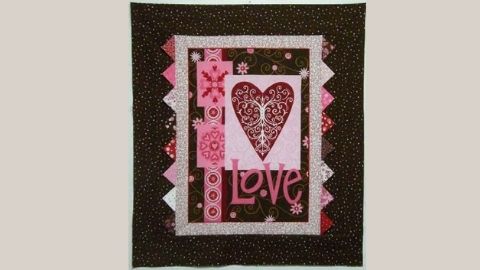
Panel Quilt with Prairie Points
This pattern is for a quick and easy wall hanging using a pre-printed panel for the center and added borders to make it the desired size. It has wider borders on the sides to trick the eye into thinking that the borders are the same size on all four sides

Three Methods of Continuous – Band Prairie Points
The traditional method for making a prairie point edging requires individually cut squares of fabric that can be positioned in several ways to create a variety of edgings. There is another way, though, to make a prairie-point edge that is faster and eas