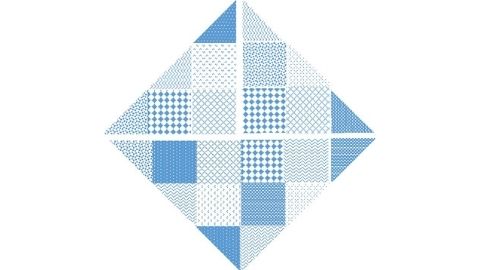
Squares Can Be Fun
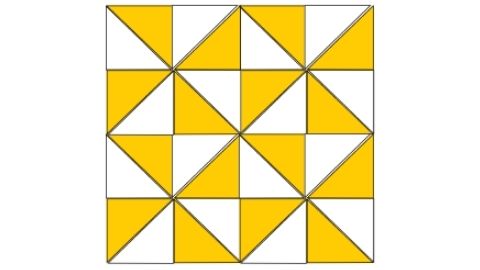
Pinwheel
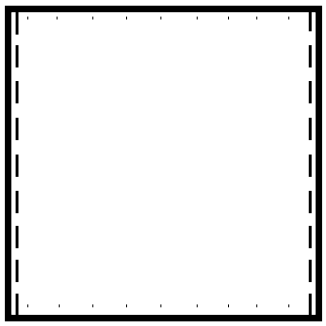
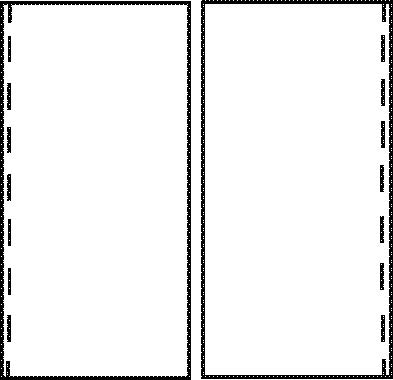
1. Lay 2 squares right sides together and stitch 1/4” on all 4 sides (sew off edge at corner or pivot, it doesn’t matter).
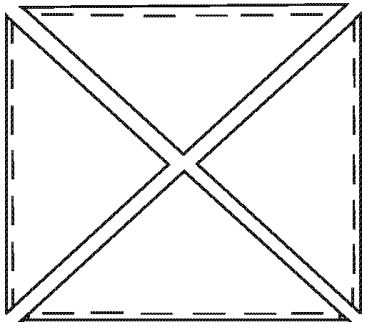
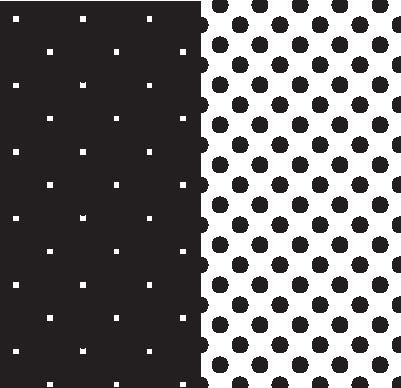
2. Now make 2 cuts diagonally corner to corner open and press 4 half square tringles (HST).
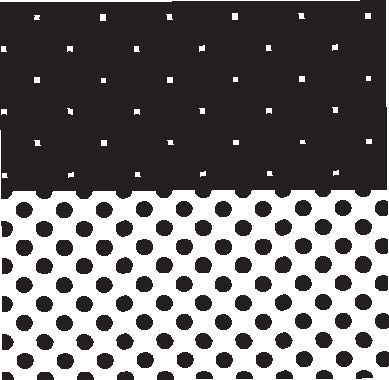
3. Arrange into a pinwheel or other pattern (have fun with designs) sew, press, and square up.

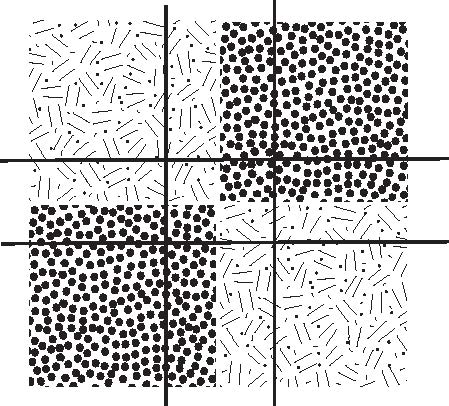
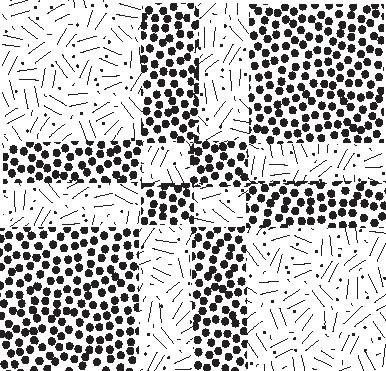
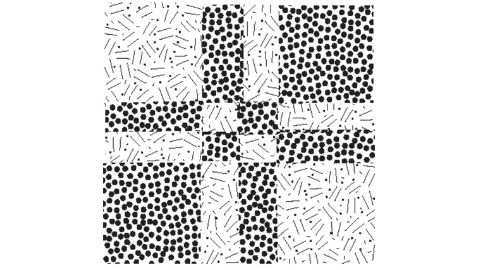
Disappearing 9 Patch
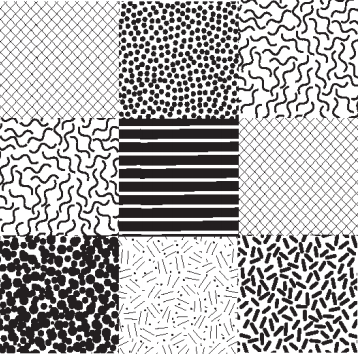
1. Sew 9 blocks into a square, 3 blocks each in 3 rows. (Any size square will work).
2. Make one cut in the center each way.
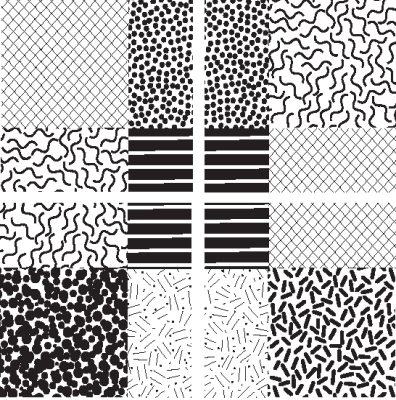
3. Arrange in varying patterns as you like, and sew.
Easy 4 Patch
1. Use charm pack squares or 5” squares.
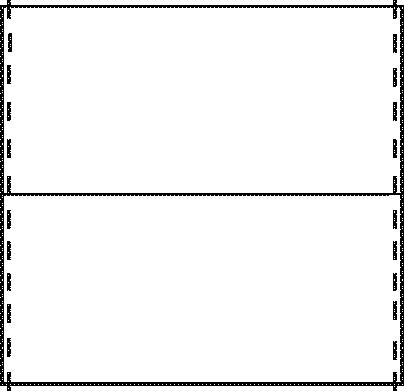
2. Place 2 contrasting pieces right sides together.
3. Sew 1/4” seams on the right and left sides.
4. Cut down the middle.
5. Press open.
1
2
3
6. With the newly created squares ,that now have a mid-seam, mix and match the squares in sets of 2
(right sides together) so the seam runs horizontally.
6
7
7. Again, right sides together with 1/4” seams on both right and left sides.
8. Cut down the middle. Viola! A simple 4 patch.
9. As before, press open.
8

9
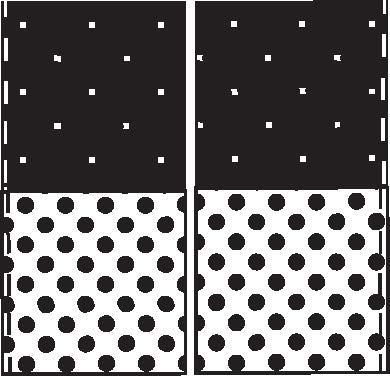
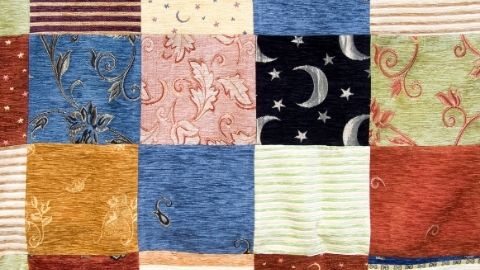
Disappearing 4 Patch
1. Using 4 squares (2 light and 2 dark in opposite corners). Sew together using 1/4” seams, press with seams pressed to the darker color square.
2. Make a cut 1” from center seam on each side of both vertical and horizontal seams (this equals 4
cuts).
3. Arrange blocks as desired.
4. Sew to make a fun block.

Authors
LaRae Bunnell Clark, 4-H Leader/Volunteer; Teresa Hunsaker, USU Extension Agent, Weber County

Teresa Hunsaker
Extension Educator | Emergency Preparedness | Food Preservation | Weber County
Home and Community Department
Related Research
Baby Rail Blues
This is a great quilt for beginning and experienced quilters. Step-by-step instructions are included on how to make this baby rail blues quilt.

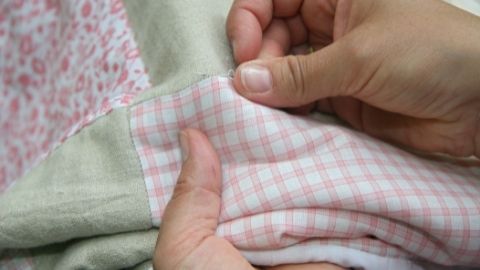
Binding a Quilt
Thread a needle the same color as the binding. Pull the binding over the edge of the quilt and to the back. Hand stitch the binding hiding the stitches in the fold. Continue around the quilt. Miter the corners in the same fashion as when sewing it on with
Double Crosswise Grain Binding
The final step in finishing a quilt is putting a binding on the edge of the quilt. A crosswise grain binding is cut across the width of the fabric and is straight. This is used for straight-edged quilts. Quilts that are curved need a bias edge that will b
Half Square Triangles, Broken Dishes Block, Pinwheel Block
The triangle is a basic quilt block shape. Half-square triangles are easily made from two squares and cut on the diagonal from corner to corner. When cut the diagonal line is a true bias edge that stretches and distorts very easily. Sewing the bias seam b

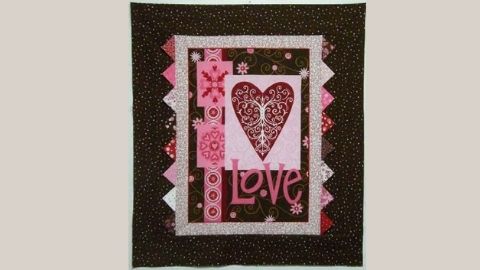
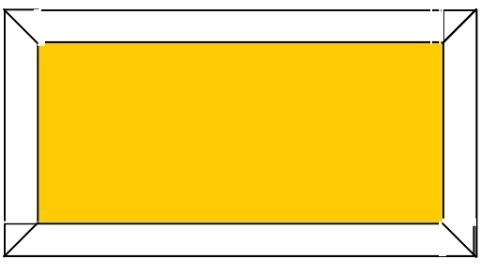
Panel Quilt with Prairie Points
This pattern is for a quick and easy wall hanging using a pre-printed panel for the center and added borders to make it the desired size. It has wider borders on the sides to trick the eye into thinking that the borders are the same size on all four sides

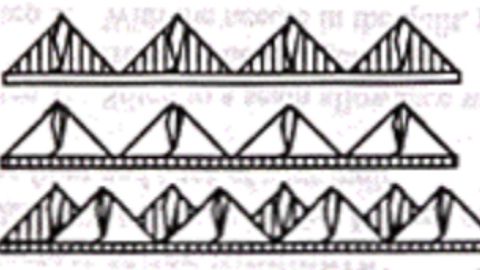
Three Methods of Continuous – Band Prairie Points
The traditional method for making a prairie point edging requires individually cut squares of fabric that can be positioned in several ways to create a variety of edgings. There is another way, though, to make a prairie-point edge that is faster and eas