Panel Quilt with Prairie Points
Quilt Project Skill: Measure and sew borders to keep quilt square
Life Skills: Learning to learn, decision making, planning and organizing
Level: 1B
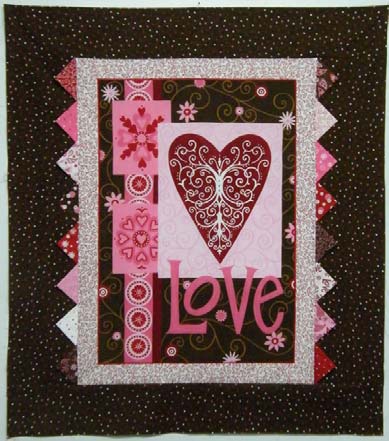
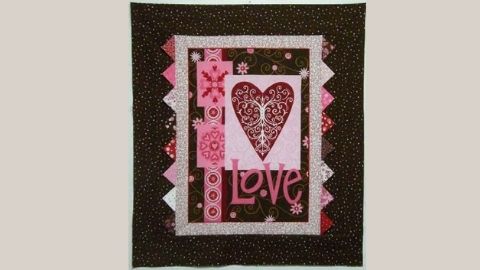
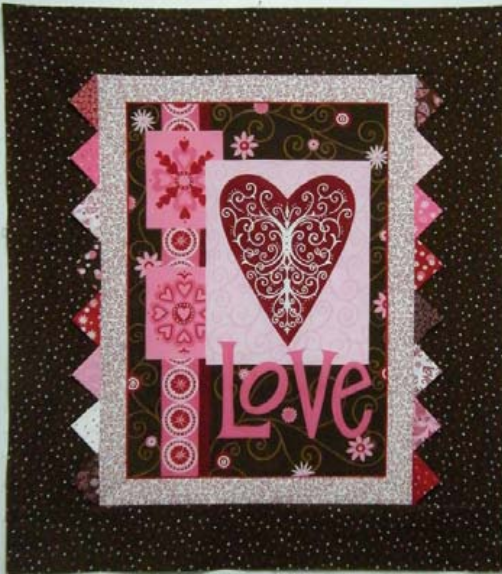
This pattern is for a quick and easy wall hanging using a pre-printed panel for the center and added borders to make it the desired size. It has wider borders on the sides to trick the eye into thinking that the borders are the same size on all four sides to balance the prairie points. Sixteen squares from a charm pack of coordinating fabrics are used to make the prairie points. The charm squares are already cut to the right size which adds more simplicity. Add coordinating buttons on the prairie points for a fun embellishment. Use this pattern with any panel and coordinating charm pack for a wall hanging that can be pieced in an afternoon.
Supplies Needed:
- 1 panel print (approximately 21 1/2" X 30 3/4")
- 1/4 yard fabric for inner border
- 3/4 yard fabric for outer border
- 1 Charm Pack or 16 assorted 5" squares for prairie points
- 1 1/2 yards for backing
- 1/3 yard for binding
- Sewing machine
- Matching thread
- Basic sewing supplies (see Fact Sheet: FL/ST/Construction 2008/101)
Pattern markings:
Sewing clue—Becoming familiar with the markings in the Diagram Key will aid you in reading instructions. Most patterns have similar keys.
Diagram Key:
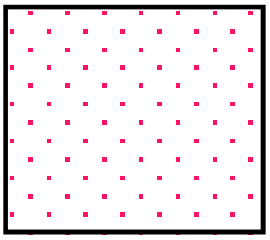
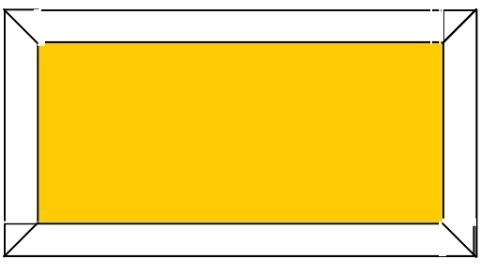
Right side of Inner border
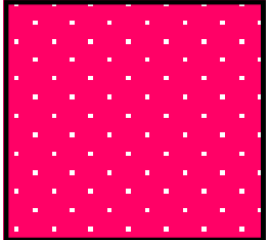
Right side of outer border
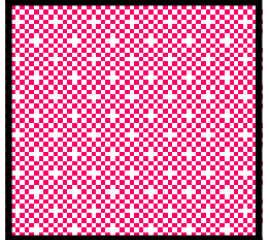
Panel print
Cutting instructions:
Step #1
- From inner border fabric:
- Cut four strips 2 1/2" by the width of the fabric
- From outer border fabric:
- Cut two strips 5 1/2" by the width of the fabric for top/bottom outer border
- Cut two strips 7 1/2" by the width of the fabric for side outer borders
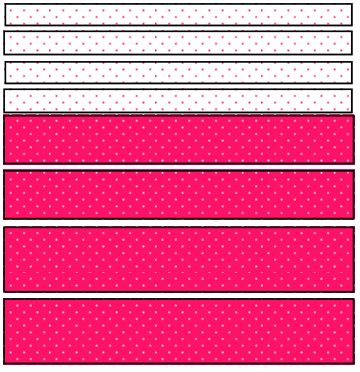
Step #2
- Trim panel print leaving 1/4" seam allowance around outside of panel design.
Quilt construction:
Step #1
- Take three measurements as illustrated and average them to determine the length to cut the side borders.
Quilting clue—Sewing borders of different lengths on the sides will make the differences in the quilt more obvious and the quilt will not be square.
Quilting clue—Borders cut on the crossgrain have a little ‘give’, may need to be pieced but will usually require less fabric. Borders cut on the lengthwise grain do not have ‘give’, do not require piecing but will require more fabric. If necessary, piece border strips end-to-end to achieve the correct length. Sew the strips together using a 1/4" seam.
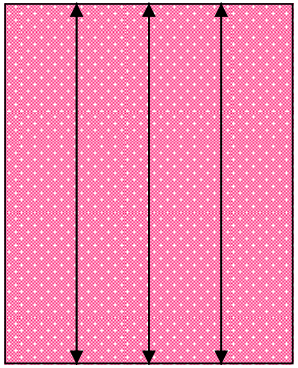
Step #2
- Cut two 2 1/2" wide inside border strips the length of the average measurement of the panel.
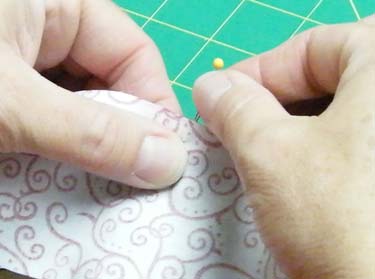
- Pin inside borders to the panel at each end and in the center. Ease fullness in between pins as needed. This will keep the sides the same length on both sides.
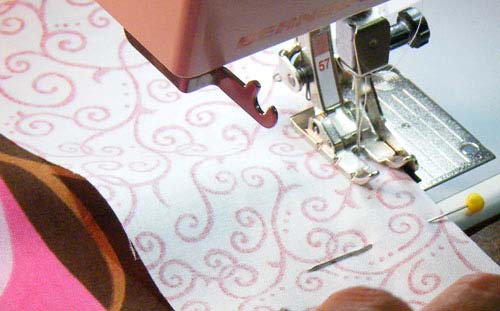
Quilting clue — Place the side with the greatest fullness next to the feed dogs. The feed dogs will help ease in the fullness without making tucks.

Step #3
- Sew inside borders on panel using a 1/4" seam allowance and 12 stitches per inch or 2.5 on the stitch length regulator. Repeat for opposite side.
Step #4
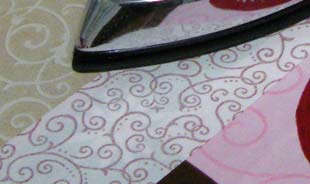
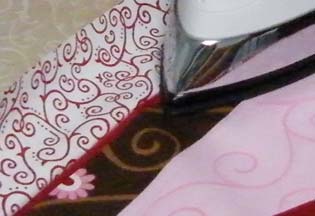
- Press seam flat to set the stitches. Press seams toward borders.
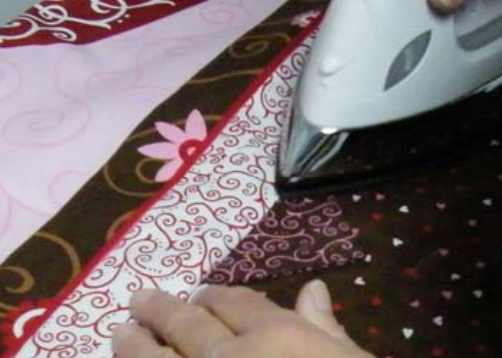
Quilting clue—Press along the stitching line on both sides before pressing the seam to set the stitches. Press seam to the side to so when joining pieces they will be opposite one another and allow the quilt to lay flat. Press from the right side. This will help make sure that the piece is pressed flat with no folds.
Step #5
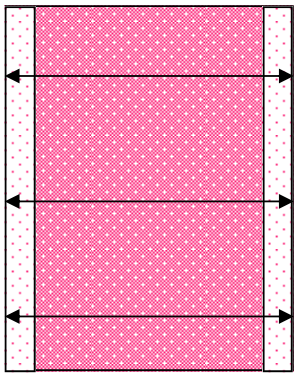
- Determine the top and bottom width of the panel by measuring across the panel and side inner borders. Take three measurements as illustrated and average them to determine the length to cut your top and bottom borders.
Step #6
- Cut two 2 1/2" wide top and bottom inside border strips the average width the quilt.
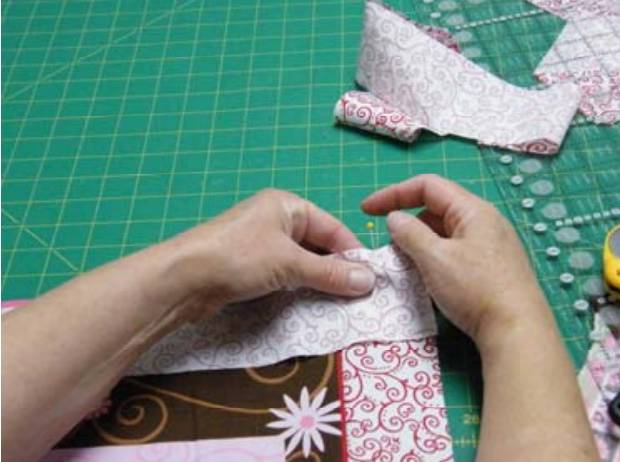
- Pin top and bottom inside borders to the quilt at each end and in the center. Ease fullness in between pins as needed.

Step #7
- Sew top and bottom inside borders on panel using a 1/4" seam allowance.
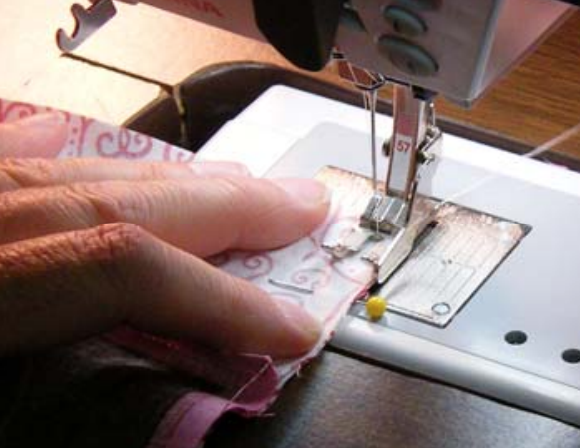
Step #8
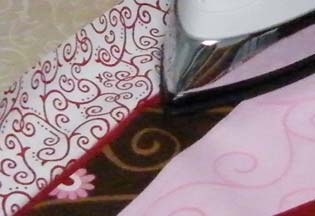
- Set stitches. Press seams toward borders.
Quilting clue — To press, raise and lower the iron as you move across the fabric; use a gentle up and down motion. This will keep the grain of the fabric straight. Pushing the iron back and forth on the fabric can stretch and distort the grain.
Step #9
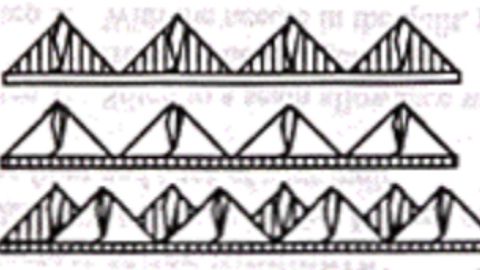
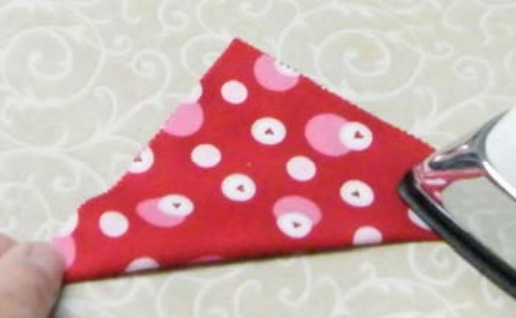
To make prairie points:
- Press the sixteen 5” charm squares in half diagonally.
Step #10
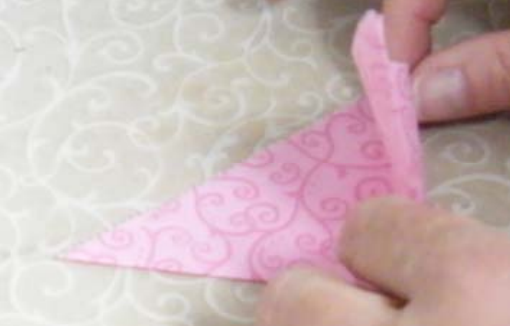
- Press the charm squares again in fourths. The prairie points are now ready to be placed on the quilt.
Step #11
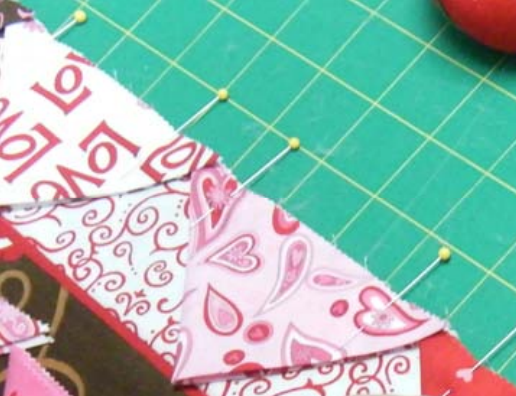
- Place 8 prairie points spaced evenly along each edge of inner borders. Pin in place.
Step #12
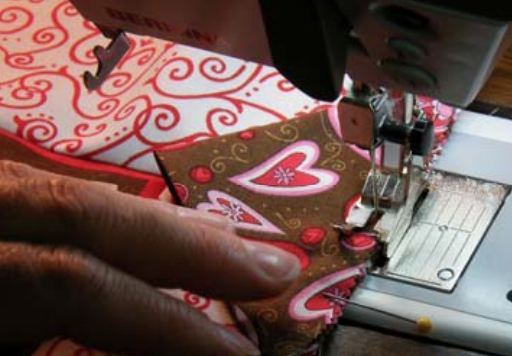
- Baste prairie points to each side of inner borders.
Quilting clue—A basting stitch is made by setting the straight stitch at the longest available stitch length. It is usually 1/8" to 1/4" inside the seam allowance. It is used to hold fabric layers together until they are permanently stitched. A long stitch is used to make it easier to remove the basting if needed.
Step #13
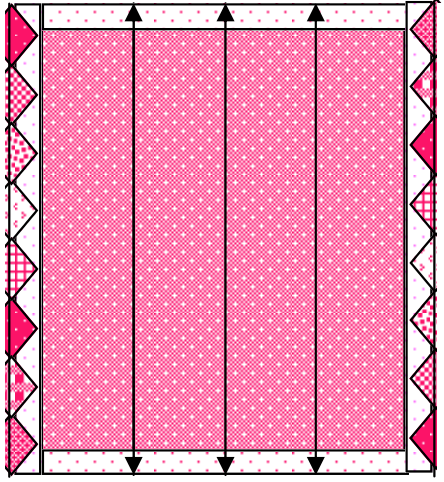
- Measure the length of the panel. Take three measurements as illustrated and average them to determine the length to cut the side outer borders.
Step #14
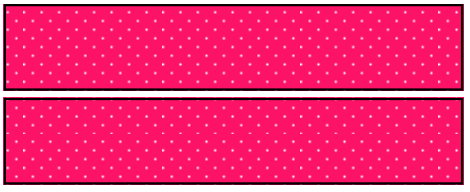
- Cut two 7 1/2" side outer border strips the length of the average measurement of the panel and inner borders.
Step #15
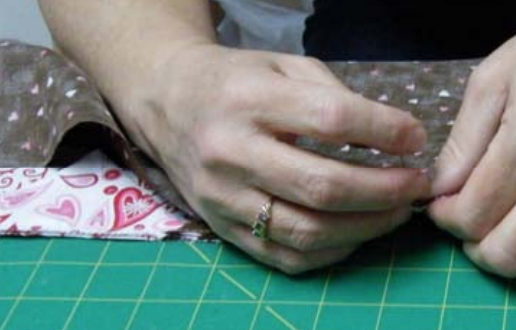
- Pin side outer borders to the panel at each end and in the center. Ease fullness in between pins as needed.
Step #16
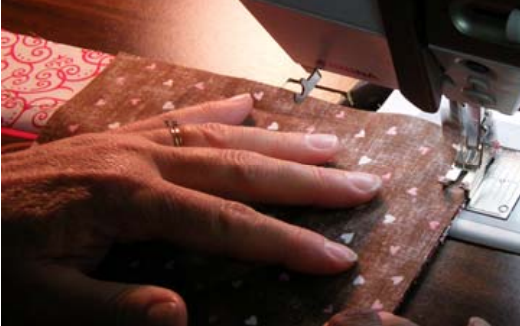
- Sew side outer borders on panel using a 1/4" seam allowance and 12 stitches per inch or 2.5 on the stitch length regulator. Repeat for opposite side.
Step #17
- Set stitches. Press seams toward inner borders. This will allow the prairie points to lie flat.
Step #18
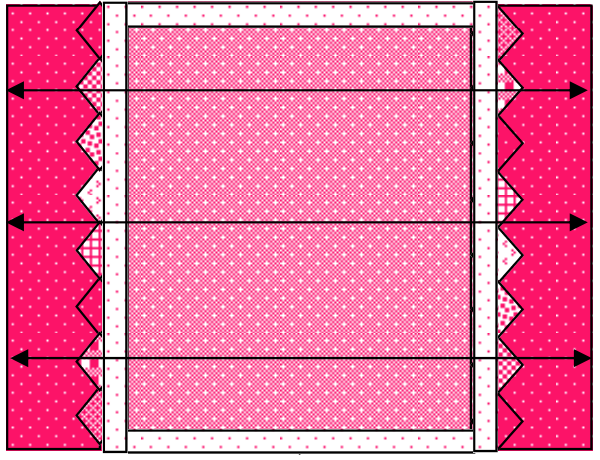
- Determine the width of the quilt by measuring across the panel, inner borders and outer borders. Take three measurements as illustrated and average them to determine the length to cut your top and bottom outer borders
Step #19
- Cut top and bottom 5 1/2" wide outer border strips the average width the quilt.

Step #20
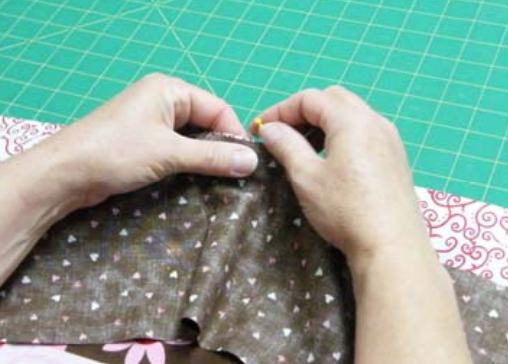
- Pin top and bottom 5 1/2" borders to the quilt at each end and in the center. Ease fullness in between pins as needed.
Step #21
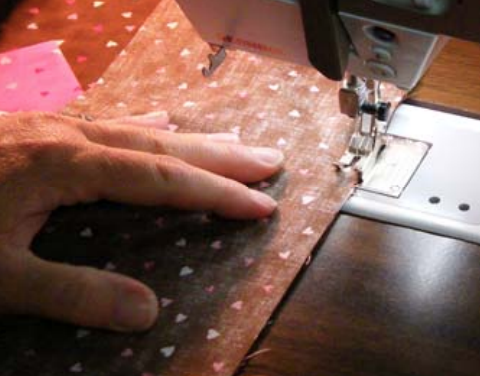
- Sew top and bottom borders on quilt using a 1/4" seam allowance.
Step #22
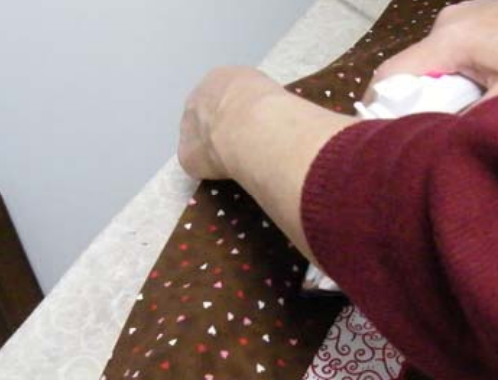
- Set stitches and press seams toward outer borders.
Step #23
- The quilt is now ready to layer and baste for the quilting method of your choice. Finish with binding and buttons on the prairie points.
Authors
Debra G. Proctor, M.S. USU Extension Agent, Wasatch County; Kami P. Williams, 4-H Alumni
Related Research


 Utah 4-H & Youth