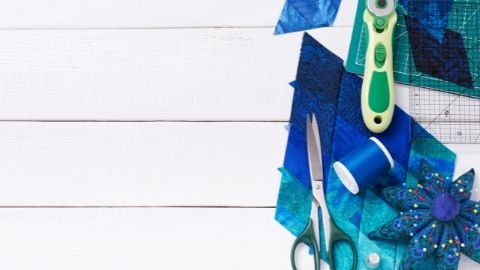
Baby Rail Blues
Sewing Project Skill: Construct a simple pieced quilt using rectangles
Life Skills: Learning to learn, making decisions, applying technology
Level: 1A
This is a great quilt for beginning and experienced quilters. Accuracy begins with the basics: Good tools, accurate cutting with a rotary cutter and mat, using the best materials you can find and afford (fabric, thread, batting, sewing machine, etc.)
Check 1/4" seam for accuracy:
SEW three 1-1/2" strips of fabric together with a 1/4" seam.
PRESS in one direction. The center strip should measure exactly 1".
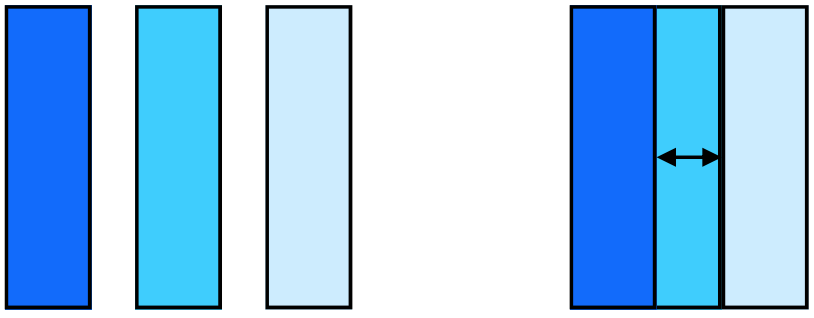
Place painter’s masking tape 1/4" away from needle for a guide on sewing machine if necessary.
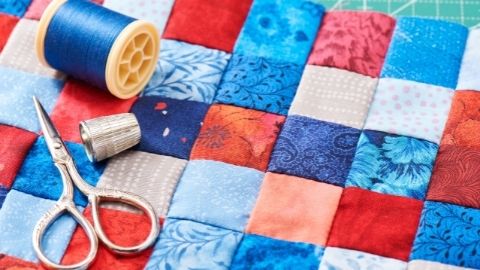
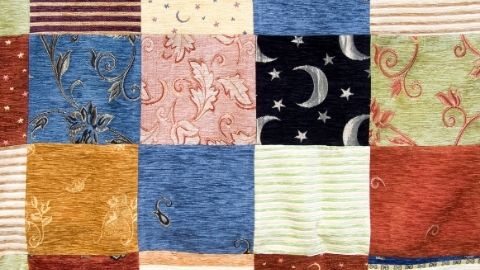
Finished quilt size: Crib 40" X 60"
Fabric requirements:
- 1/2 yard each of 4 coordinating prints
- 1 yard for border
- 1/2 yard for binding
- 2 yards for backing
- Neutral thread
Cutting instructions:
- From each of the 4 coordinating prints: CUT 9, 1 3/4" X WOF (width of fabric) strips (36)
- From border fabric: CUT 5, 5 1/2" X WOF strips (Do not cut to length until top is pieced)
- From binding fabric CUT 6, 2 1/2" X WOF strips

Quilt top construction:
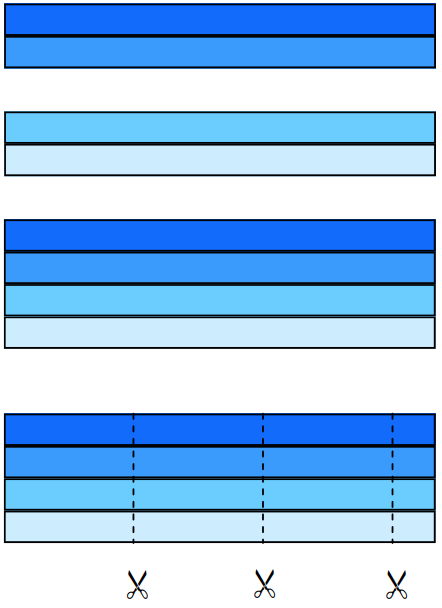
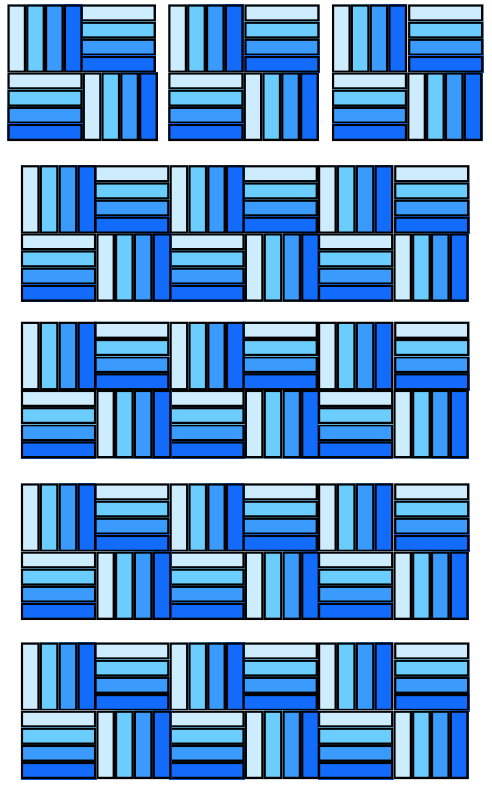
1. SEW dark and medium strips and light and medium strips together, using a scant 1/4" seam allowance. PRESS seams toward the darkest strip.
2. SEW strip sets together, with strips going from dark to light. PRESS seam toward the darkest strip. Check width of strip (approximately 5 1/2").
3. CUT strip sets into 5 1/2" square segments (60 segments).
5. SEW segments together as follows: 15 segments with darks together and 15 segments with lights together for a total of 30 units. PRESS in one direction.
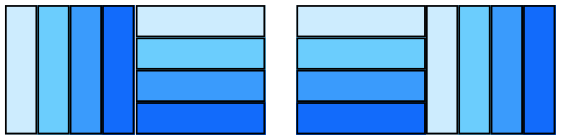
6. PIN one dark unit and one light unit together on each side of the center seam with seam allowances in opposite directions. SEW seam using 1/4" seam allowance. Make 15 blocks.
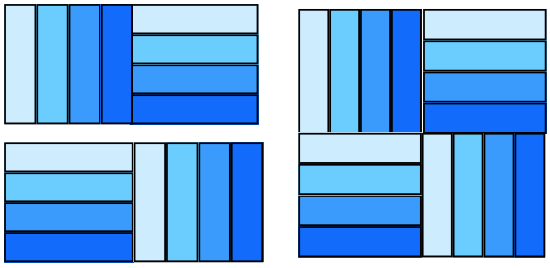
7. PRESS one seam in one direction and the other seam in the opposite direction. This helps make the center intersection lie flatter.
Quilting clue—’Magic Twist’: Before pressing center seam on blocks, hold the block in both hands about 1” from the center. Gently twist in opposite directions, opening up a few stitches in the seam allowance.
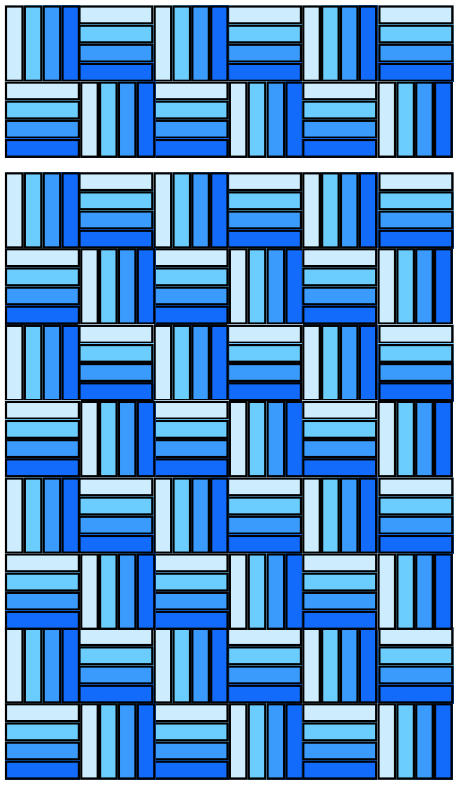
9. SEW squares into 5 rows of 3 blocks each.
10. Using ‘Magic twist’: PRESS seams in opposite directions to allow to lay flat.
9. SEW rows together.
10. Using ‘Magic twist’: PRESS seams in opposite directions to allow to lay flat.
Border application:
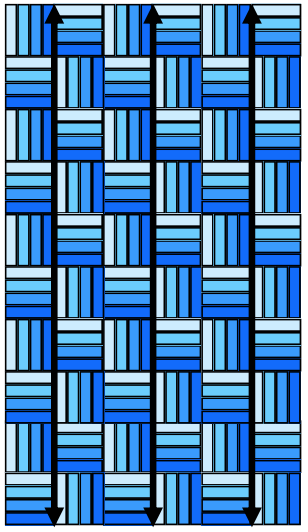
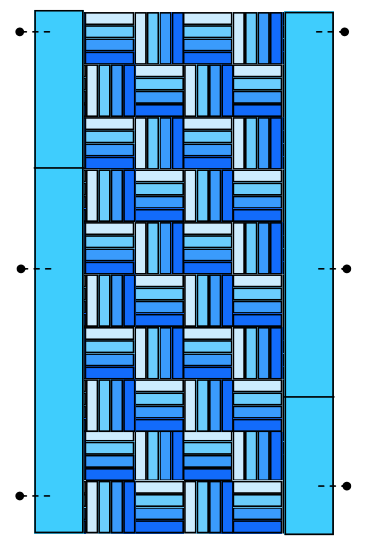
1. Lay the quilt on a flat surface. Find the length of the side borders by measuring the quilt. Take three measurements as illustrated and average them to determine the length to cut the side borders. Quilting clue—Sewing borders of different lengths will make the differences more obvious and the quilt will not be square.
2. CUT two side border strips the length of the average measurement of the quilt. Borders cut on the crossgrain have a little ‘give’. Borders cut on the lengthwise grain do not have ‘give’. If your border needs to be eased to the quilt use the crosswise grain. Quilting clue—If necessary, piece border strips endto-end to achieve the correct length. Sew the strips together using a 1/4" seam. PRESS seam allowance open to reduce bulk. Trim the strips so that it matches the quilt length measurement. Quilting clue — Pressing is an important part of quilting. Press each seam flat on the stitching line on both sides to set the stitches.
3. PIN side borders to the quilt at each end and in the center. Ease fullness in between pins as needed. SEW side borders on using a 1/4" seam allowance and 12 stitches per inch or 2.5 on the stitch length regulator. Quilting clue—Place the side with the greatest fullness next to the feed dogs. The feed dogs will help ease in the fullness. SET stitches. PRESS seams toward borders.
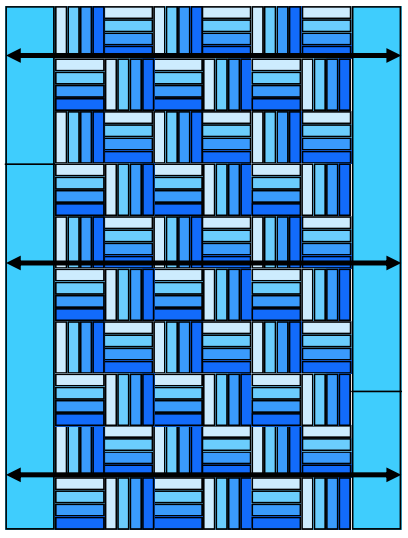
5. Find the top and bottom width of the quilt by measuring across the quilt and side borders. Take three measurements as illustrated and average them to determine the length to cut your top and bottom borders.
6. CUT top and bottom border strips the average width the quilt. Borders cut on the crossgrain have a little ‘give’. Borders cut on the lengthwise grain do not have ‘give’. If your border needs to be eased to the quilt use the crosswise grain
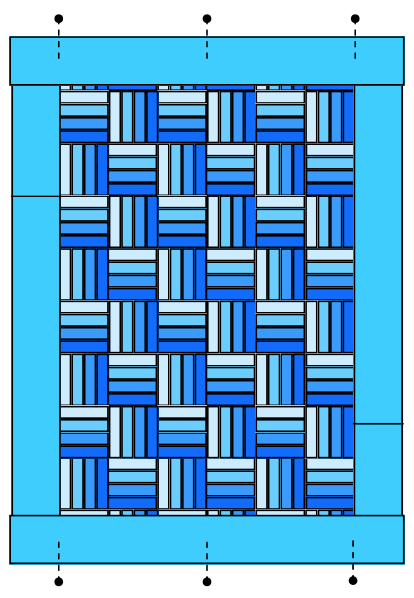
7. PIN top and bottom borders to the quilt at each end and in the center. Ease fullness in between pins as needed. SEW top and bottom borders on using a 1/4" seam allowance. Quilting clue—to prevent the stitches from coming apart on the outside edges reduce the stitch length on the first and last 1/4" of the seam. SET stitches PRESS seams toward the borders.
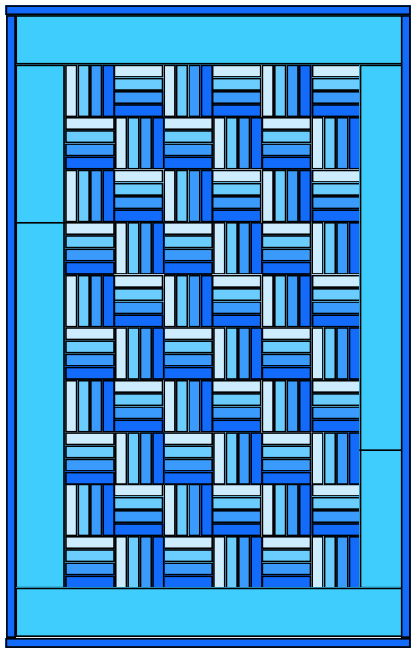
8. You are now ready to layer and baste quilt top for quilting method of your choice.
9. ATTACH binding or prairie points to outside edges.


Authors
Debra Proctor, Wasatch County Extension Agent, FCS/4-H; Deonn Stott, Wasatch County 4-H Leader
Related Research
Baby Rail Blues
This is a great quilt for beginning and experienced quilters. Step-by-step instructions are included on how to make this baby rail blues quilt.

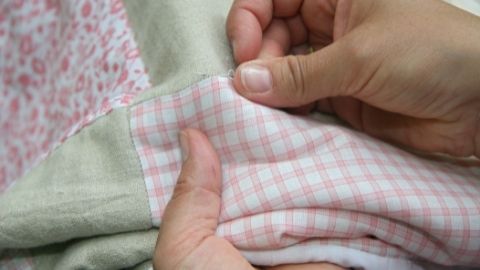
Binding a Quilt
Thread a needle the same color as the binding. Pull the binding over the edge of the quilt and to the back. Hand stitch the binding hiding the stitches in the fold. Continue around the quilt. Miter the corners in the same fashion as when sewing it on with
Double Crosswise Grain Binding
The final step in finishing a quilt is putting a binding on the edge of the quilt. A crosswise grain binding is cut across the width of the fabric and is straight. This is used for straight-edged quilts. Quilts that are curved need a bias edge that will b
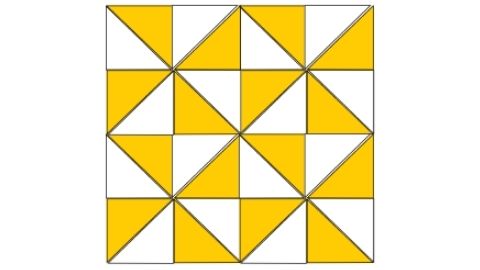
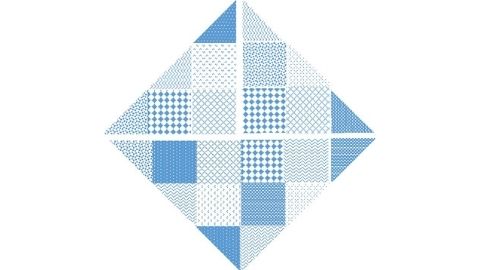
Half Square Triangles, Broken Dishes Block, Pinwheel Block
The triangle is a basic quilt block shape. Half-square triangles are easily made from two squares and cut on the diagonal from corner to corner. When cut the diagonal line is a true bias edge that stretches and distorts very easily. Sewing the bias seam b

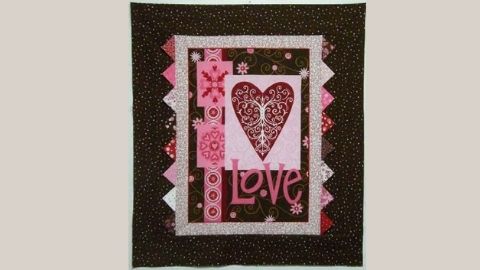
Panel Quilt with Prairie Points
This pattern is for a quick and easy wall hanging using a pre-printed panel for the center and added borders to make it the desired size. It has wider borders on the sides to trick the eye into thinking that the borders are the same size on all four sides

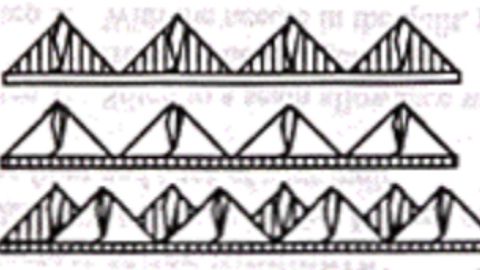
Three Methods of Continuous – Band Prairie Points
The traditional method for making a prairie point edging requires individually cut squares of fabric that can be positioned in several ways to create a variety of edgings. There is another way, though, to make a prairie-point edge that is faster and eas