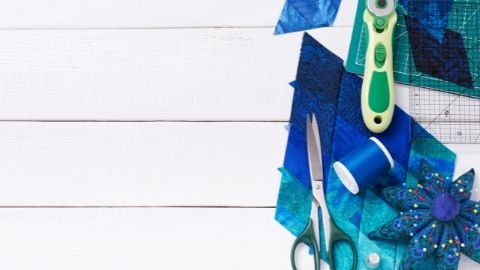
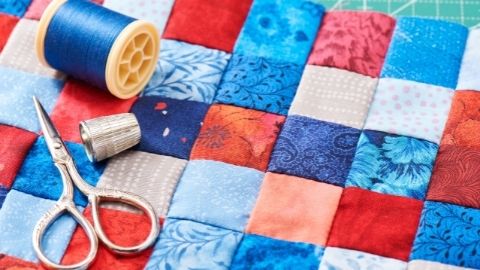
Binding a Quilt
Step 1: Choose fabric for the binding.
Audition fabrics: See what looks best on your quilt. Fabrics that are not too busy or mostly cream or white. These instructions are for straight grain binding. Bias binding is not needed unless you have a curved edge.
Step 2: How much fabric do I need?
Measure the perimeter of your quilt by adding the length (2) and width (2) of your quilt. Then add an extra 10′′ to deal with seams and corners. For example, if the quilt measures 56′′ x 70′′. Then, here is the math.
56′′ + 56′′ + 70′′ + 70′′ + 10′′ = 262′′
Next, take this measurement and divide it by 40. This will tell you the number of strips you will need to cut, with 40′′ of usable fabric. That number is 6.55. Now, round up to the next whole number and that is the number of strips you will need to cut which is 7 strips. Then, multiply that number by 2.25 (2 1⁄4“ or desired width of binding – Can do 2 1⁄2 “ if thicker quilt sandwich.) and that is the amount of fabric you need to purchase. In this case it would be 7 x 2.25" = 15.75".
Step 3: Cutting the Binding Strips.
Cut the number of strips needed as calculated in Step 2. Cut each strip 2 1⁄4" x WOF (Width of Fabric).
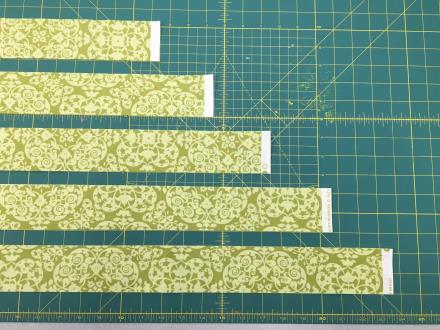
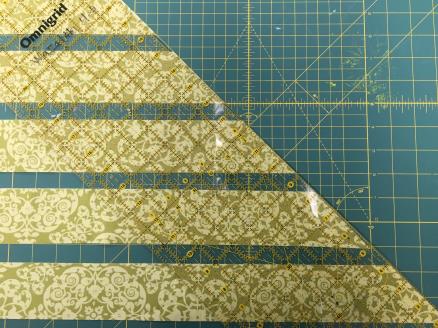
Now, cut the ends at a 45° angle. To do this, line up the strips on a cutting mat that has 45° angles on it and cut the ends at this angle.
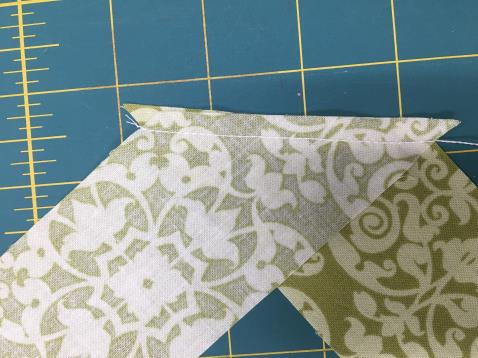
Step 4: Sew the strips together.
Line up the ends of the strips at opposite angles and sew together using a ¼" seam. Press open.
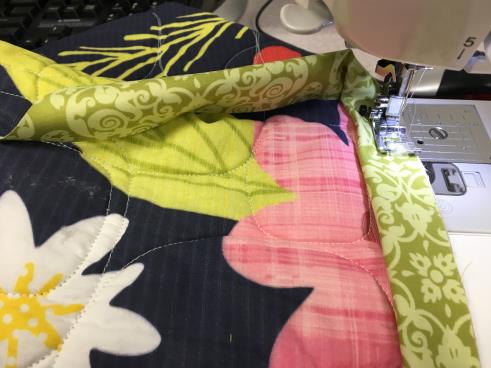
Step 5: Sew the binding onto the quilt.
Trim off the excess backing and batting before you attach the binding.
If you are hand stitching the binding on the back then sew the binding onto the front. If you want to machine stitch the binding on the front, then sew the binding onto the back.
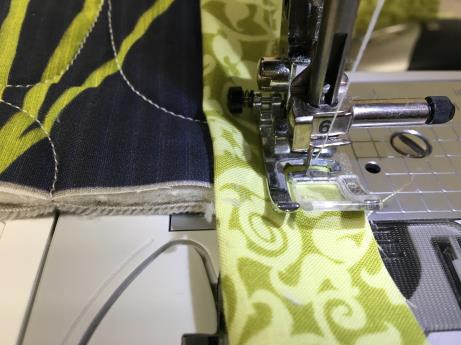
Start sewing the binding on the middle of one side. Run your binding along the perimeter of your quilt to ensure you won’t have any seams falling in the corners. If you do, move the binding up or down a few inches to avoid seams at the corners.
Fold the binding in half and lay the cut edges along the edge of the quilt start sewing a wide ¼" seam with a tail of about 6-7". Sew an inch or two and then check to see if it is the correct width by folding it over to the other side. The folded edge should lay just past the binding stitching. Adjust the seam as necessary. The ideal is to have a full binding which means no empty space between the binding and the edge of the quilt and also wide enough that it lays past that stitching line.
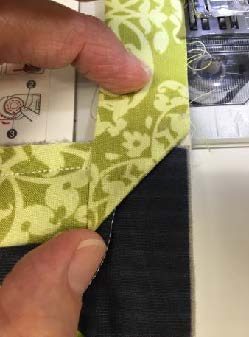
Stitch to the corner. When you reach the corner stop stitching ¼" from the corner.
Lift up the presser foot and turn the quilt so that you can now sew in the direction of the next edge. Fold the binding up and away from the quilt as shown. Keep the edge of the binding in line with the edge of the quilt as shown.
At this point, your corner should look like this:
Bring the binding back down, creating a triangle shape of fabric underneath. This will form the miter on the front of the quilt.
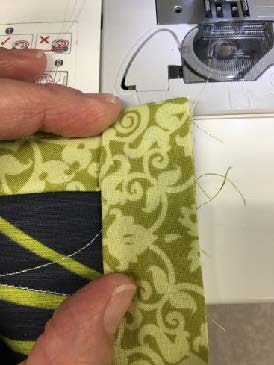
Starting from the edge of the quilt, stitch the next side of binding down until you reach the next corner and repeat this process for all four corners. When approaching the beginning seam, stop sewing when there is approximately 12" remaining.
Step 5: Joining each end: Line up the binding from both ends on the open edge. In the middle of that opening fold the binding back each way, leaving about an 1/8 " gap between the folded edges.
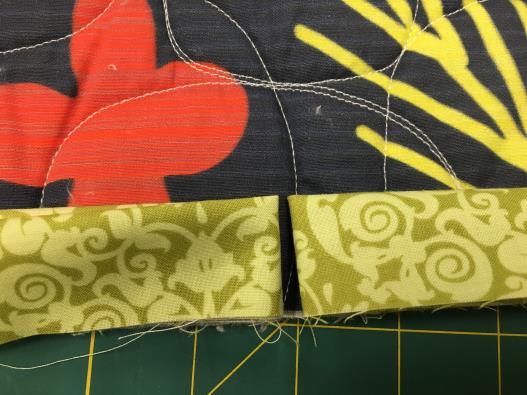
Cut on one fold. Then using a piece of the fabric just cut off, measure from the fold on the opposite piece and cut the other binding piece the width of the binding.
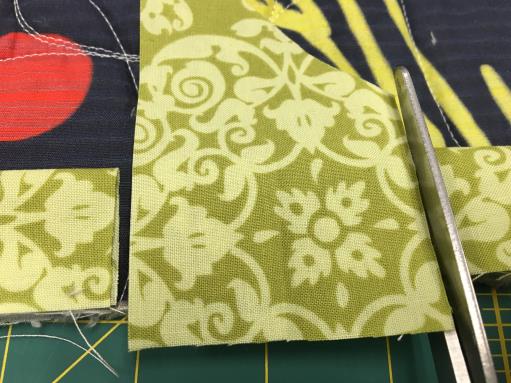
Now, line up the two binding ends perpendicularly and sew a diagonal line. Check to make sure it fits nicely and then cut ¼" past the sewing line.
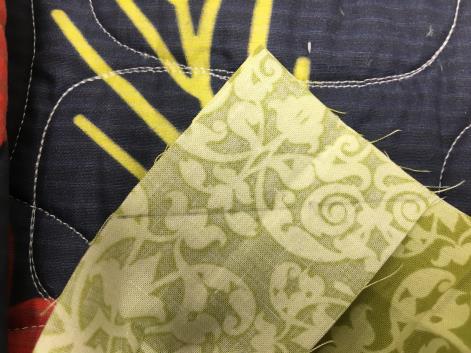
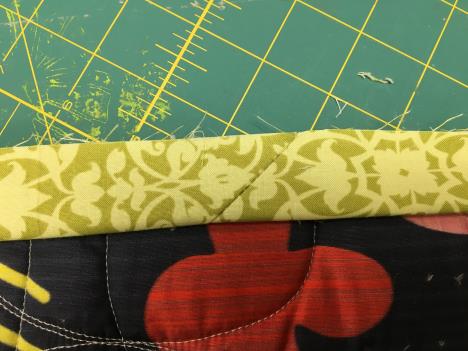
Lay the binding against the quilt again and sew the opening down.
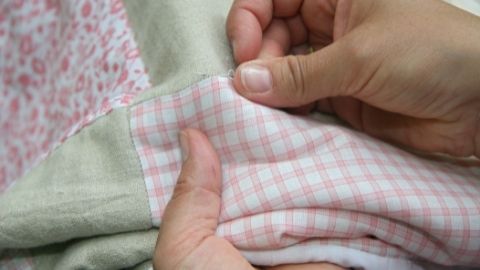
Step 6: Stitching the back side.
Thread a needle the same color as the binding. Pull the binding over the edge of the quilt and to the back. Hand stitch the binding hiding the stitches in the fold. Continue around the quilt. Miter the corners in the same fashion as when sewing it on with the machine. You want a crisp corner. If you feel there is too much bulk, you can clip out one of the layers of fabric or batting.
Author
Tricia Mathis – Wasatch County FCS/4-H Educator
Related Research
Baby Rail Blues
This is a great quilt for beginning and experienced quilters. Step-by-step instructions are included on how to make this baby rail blues quilt.

Binding a Quilt
Thread a needle the same color as the binding. Pull the binding over the edge of the quilt and to the back. Hand stitch the binding hiding the stitches in the fold. Continue around the quilt. Miter the corners in the same fashion as when sewing it on with
Double Crosswise Grain Binding
The final step in finishing a quilt is putting a binding on the edge of the quilt. A crosswise grain binding is cut across the width of the fabric and is straight. This is used for straight-edged quilts. Quilts that are curved need a bias edge that will b
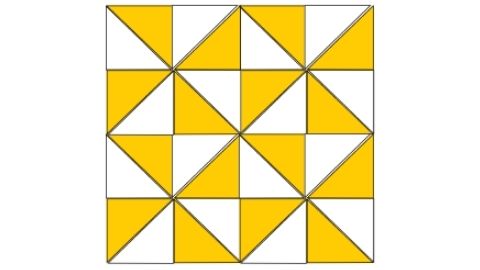
Half Square Triangles, Broken Dishes Block, Pinwheel Block
The triangle is a basic quilt block shape. Half-square triangles are easily made from two squares and cut on the diagonal from corner to corner. When cut the diagonal line is a true bias edge that stretches and distorts very easily. Sewing the bias seam b

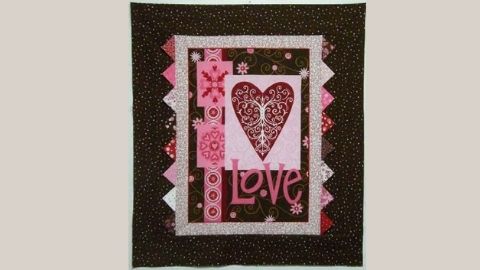
Panel Quilt with Prairie Points
This pattern is for a quick and easy wall hanging using a pre-printed panel for the center and added borders to make it the desired size. It has wider borders on the sides to trick the eye into thinking that the borders are the same size on all four sides

Three Methods of Continuous – Band Prairie Points
The traditional method for making a prairie point edging requires individually cut squares of fabric that can be positioned in several ways to create a variety of edgings. There is another way, though, to make a prairie-point edge that is faster and eas