25 Rules of Thumb for Field Crops
Overview
University Extension services are widely known for scientific information on best practices for field crop production. Many Extension experts commonly offer the same tips or "rules of thumb" to growers. This article is certainly not a comprehensive list of the practices farmers need to be successful in their operations, but it represents an attempt to capture 25 common tips or “rules” from a wide range of Extension experts throughout Utah. The rules are loosely arranged in topical categories but not by importance or relevance.
1. Use the "Rule of Boot" for seedbed preparation.
Ensuring good soil contact and proper seeding depth is essential to field establishment. Particularly for small-seeded crops like forage legumes or wild-type grasses, planting too deep is a common cause for stand establishment failure. As a general rule, proper seeding depth is typically three times the maximum seed width. Seeding depth can be adjusted slightly higher or lower depending on soil texture and moisture levels from this starting point. Work the seedbed well enough to remove large clods but firm enough that only the heel and sole of a boot leave a print (approximately 3/8 inch) for small-seeded crops like alfalfa (Figure 1).
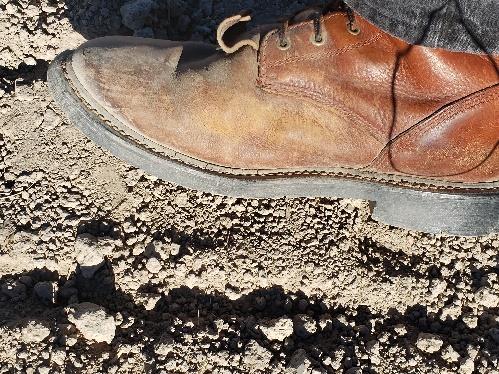
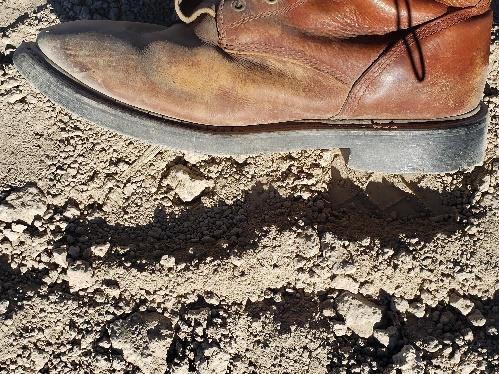
(top) vs. too loose (bottom).
2. Choose seed sources carefully.
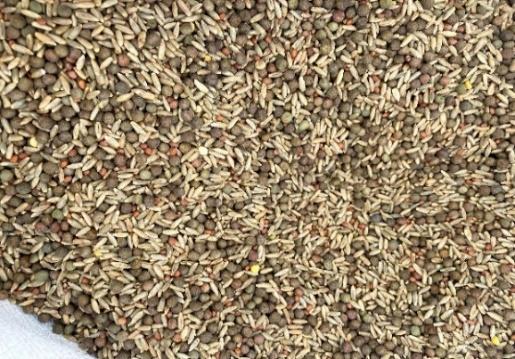
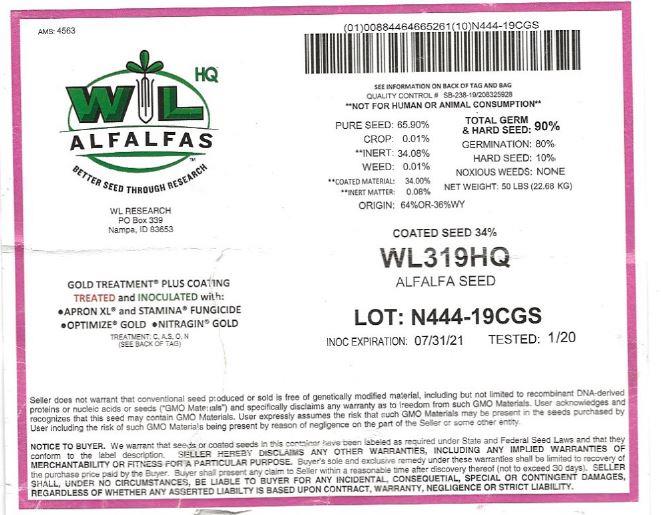
When choosing a seed source, certified seed is a worthwhile insurance policy (Figure 2). By purchasing certified, crop genetic purity is guaranteed. Noncertified seed may not be exactly what you intended to purchase. It was likely produced under open pollination or other methods leading to uncontrolled hybridization. All crop varieties have been artificially bred for a theoretical genetic potential for yield. Even when supplied with the costliest field inputs, plants with substandard genetics might not be able to produce maximum yields. This is also true for other genetic factors, such as disease or pest resistance. Certified seed is laboratory tested to determine the percent "pure live seed" (PLS). The value of PLS is that the seed has met a minimum germination rate and percent pure seed amount. Noncertified seed may not meet this requirement. If the germination rate is very low or there are high levels of inert contaminants, a producer would need a much higher seeding rate of uncertified seed to deliver a comparable stand. Certification also requires screening for contaminant weeds that are extremely difficult to remove from fields once introduced. Buying certified minimizes this risk.
3. Follow corn planting guidelines.
Field preparation - Avoid tillage of wet soils to reduce compaction and clods.
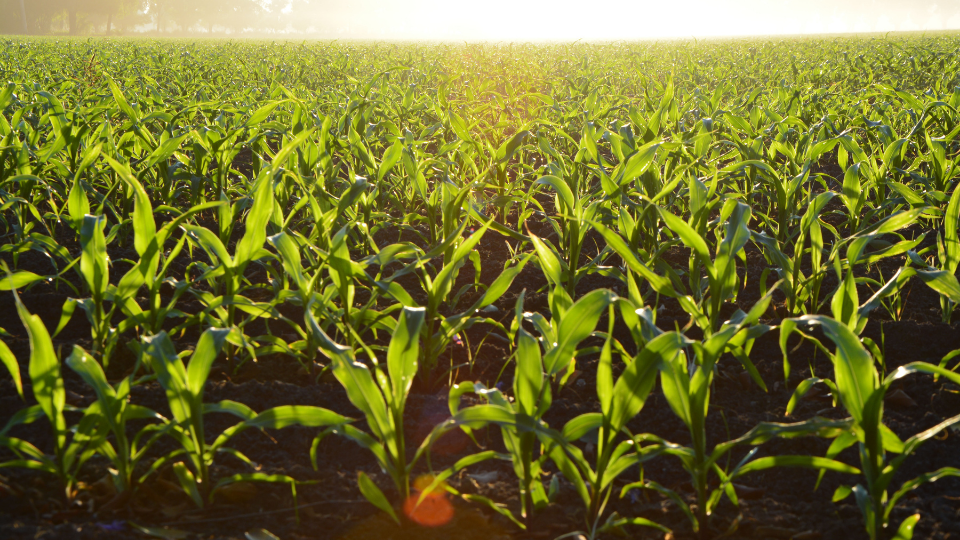
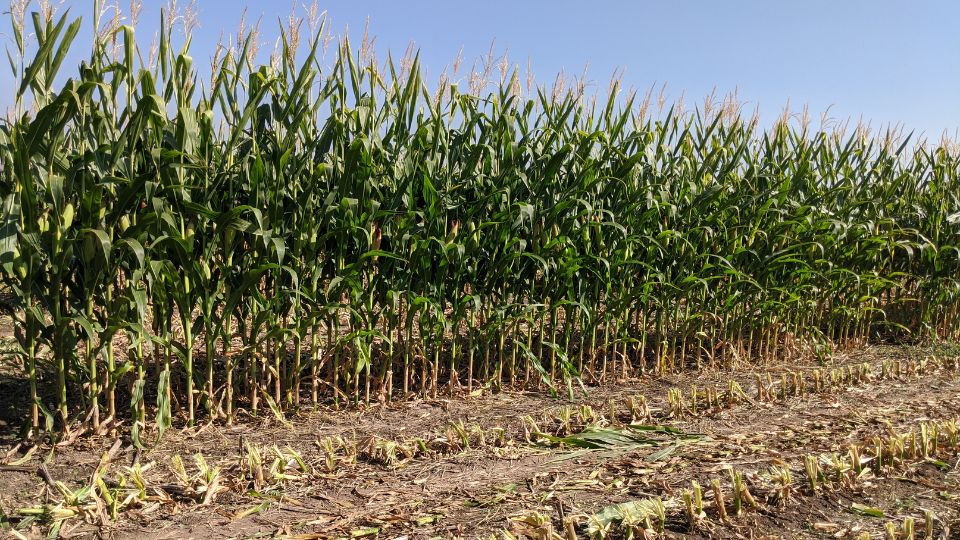
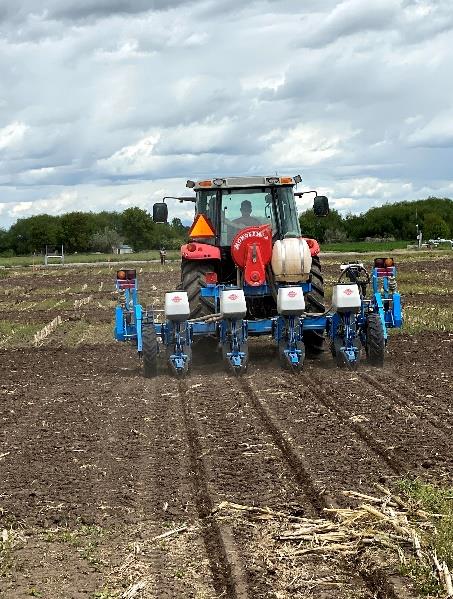
Planting date - Plant once soils stay consistentaly above 50° F and emergence can be expected in a week or less (Figure 3). Nothing good ever happens to corn seed sitting in cold, wet soil.
Seeding depth - The rule of thumb for seeding depth is to plant no less than 1.5 inches deep and go as deep as 2 or 3 inches to reach adequate soil moisture. Aim for a depth that will allow for uniform moisture availability across the field for germination.
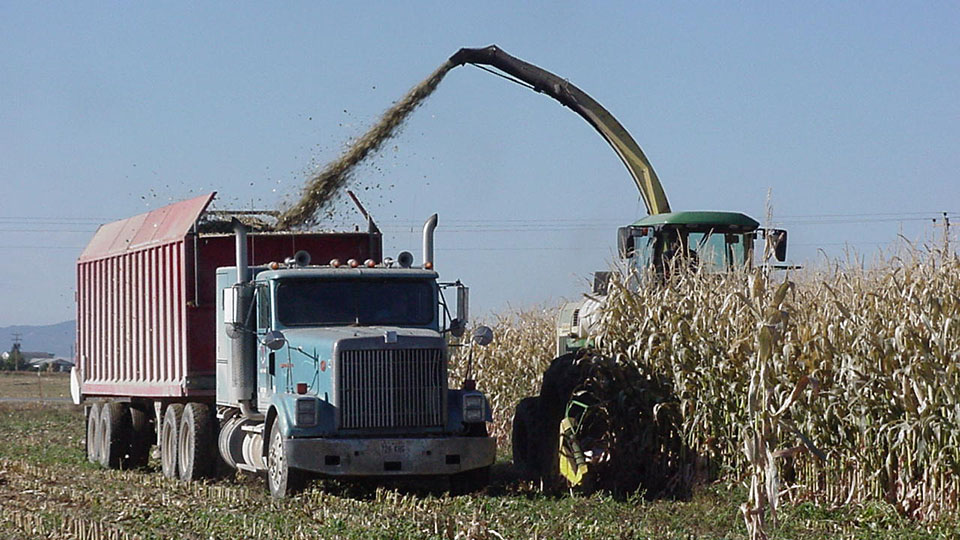
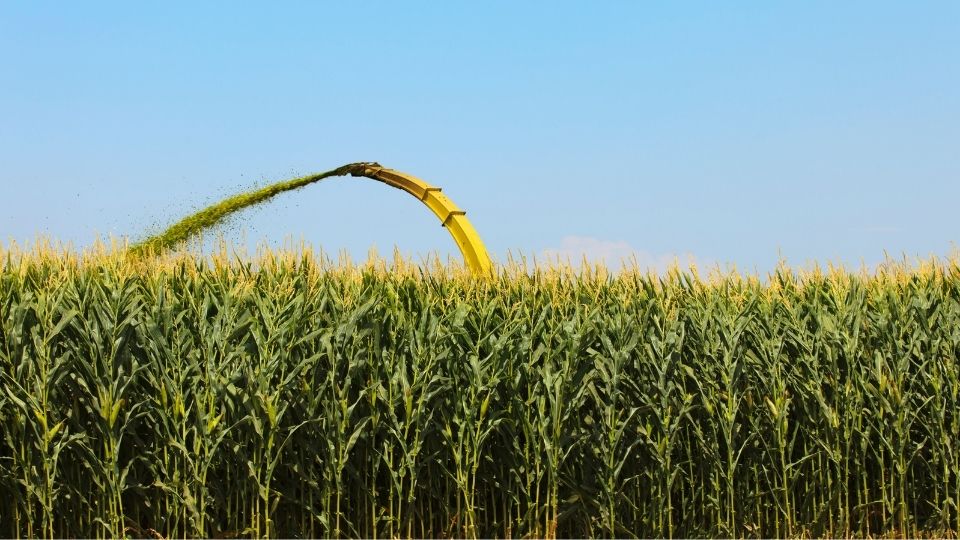
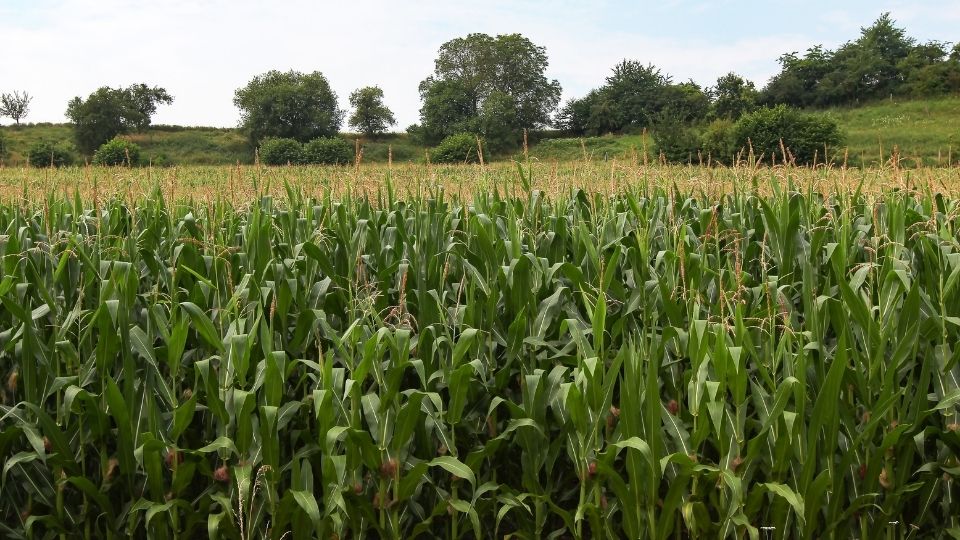
Plant population - Recent USU studies on multiple hybrids showed that a final population of around 35,000 plants/acre is optimal for silage corn. Optimal grain corn populations are usually 2,000 to 3,000 plants per acre less than silage corn. Lower seeding rates are also warranted on poor soils.
Planter performance - Maintain planters and operate at the proper speed to avoid yield loss (up to 2–5 bushel/acre for each mile per hour over optimal speed).
4. Beware grazing on sorghum aftermath.
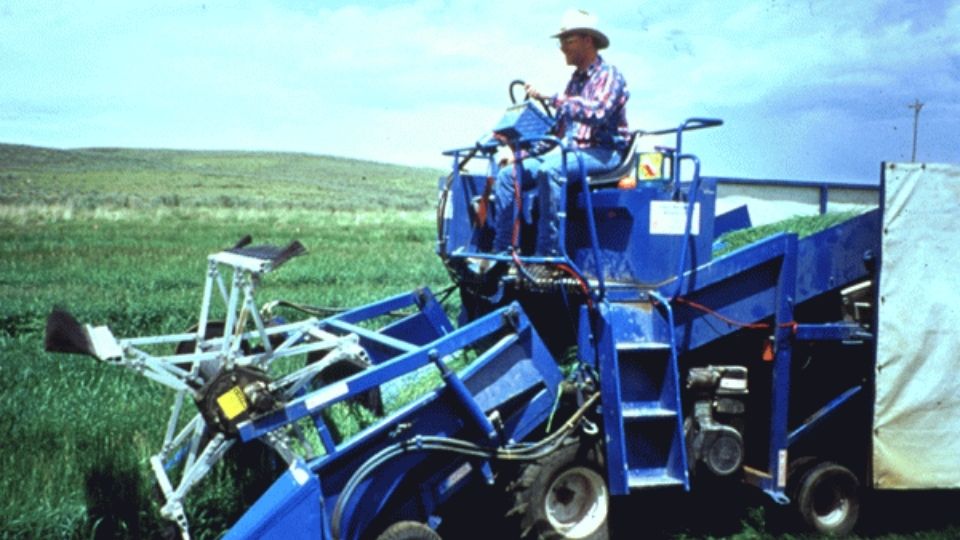
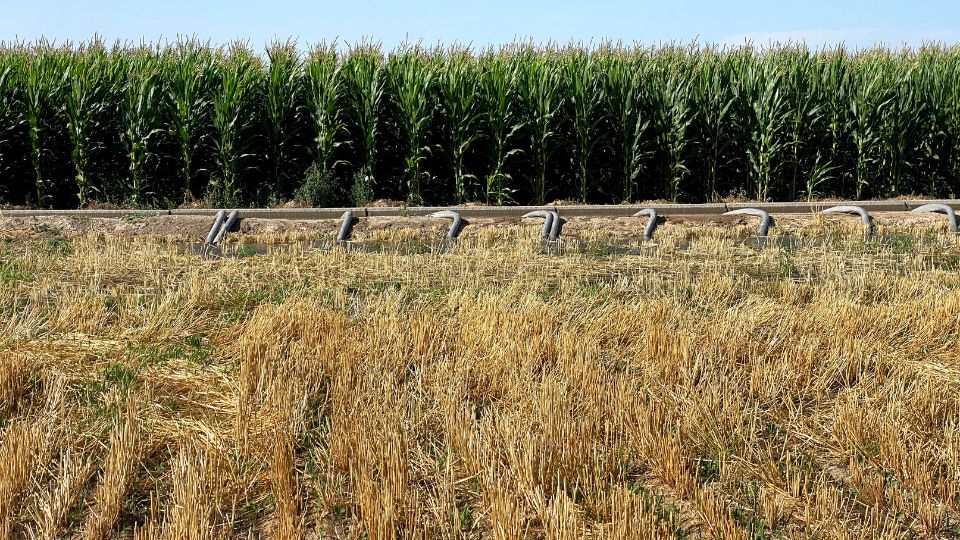
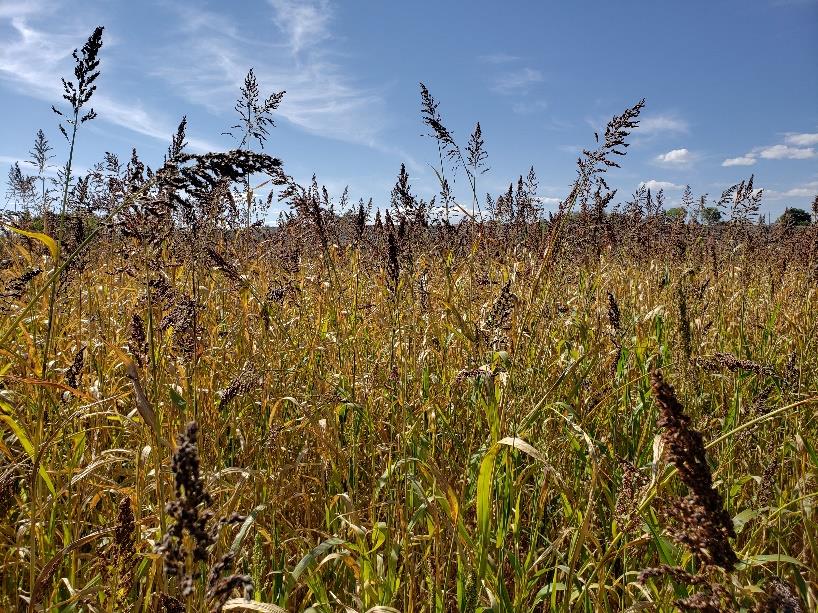
An issue with grazing fall sorghum field postharvest aftermath (Figure 4) is the potential for prussic acid poisoning. This can cause staggering, mouth foaming, labored breathing, or potentially death by interfering with oxygen utilization in the animal's tissues. Poisoning potential is highest in harvested fields where soil moisture and temperature have generated rapid, tender regrowth. By allowing for at least 15 inches of regrowth that has not been stressed by heavy drought conditions or frost before grazing, producers can minimize their poisoning risk. In addition, if animals are going to be moved into a new sorghum area, it is beneficial to feed quality forage beforehand to ensure subsequent grazing is not too rapid.
5. Sample forage for nitrate levels.
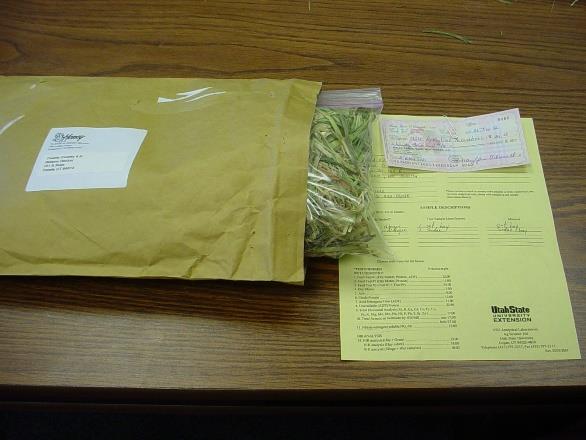
Many annual forages such as oats, corn, millet, sorghum, and sudangrass can accumulate toxic nitrate levels under certain conditions such as heavy fertilization, frost, or drought. Toxic nitrate levels can be lethal or cause abortion in livestock. Therefore, a nitrate test (approximately $20) collected in the recommended way may save you thousands of dollars in livestock death loss (Figure 5).
6. Harvest newer alfalfa fields first.
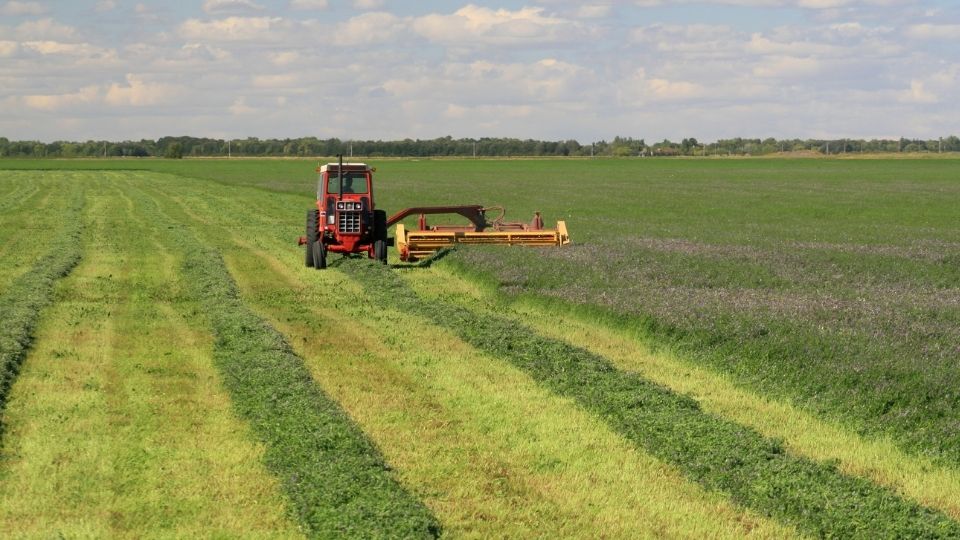
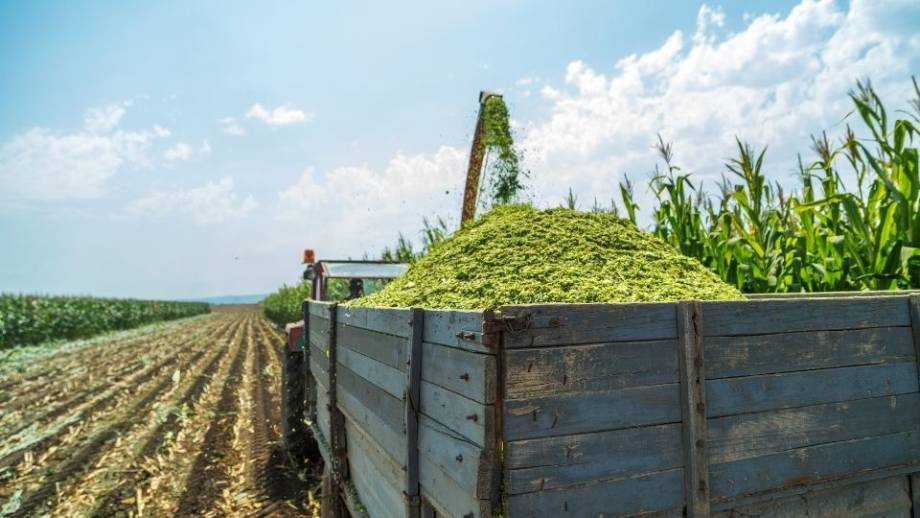
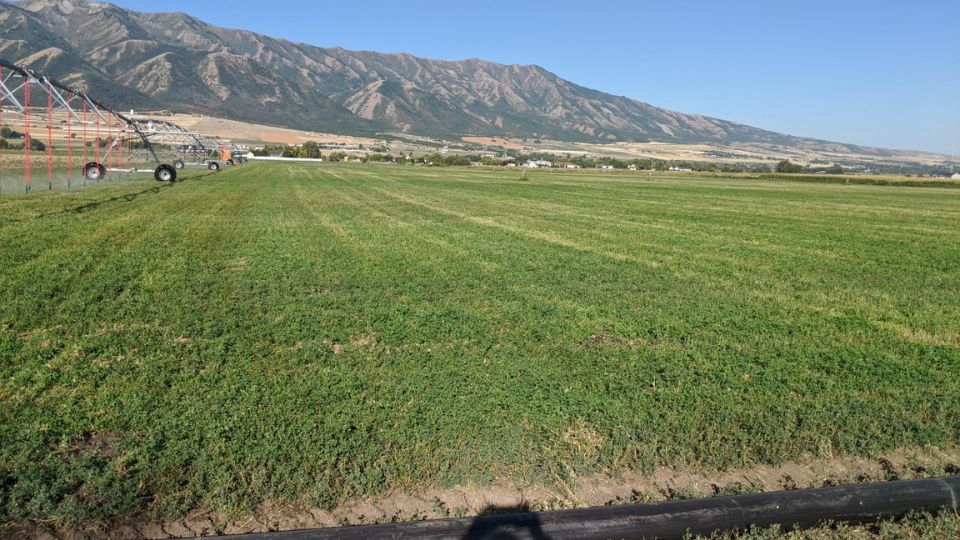
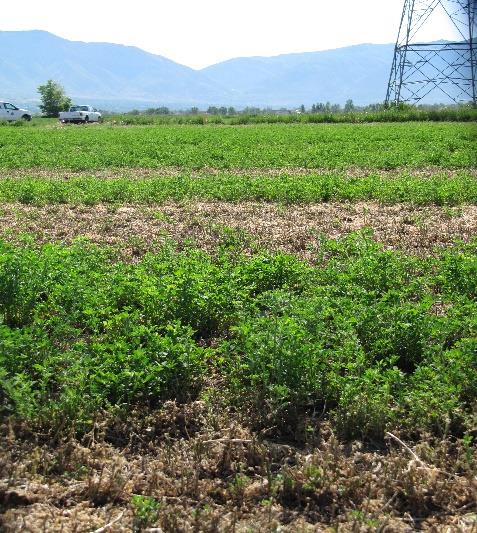
When scheduling alfalfa harvesting across fields, start with the newest fields or fields with fewer known issues. As harvest progresses, work your way to older fields or to fields that commonly have problems. Harvest and baling machinery can transfer undesirable organisms like weed seeds or plant pathogens that degrade alfalfa stand yield and quality over time (Figure 6). By starting with the newest fields, you protect your most valuable fields from harmful organisms and diseases accumulated over time in older stands and ensure maximum stand longevity.
7. Walk your fields.
The most common problems impacting yield are irrigation, fertility issues, insect pressure, and disease issues. While these problems can cause significant damage, many can be effectively managed if they are discovered quickly or the proper preventative measures are taken. The best way to determine if any of these problems are affecting your crops is to scout fields regularly (Figure 7).
8. Do not walk through your alfalfa when there is frost on the leaves.
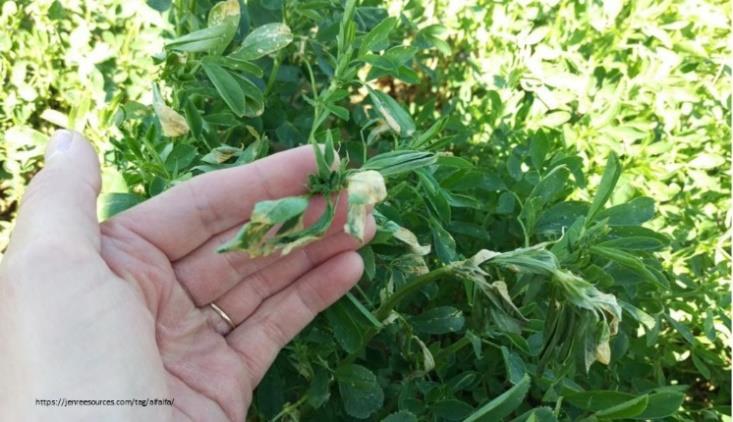
If there is light frost on the leaves, it may not cause frost damage on the alfalfa in general, but you can get symptoms of frost damage on the plants along the path you walk (Figure 8). Wait until the frost has melted before walking through your alfalfa fields.
9. Follow this "Rule of hat" for deciding when to rotate alfalfa.
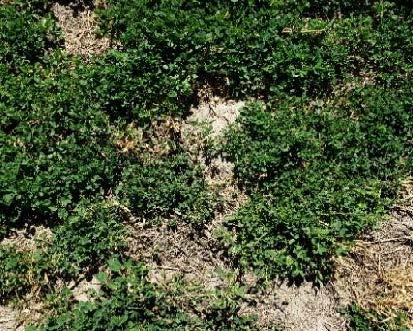
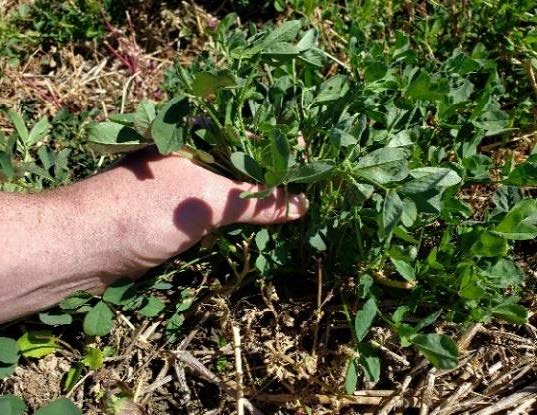
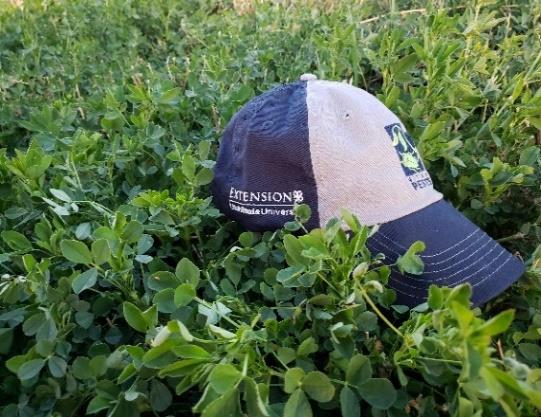
Alfalfa stands decline in both tonnage and quality as they age and thin. Stands past their economically productive life also serve as a weed and disease source for surrounding fields. Operators should carefully weigh their projected returns from rotating out of alfalfa to maximize profit. Fields having less than four to six plants per square foot are considered poor and should be rotated (Figure 9). Counting the number of stems per square foot when growth is around 5 inches tall is another method. More than 55 stems per square foot indicate that yields are not limited, 55 to 40 stems indicate yields are somewhat limited, and fields with less than 40 stems per square foot should be considered for rotation. It is worth paying special attention to areas prone to winterkill, such as areas with poor drainage or marginal soil. If you do not have a measuring square, a standard baseball cap with brim measures approximately half of a square foot, so stem counts can be doubled or threshold halved. For example, if 30 stems are counted under the hat, then multiply 30 by 2 to estimate 60 stems per square foot.
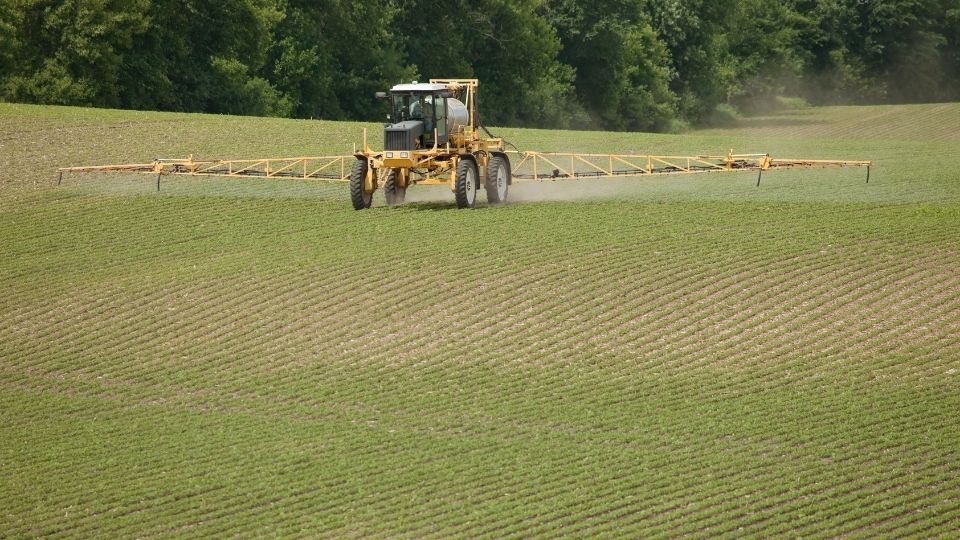
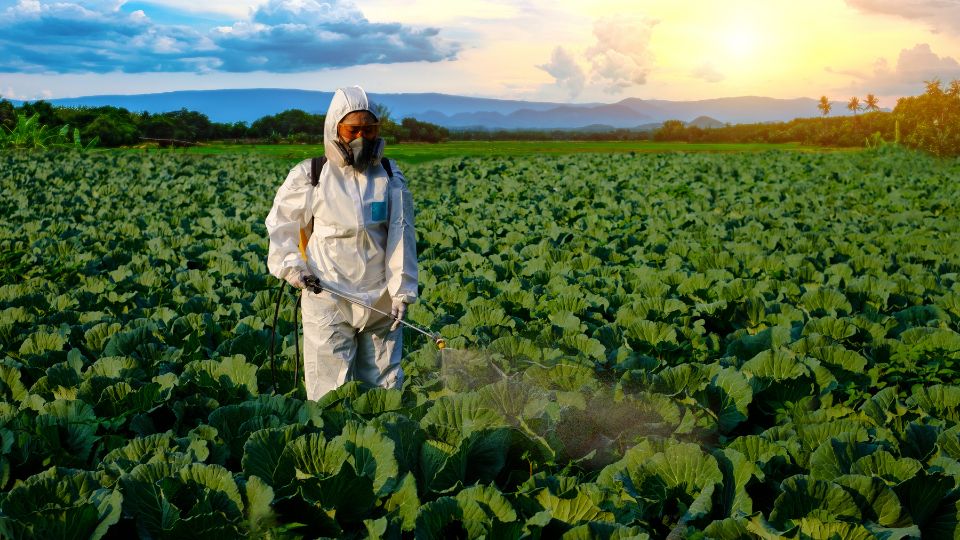
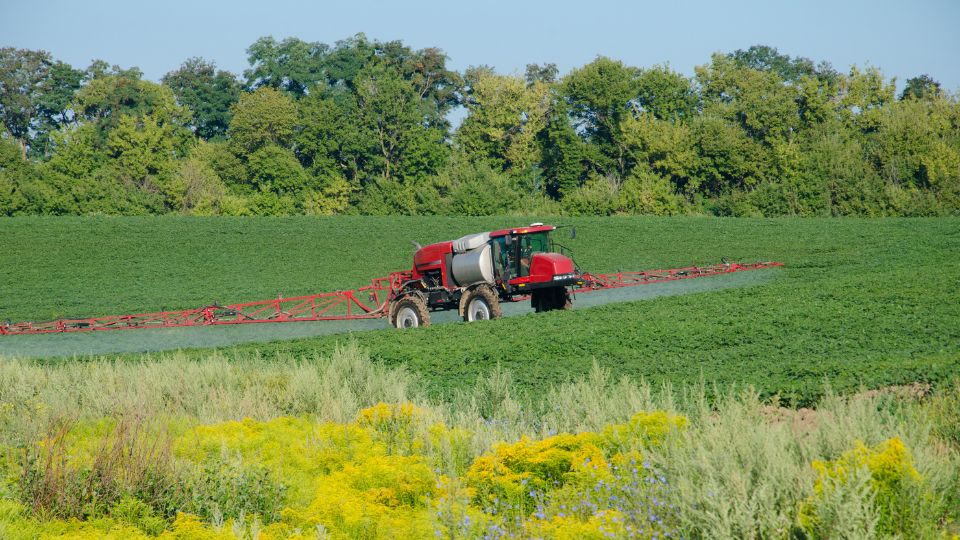
10. Mix herbicides in the correct order.
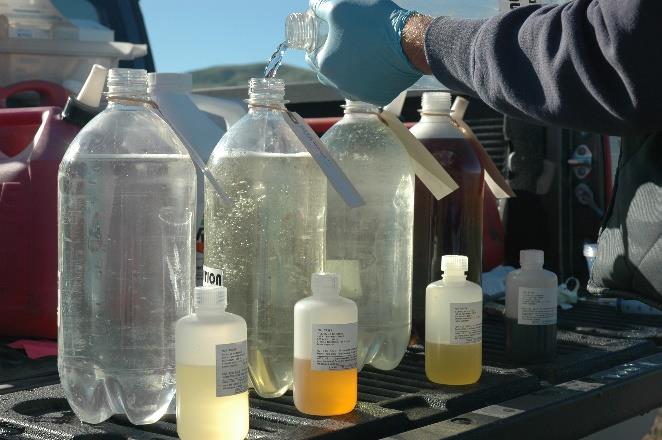
Increasing the efficacy of glyphosate is as easy as adding the ingredients in the proper order (Figure 10). The hard water we have in Utah makes adding the ingredients in the proper order is even more important. The process is:
- Start by filling your tank with water.
- While it is filling, add ammonium sulfate (AMS) at 8.5 to 17 pounds/100 gallons. Always use AMS when applying glyphosate products.
- Next, add any surfactant to the tank (many of the Roundup products already have a surfactant in them).
- The last ingredient you should add is the glyphosate product.
Properly adding glyphosate in the correct order can increase its efficacy by 12%.
11. Scout for noxious weeds.
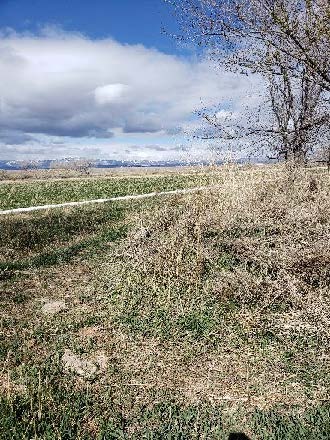
Noxious weeds can be introduced via off-farm materials, machinery, or moving animals. When purchasing materials such as seed, straw, soil, or feed, you should be confident that these materials are produced from clean sources. Particularly for local materials, consider asking the seller if you can see the production fields during the growing season to get an idea of what weeds might be present. Soil purchased or moved on-farm should also be checked for noxious weeds (Figure 11). Machinery moved from farm to farm or area to area should have been cleaned before arriving or cleaned in designated areas on-farm away from production fields where possible. Many weed seeds are extremely small and fall into planter seed box cracks and seams. Boxes can be cleaned with a shop vacuum so detritus can be bagged and disposed of properly. Holding areas for livestock usually have high soil disturbance and should be scouted regularly for weeds before they spread.
12. Look out for dodder in alfalfa.
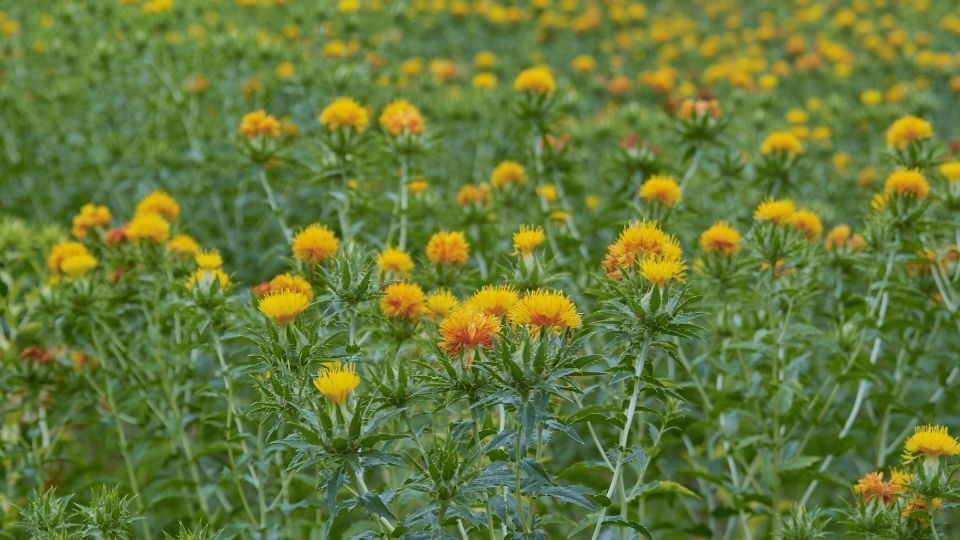
Dodder is an annual parasitic weed that looks like orange to yellow twine or string (Figure 12). Mowing has been utilized to set back dodder but does not address the challenge as some attachment points are near the soil surface. An effective management approach for dodder is to apply a preemergence herbicide that will control the dodder as it tries to germinate. Products such as trifluralin (Treflan) or pendimethalin (Prowl H2O) can effectively control dodder when applied at the right time and rate. In fields with known heavy populations of dodder, the planting of Roundup Ready alfalfa and the use of glyphosate (Roundup) can provide effective dodder management. Preventing seed production of dodder is critical for reducing future problems with this challenging weed. If you do not have dodder on your farm, purchasing certified seed (dodder-free) is important to ensure you do not bring this pest to your fields.
13. Control grasshoppers through a community effort.
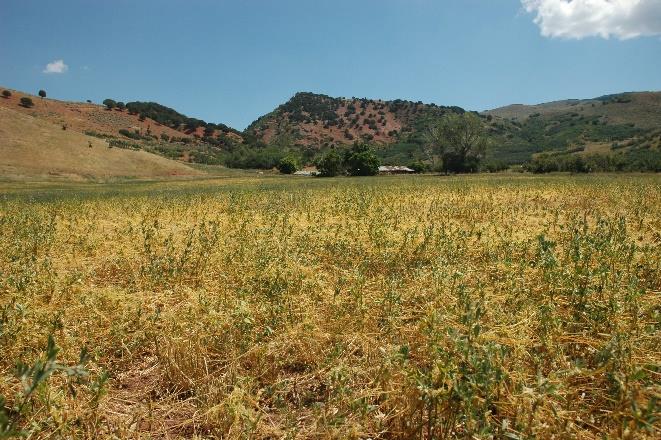
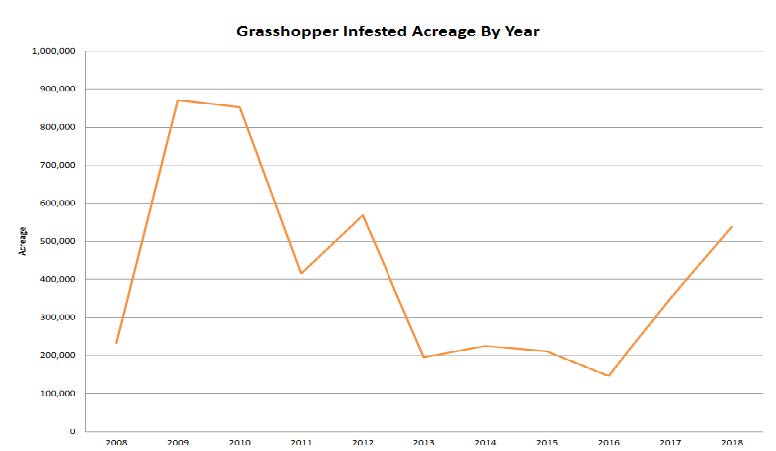
When your neighbors are not participating, it can be very frustrating trying to control an infestation of grasshoppers on your farm (Figure 13). Your farm will be an island of green food surrounded by a sea of hungry grasshoppers. When neighboring landowners control grasshoppers together, the treatment becomes larger, cheaper, and more effective.
14. Reduce pesticide resistance risk by rotating product mode of action.
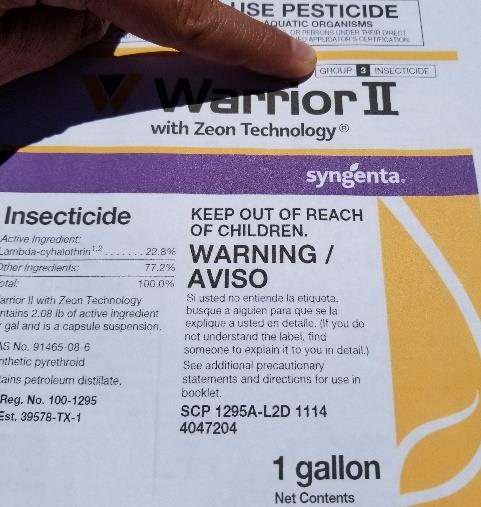
The misuse and overuse of pesticides can lead to pesticide resistance and a reduction in the effectiveness of a product. Reducing the overuse of a single mode of action by rotating products based on different modes of action and practicing integrated pest management practices can reduce the risk of pesticide resistance. Pesticide labels (Figure 14) assist with determining different modes of action using group numbers. Rotating group numbers (mode of action) is one component of pesticide resistance management.
15. Use pest thresholds to time management.
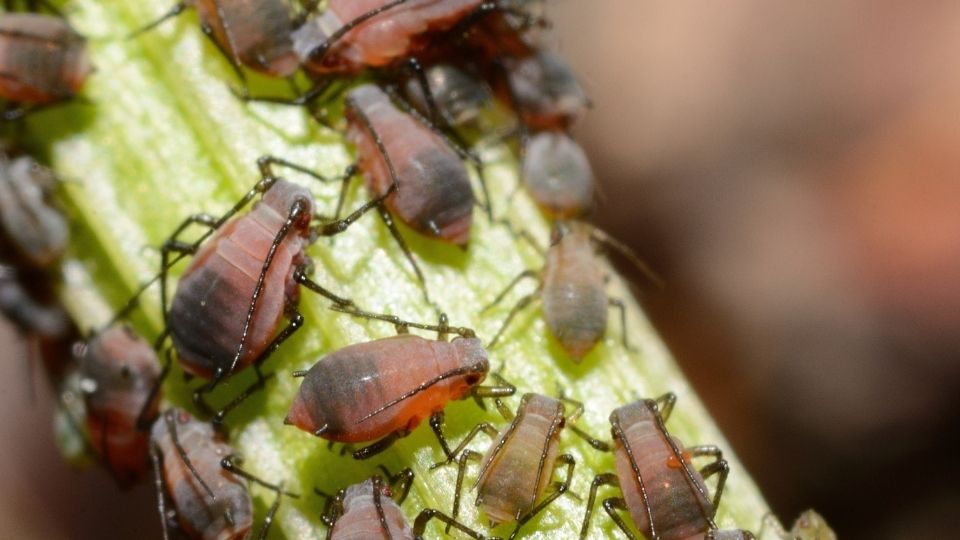
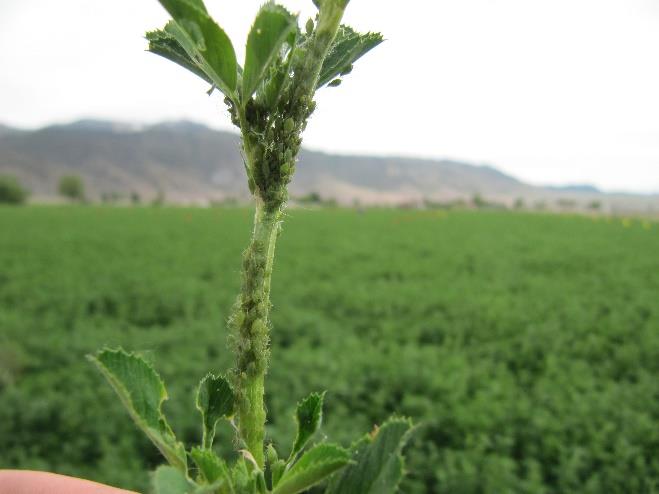
Growers can avoid unnecessary insecticide applications and production costs by only spraying when pests approach economically significant levels of crop damage. Economic thresholds have been established for several pests, like alfalfa weevils and aphids. Determining a threshold may involve using a sweep net and calculating the average number of the pest collected per sweep (weevils) or the average number of the pest collected per stem (aphids; Figure 15). These numbers can be compared to thresholds provided for the specific pest to decide whether the appropriate time for management is warranted or whether continued sampling is needed. Since a pest may not reach an economically damaging level, a spray may not be warranted that season. Pest monitoring and management in this fashion is a component of reducing the risk of developing pesticide resistance by pests. In addition, if treatments are required, rotating between different modes of action (IRAC MOA) can further reduce potentially insecticide-resistant populations.
16. Prevent alfalfa stem nematode (ASN) disasters by using clean seed.
Buy seed that has been well cleaned from a reputable source to avoid the introduction of ASN into fields. ASN can almost completely desiccate and survive on seed, hay, and equipment. Paying a little more for high-quality seed and avoiding the introduction of ASN into a field can pay off in the long term (Figure 16). Once ASN has been introduced into a field, it is nearly impossible to get rid of it. Click here to learn more.
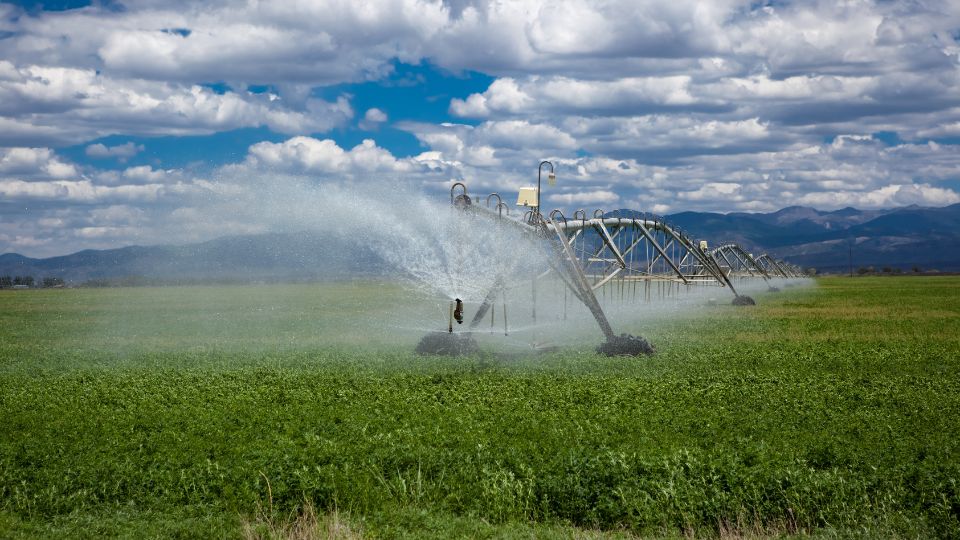
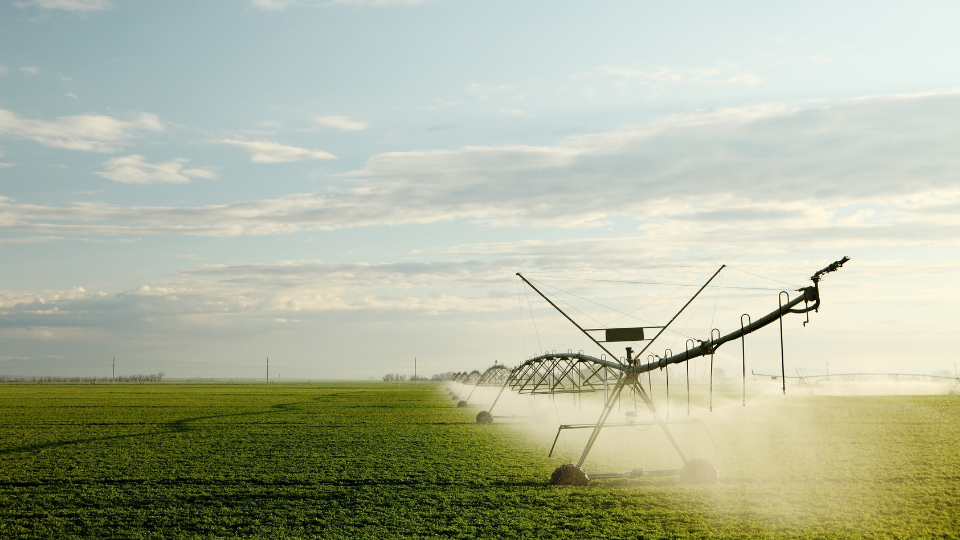
17. Irrigate according to crop evapotranspiration.
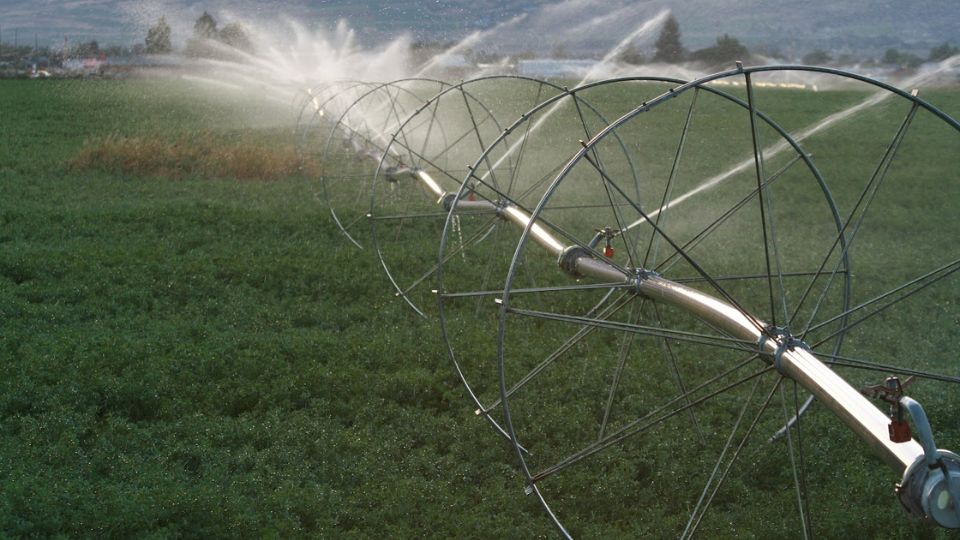
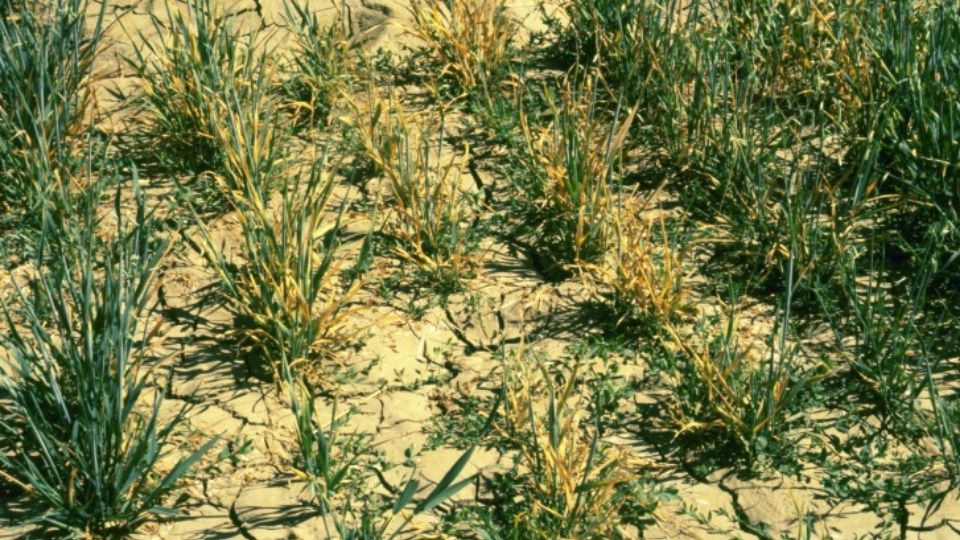
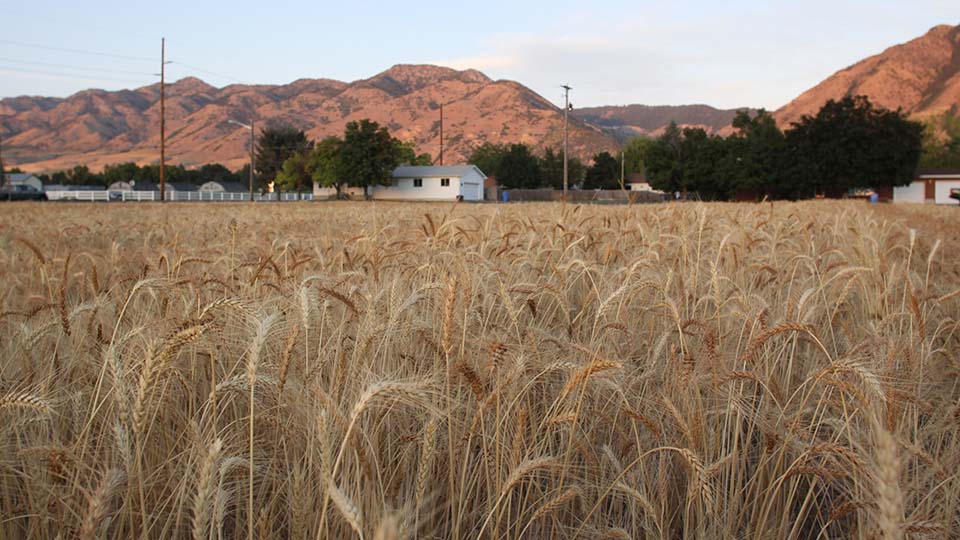
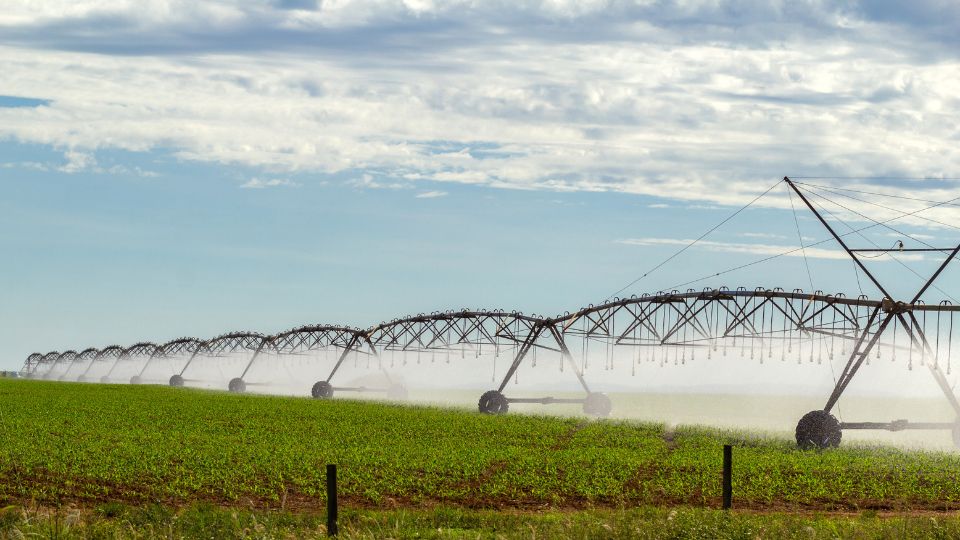
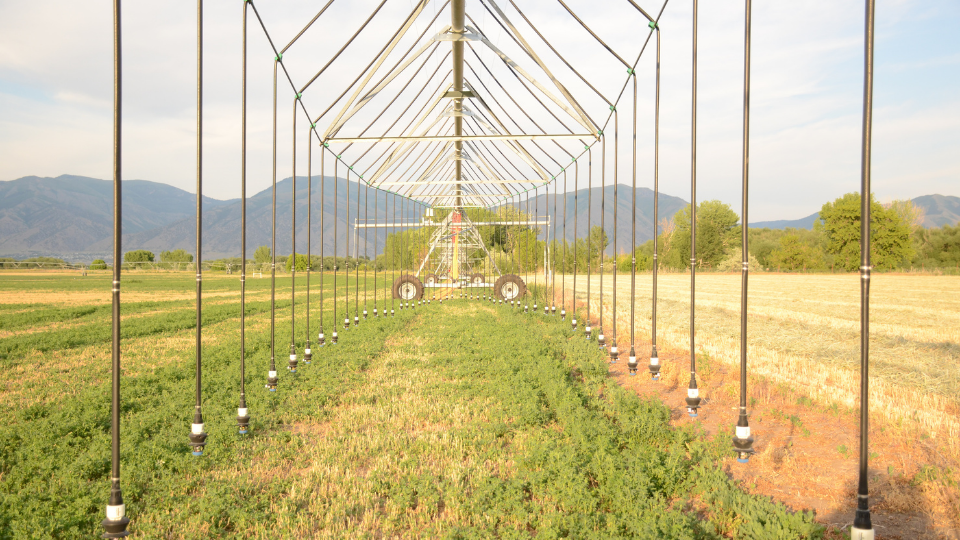
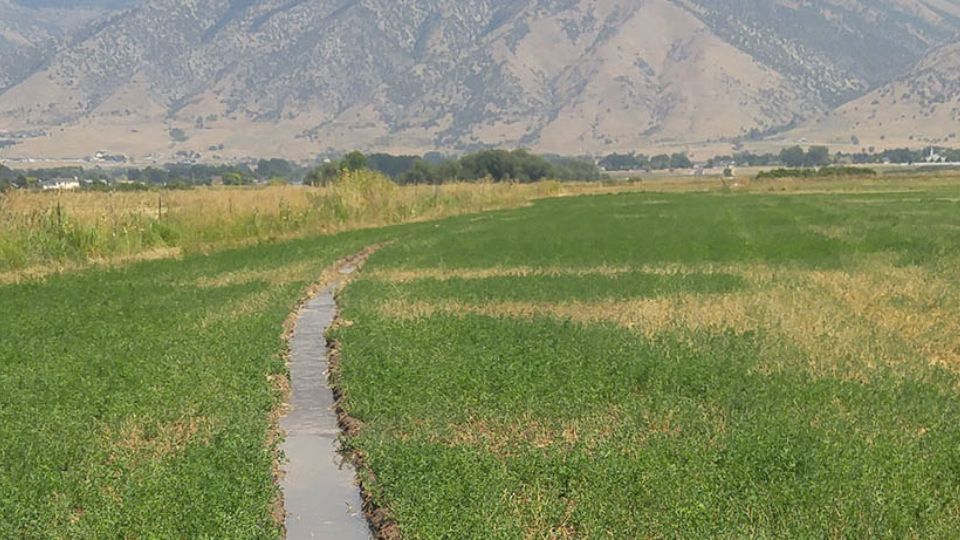
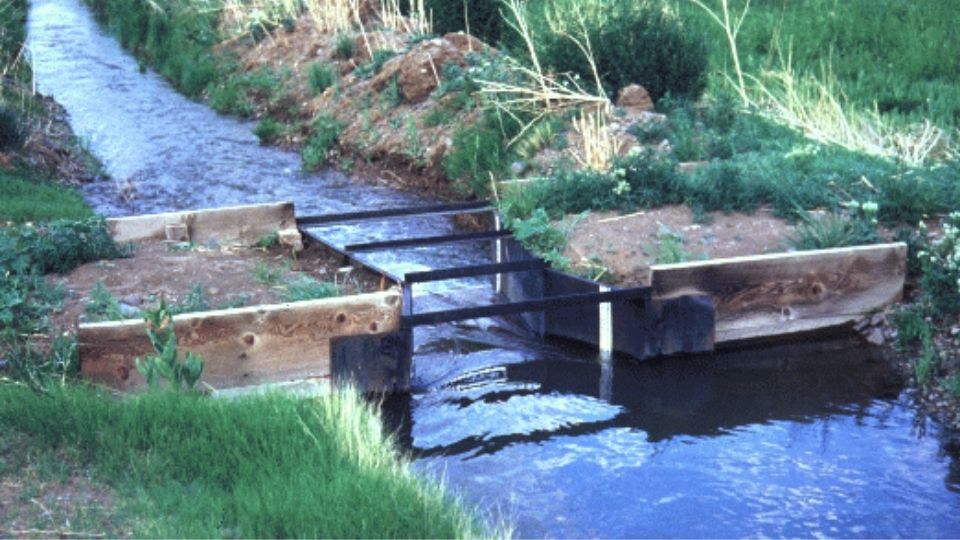
The water holding capacity of most irrigated soils is about 2 inches of available water per foot of soil. Therefore, irrigate when 1 inch of water or less per foot of rootzone has been depleted for most crops. For example, small grains in the flower stage should be irrigated when 3 inches or less of water has been depleted (Figure 17). Evapotranspiration (ET) of crops in the summer ranges from about 0.25 inches per day in the colder areas (high elevation valleys) to 0.30 inches per day in hotter areas (southern and desert areas). Alfalfa requires about 5 inches of ET per ton/acre (for example, 6 tons needs about 30 inches of ET), although some varieties require less. Spring small grains require about 20–22 inches, and fall small grains need about 18 inches.
18. Schedule irrigation using data.
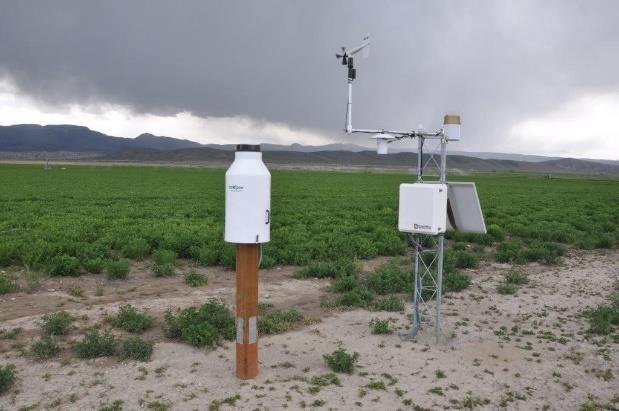
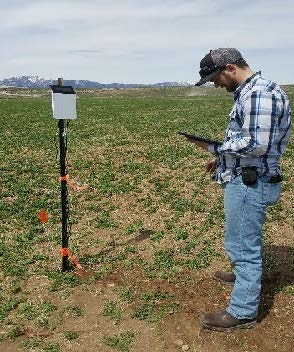
Irrigation scheduling (rate and frequency) is one of the most important decisions on the farm and should not be guesswork. Improved scheduling can begin with a free irrigation scheduler program that utilizes Utah weather station data. Producers who want to invest in more advanced scheduling can utilize a variety of soil moisture sensors or other commercial programs (Figure 18). When utilizing sensors, focus first on cost and how you will access and utilize the data. Then install sensors according to manufacturer specifications. Finally, be sure to install as many sensors in a field as you plan to adjust for irrigation. For example, you only need one if the whole field will be irrigated the same way.
19. Save on nitrogen costs in small grains after alfalfa.
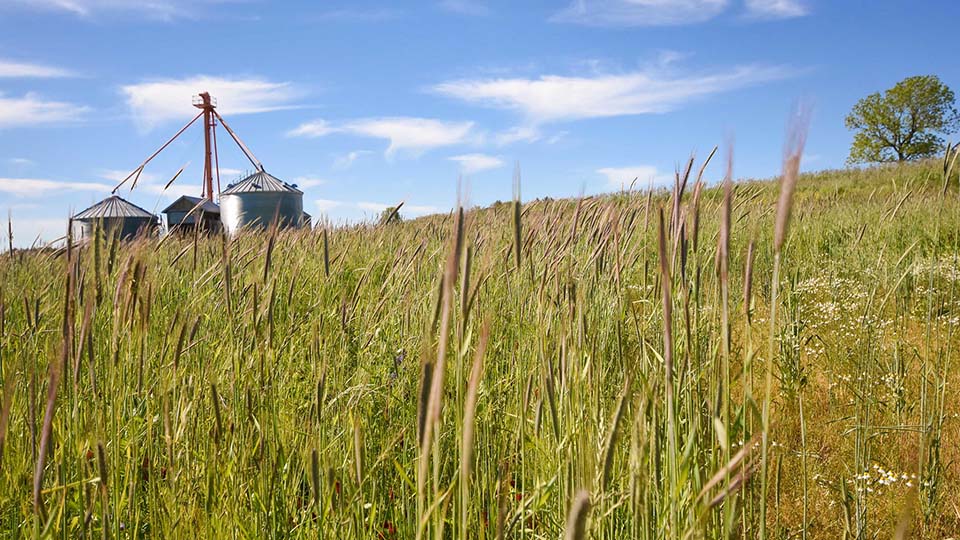
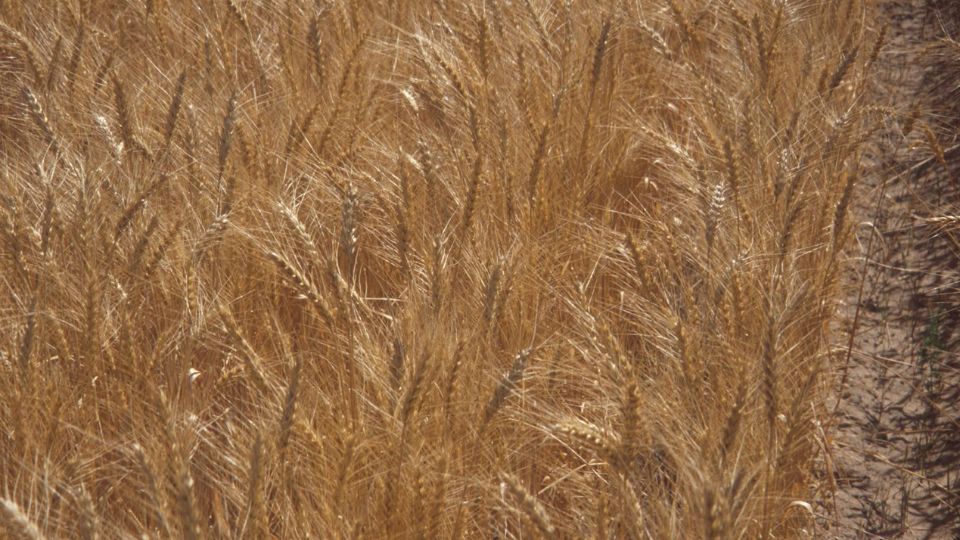
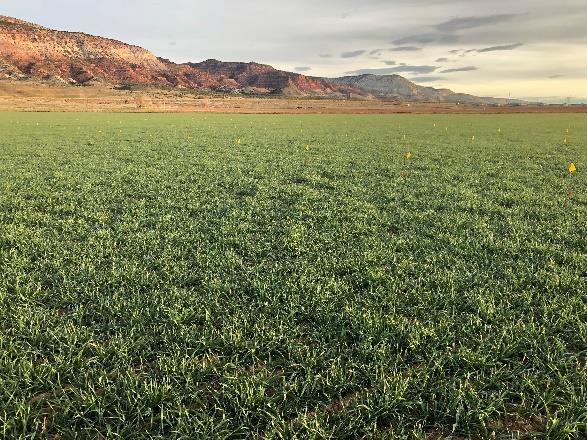
Small grains harvested as forage (Figure 19) - Withhold nitrogen fertilizer in the first year following alfalfa, unless it follows an old alfalfa stand (10 years or more). In these cases, about 60 pounds N/acre should optimize yield.
Small grains harvested as grain - Nitrogen fertilizer will often be needed in the first year following alfalfa. Measure soil nitrate in the top 1 foot of soil (https://usual.usu.edu/) in the early spring to predict whether fertilizer is required. If soil nitrate is above 21 ppm, withhold nitrogen. If it is below, apply 75–150 pounds N/acre to optimize grain yield and protein. This small investment in soil testing ($15–30/field at minimum) could save $50/acre or more in fertilizer costs for this rotation.
20. Take high-quality soil samples.
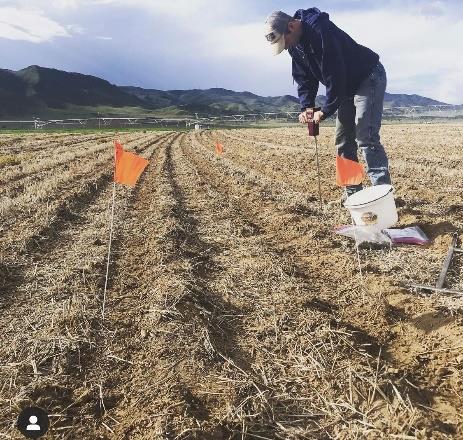
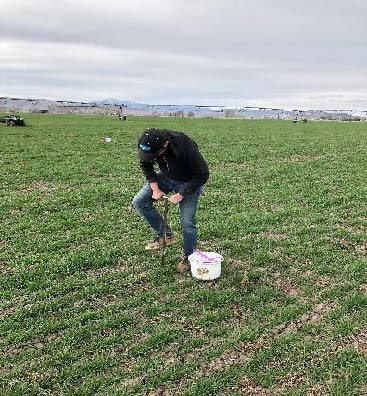
A good soil sample is 12 inches deep and is representative of your entire field (Figure 20). To represent your entire field, take several 12-inch deep samples from around your field and mix them in a bucket. If you have a noticeable difference in soil texture or soil color in parts of your field, you may want to take more than one sample for testing. The soil test results will tell you the salinity level, PH, and nutrient levels for phosphorus and potassium. The report will also recommend how much of each nutrient you need to add for the year. Soil test results will give you a snapshot of how your field is doing, what it may be low in, and which nutrients are not needed.
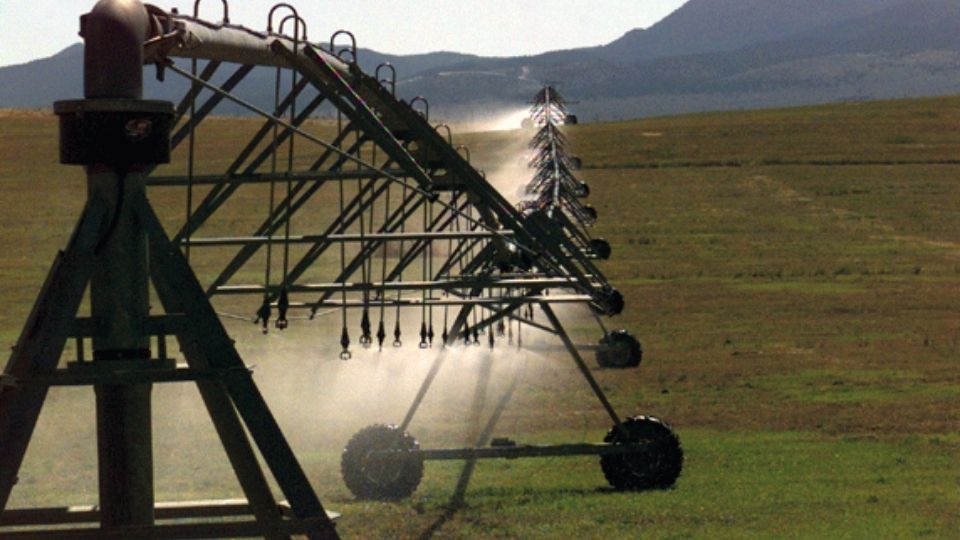
21. Reclaim saline soils by periodic over-irrigation with sprinklers.
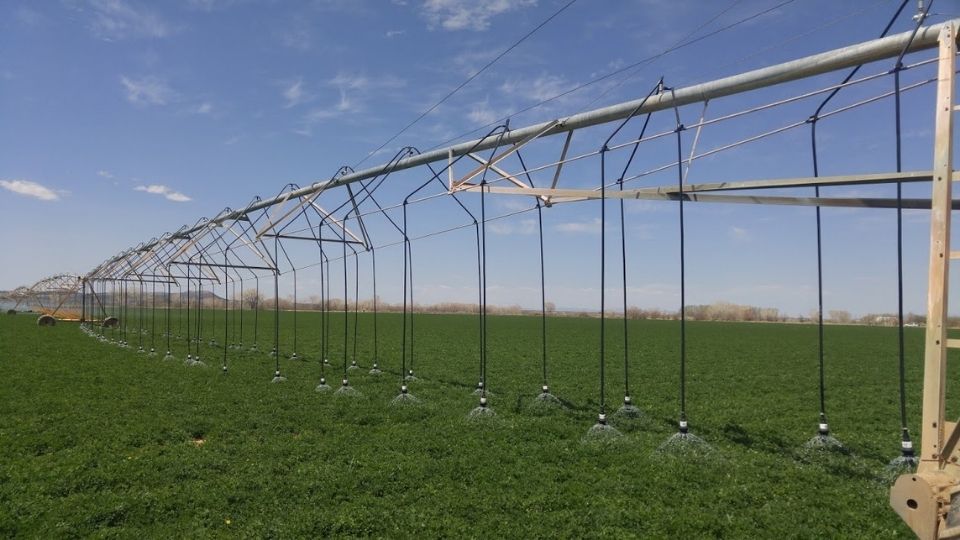
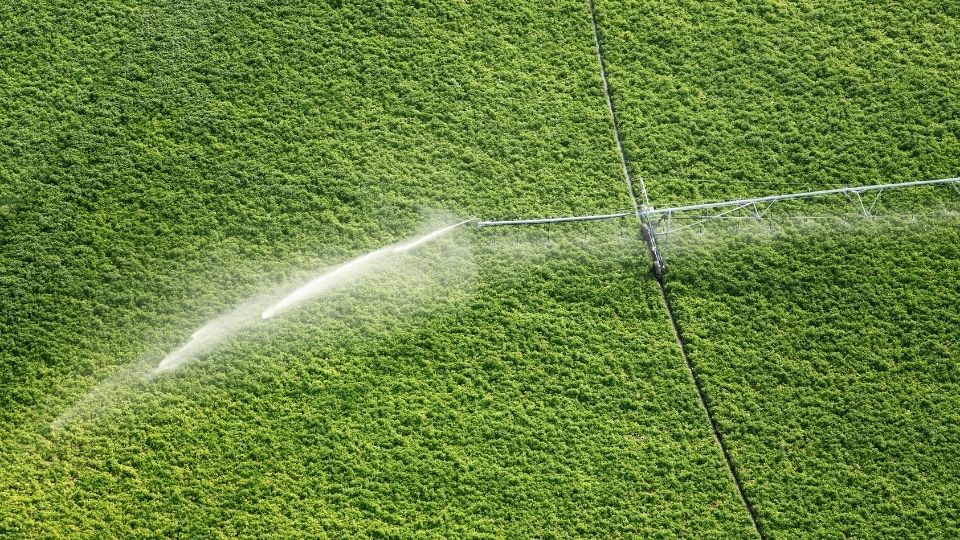
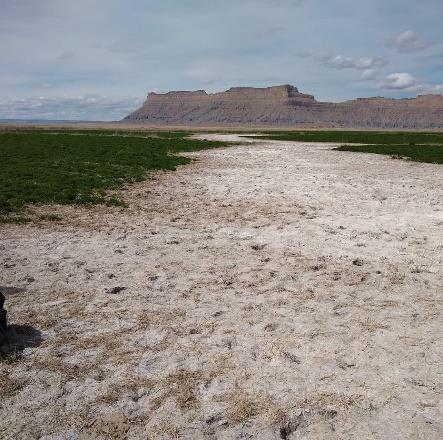
For each foot of soil one desires to reclaim, apply 6 inches of good quality water (EC <1.5 dS/m) over and above soil water holding capacity to net about 50% reduction in soluble salts (Figure 21). Generally, reducing 50% of soluble salt is enough to return most salt-affected, cultivated soils to productive levels. Add 12 inches above to net about 80% reduction. Over-irrigation with sprinklers is a reclamation process and should only be conducted every 5–10 years as salinity conditions dictate. Also, remember that sprinkler application is more efficient at removal than flooding. Water applied in pulses of 2–3 inches per application is more efficient at salinity removal than continuous application. The soil must have good internal drainage and have at least 6–8 feet of free drainage above the water table.
22. Compare your working capital to gross revenue.
How much working capital is enough? Working capital is the difference between your current assets and your current liabilities, and it represents the liquidity position of your operation. The necessary amount of working capital depends on an operation's size, type, and riskiness. One ratio to help answer this question is the working capital to gross revenue ratio. Utilizing gross revenue is a method to capture the size of the operation. A rule of thumb is that you want your working capital to gross revenue to be greater than 25%. Figure 22 shows a range of values that help you assess the strength of your working capital.

23. Understand your operating profit margin.
Understanding the profitability of your operation is key to monitoring efficiency and production costs. A key profitability ratio is the operating profit margin ratio. This ratio measures the return per dollar of gross revenue or, in other words, for each dollar of sales, how much is actually profit. A rule of thumb is that you want this ratio to be greater than 10%. This means that for every dollar of sales, 10 cents is profit. Having at least a 10% operating profit margin allows a producer to have some margin for production costs and prices of commodities. Figure 23 provides a guide to assessing the profitability of your operation.

24. Approach winter manure application with care.
For many producers, winter application of manure is a practical reality. However, winter manure application is highly discouraged and requires a careful approach. Utah guidelines recommend the incorporation of manure within three days, but incorporation is generally not feasible in the winter. So, what can one do? The key is to only apply manure to fields with an extremely low chance of allowing runoff (UMARI tool). Otherwise, stockpile in storage facilities or use field storage with berms to reduce runoff.
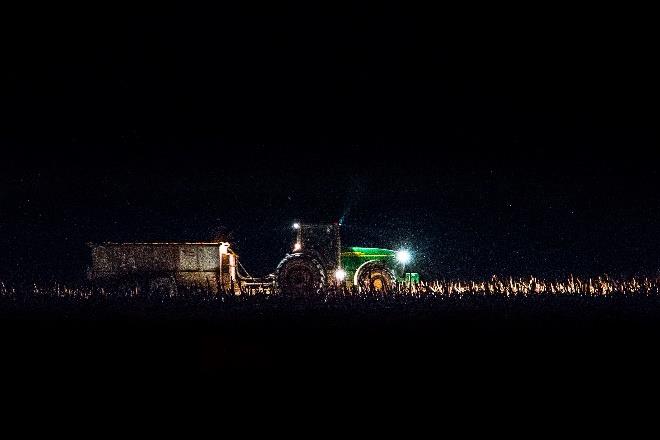
Photo credit: Jason Edwards.
25. Incorporate manure within 24 hours of land application.
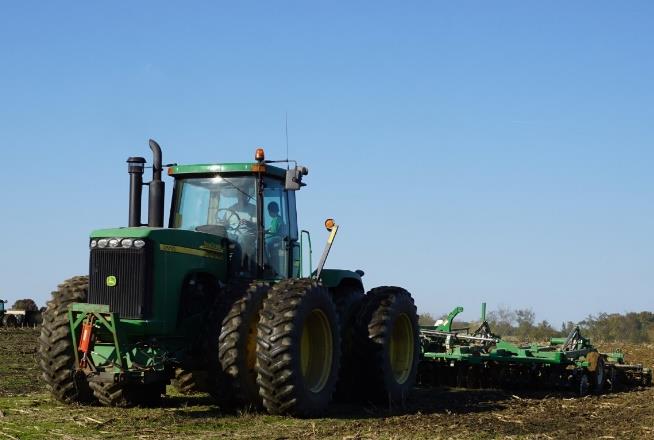
Nitrogen, in the form of ammonia, is rapidly lost to the atmosphere after land application. This is nitrogen that your crop could have used instead of purchasing fertilizer. Manure from a sand bedding operation loses about 50% of the ammonia within the first 24 hours after land application and about 76% of the ammonia within the first 48 hours. Rapidly incorporating manure after application greatly reduces losses due to volatilization (Figure 25). Click here to learn more.
Published January 2022
Utah State University Extension
Peer-reviewed fact sheet
Authors
Matt Yost, Niel Allen, Grant Cardon, Earl Creech, Ryan Larsen, Rhonda Miller, Mark Nelson, Claudia Nischwitz, Matthew Palmer, Steven Price, Ricardo Ramirez, Corey Ransom, Benjamin Scow, Randall Violett
Related Research


