How to Optimize Images for the Web
It's important to check the file size of images before using them on the web. Images that are too large will load slowly for site visitors. This is especially noticeable for visitors with slow internet connections.
JPG or PNG? Which File Type To Use
JPGs
JPGs work best for photos. JPGs are optimized to keep the fine details and potentially millions of colors in photographs at manageable file sizes.
PNGs
PNGs work great for computer-generated graphics like logos, digital illustrations or graphics that contain text. PNGs keep the flat colors and crisps shapes and lines of computer graphics looking clean. PNGs can also have transparent backgrounds, while JPGs cannot.
What Dimensions To Use
The following are commonly used dimensions on USU Extension sites:
Jumbotron Banners — 1500 x 500 pixels
Images at the Top of Articles — 960 x 540 pixels
Directory Photos — 400 x 600 pixels
Note: For nearly all purposes, it is rare that a web image should exceed 1200 pixels at it longest dimension. For most uses, images can be much smaller than that size.
Common Aspect Ratios
For consistency's sake and to make sure HTML rows and columns work correctly, it's a good practice to use the same aspect ratio on images that are used together. The following are a few commonly used aspect ratios:
16:9 — This is the aspect ratio of widescreen TVs. It works great for the web because its not too tall and allows for images that take up less vertical space. This is the aspect ratio of 960x540 pixel images.
1:1 — Is a square image. It works well for navigational images.
4:5, 2:3 and 5:7 — Are common aspect ratios for printed photos. They're less narrow than 16:9 images. Images used for the Extension directory are created in a vertical or portrait 2:3 ratio.
4:3 — Is the aspect ratio of standard-definition televisions. It's also less narrow than 16:9 images.
Pay Attention To File Size
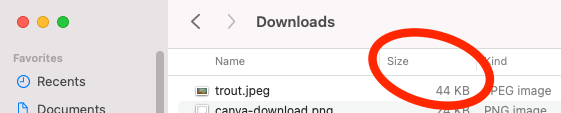
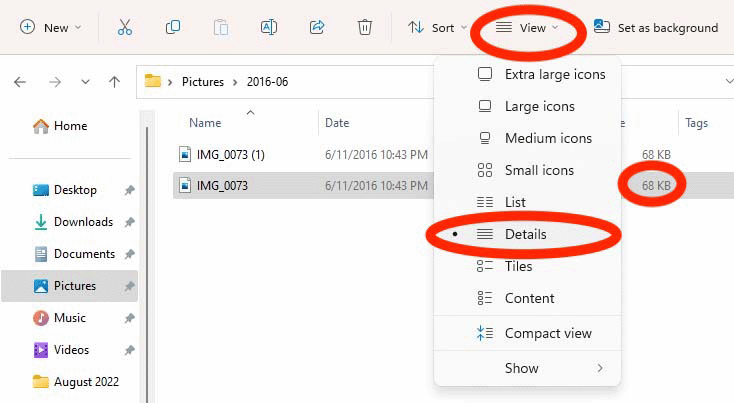
Once you've created a web image, make sure to check its file size. Try to create web images that are about 100 KB or smaller in size. Occasionally, large images (like banners) might be as large as a few hundred kilobytes, but even those should be kept under 500 KB. Images that are over 500 KB or even a megabyte or larger are too large for most web purposes.
For reference, it might be useful to understand the relationship between different units of memory size:
1 Byte = 8 Bits
1 Kilobyte = 1,024 Bytes
1 Megabyte = 1,024 Kilobytes
1 Gigabyte = 1,024 Megabytes
Use an Online Image Optimizer
After you've created an image, you can use an online optimizer like TinyJPG.com or TinyPNG.com to reduce its file size (often substantially) without degrading image quality. Optimizers can make larger-sized files small or already small files even smaller.
These sites are easy to use. Just drag your files into the indicated area and then download them one at a time or packaged as a ZIP file.