
Preparing Your Bird for the Poultry Showmanship Contest
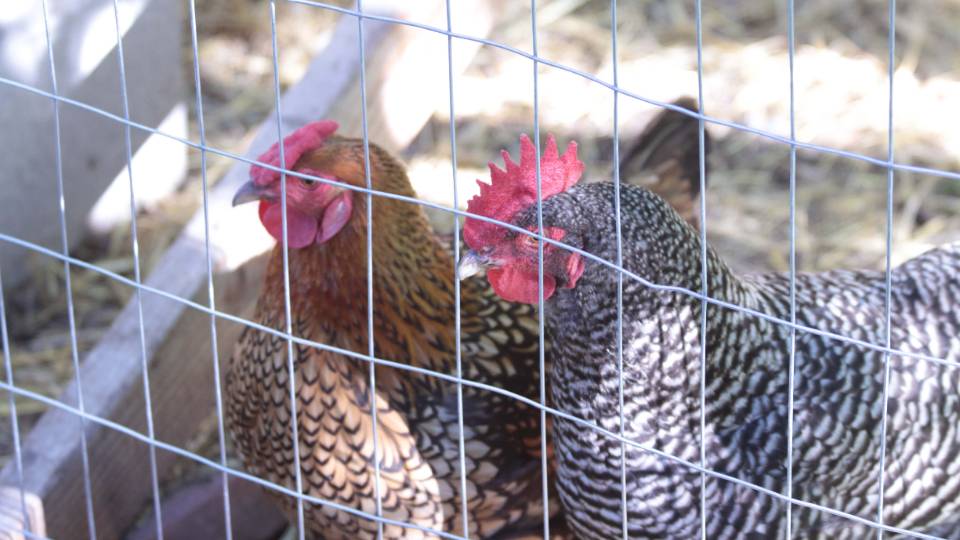
The first and most important rule of showmanship is kindness to your bird. The more cooperative your bird is, the better success you’ll have in the show ring. Careful preparation prior to the show is necessary to be an effective show person. The calmness of the chicken is a reflection of how much the bird has been handled and worked with prior to the show. First of all, you will want to build a bond with your bird. After you have decided which bird you will use in showmanship, you should handle it frequently. The more you handle your chicken, the stronger the bond and the greater the trust becomes.
Practicing with Your Bird
If you have ever seen a professional poultry showman at work, they make showing their bird look very easy. However, for you to have your bird act good in a show ring, you need to practice. You will want to practice handling your bird as if you were in a show. You should first start by handling and talking to your bird a lot, as well as feeding it tidbits out of your hand. Be careful feeding tidbits to roosters as they can get aggressive. When you and your bird feel comfortable around each other, you can start practicing holding and walking around with the bird the correct way. This is done by placing your left hand beneath body with the index finger between the legs and the remaining three fingers grasping one leg and the thumb the other, with the head under the elbow and the right hand placed on the back. These steps lead to having a calm and docile show bird.
Training for the Pose
Most judges will ask you to pose your bird. The first thing you must know is what the bird looks like in the Standard of Perfection or Bantam Standard. You can find pictures of posed chickens on the internet. Imprint that picture into your mental vision. You want your bird to stand just like that: the same head posture, tail angle, and wing position. Use a small non-slick piece of material or a rug on a table to practice posing your bird on. Start your training by holding your bird with the legs between your fingers and the breast resting in your palm. When the bird is calm, lower it until the feet are touching the rug. While still holding the bird, use your other hand to move the head and tail to the positions that are depicted in the Standard of Perfection. Some birds will respond quicker to posing by being gently stroked under the beak or given a treat when they are standing still. Slowly remove your hand that is holding the bird. If the bird moves, pick it up and start over. Do this as many time as is necessary to train your bird. Your goal is for the bird to stand for about 30 to 60 seconds after you remove your hands. Never place your hand on the bird’s back as this will make it set or squat. Work with your bird for about 10 minutes several times a day. You should see improvement each time.
Training for the Walk
Once you have trained your bird to pose you can start teaching it to walk down a table under your control. It is recommended that a collapsible pointer be used and adjust it proportionately to the size of your bird. A dowel or stick could also be used to direct your bird. Set up a 6 foot table and cover it with an old carpet remnant or some other non-slick material. Entice your bird with its favorite treat and lead it around the table. Grab the bird if it looks like it is preparing to fly off. After a few tries, the bird will get the idea. Now begin training your bird to follow your instructions using the pointer. Tapping the inner side of the hackle will make your bird turn, and tapping the outer side of the saddle/cushion will make your bird move forward. Start training your bird to this method by tapping “fairly” hard. Eventually, the bird will become agitated at the tapping and move away from it. Reward your bird at the end of the table. The “hard tapping” technique applies to turning as well. When your bird starts to obey start tapping lighter and lighter. Patience is the key here, and your bird will respond to a positive reward system.
Bathing and Grooming
Never take a dirty bird to a show, each bird should have clean feet, legs, and feathers. It is recommended that birds be washed anywhere from 2 to 5 days before the show. Birds should be washed at least 24 hours before the show so they have time to thoroughly dry and preen their feathers. It may take 12 to 18 hours for the washed bird to completely dry. If birds are washed several days before the show, it is extremely important that they are caged in well bedded cages to help them stay clean. Learning to wash birds is not difficult, but it is best to practice on some birds not intended for exhibit first. The area in which the birds are to be washed should be 80⁰F-90⁰F and free from drafts. You can wash your bird in the home tub, sink or use the multi tub method. In this article we will discuss the multi tub method. The multi-tub method requires four tubs for white birds and three for all others. The tubs should be large enough to give you plenty of water and room for a good bath. Other items needed are: shampoo, vinegar, hair conditioner, towels, old toothbrush, dog nail clippers, blow dryer, an emery board and a small sponge. The first two tubs should be filled with warm water (95°F) and the third with water at room temperature. The first tub is used for the actual cleaning of the birds. Soap or detergent is added to this tub. Make it sudsy before putting the bird into the water. Grasp the bird with both hands and lower it gently into the water, holding the wings so they cannot be flapped. With the bird standing on the bottom of the tub, release one hand but hold the bird firmly with the other. With the free hand, gently move the feathers on all parts of the body so the soap and water will penetrate to the skin. Then with a small brush, sponge, or your hand, work the soapy water through the feathers. Make sure to rub the feathers from base to tip to prevent feather breakage. Do not put the bird’s head under water.
While the bird is still in the first tub, take a soft, old toothbrush and scrub legs gently to remove any dirt or molting scales. When the plumage has been thoroughly washed, transfer the birds to the second tub containing a small amount of vinegar and thoroughly rinse out as much of the soap as possible. The vinegar will help remove the soap. It is important to remove all the soap; otherwise the feathers will stick and be streaked. For birds other than white, the third tub should contain plain water and a fourth tub is not required. For white birds, the third rinse tub should contain a small amount of bluing just enough to give the water a slight blue color. It is important not to get the water too blue or it will give the plumage a bluish tinge. The bluing helps whiten, condition, and give the feathers a sheen. Too much bluing may dye the feathers. White birds are then placed in a fourth tub, with plain water, for a final rinsing.
Wrap the bird in a towel leaving the head out of one end and the feet sticking out of the other. This will help dry the bird and keep it still so you can clean its head, and do additional cleaning of legs and feet. While wrapped, you can wash the face, wattles and comb with the sponge. Using the old toothbrush, give the legs, feet and toenails a scrubbing. Rinse them well under running water. Now trim the top beak so that it is even with the bottom and use the emery board to smooth the edges and clip the toe nails. It is easier to clip the toe nails once they have softened in the water and are clean. Be careful not to trim too short as they have a vein that runs down through the toe and into the toenail, and clipping into this vein will cause them to bleed.
When drying the chicken with a towel, press dry, do not rub. Birds should dry slowly for best results; however a hair dryer can be used carefully to hasten drying. Keep your bird in a warm environment until completely dry.
Just Before the Show
Items you may want to bring to the show besides your bird to have it in the best show shape are: baby oil, antibiotic ointment, old toothbrush, blood stopper, and a silk cloth. Thirty minutes or so before the judging begins, do last minute grooming. Start with the feet and legs by using the tooth brush to clean toenail and bottom of feet, then wipe legs and feet with baby wipes and then put on a little baby oil for a shine. Check the vent area for any manure that might be on the feathers and clean it with a wipe. Check the head and decide if you want to put baby oil or antibiotic ointment on the comb and wattles. Whichever you
Items you may want to bring to the show besides your bird to have it in the best show shape are: baby oil, antibiotic ointment, old toothbrush, blood stopper, and a silk cloth. Thirty minutes or so before the judging begins, do last minute grooming. Start with the feet and legs by using the tooth brush to clean toenail and bottom of feet, then wipe legs and feet with baby wipes and then put on a little baby oil for a shine. Check the vent area for any manure that might be on the feathers and clean it with a wipe. Check the head and decide if you want to put baby oil or antibiotic ointment on the comb and wattles. Whichever you choose, rub it in well so it produces a nice shine. Now use your silk cloth and rub your bird from head to tail several times, the more the better. The bird will enjoy this and you will see those feathers begin to really gleam. Gently place the bird back into its cage and be ready when your class is called for judging.
Now that you know the process in preparing your bird for the showmanship contest, go out and pick your best looking bird and go to work.
References
- Selecting and Preparing Broilers for Show. David D. Frame, DVM, Diplomate ACPV, Utah State University Extension Poultry Specialist.
- Selecting and Preparing Poultry for Exhibition. R. Scott Beyer Extension Specialist, Poultry Science, Animal Sciences and Industry. Milton Gadberry, President, Kansas State Poultry Club.
- Poultry Showmanship Made Easy. UC Davis, Valencia County 4-H and FFA Poultry.
- Bathing and Grooming Your Chicken by APA-ABA Youth program, Cindy Kinard, Florida Youth Leader.
- Preparing Poultry for Show. F. Ben Mather and Jacqueline P. Jacobs, University of Florida, IFAS Extension, PS34.
May 2012
Utah State University Extension
Peer-reviewed fact sheet
Authors
Troy D. Cooper, former Extension Associate Professor, Duchesne County; David D. Frame, DVM, DACPV, former Extension Poultry Specialist, Central Utah Veterinary Diagnostic Laboratory
Related Research
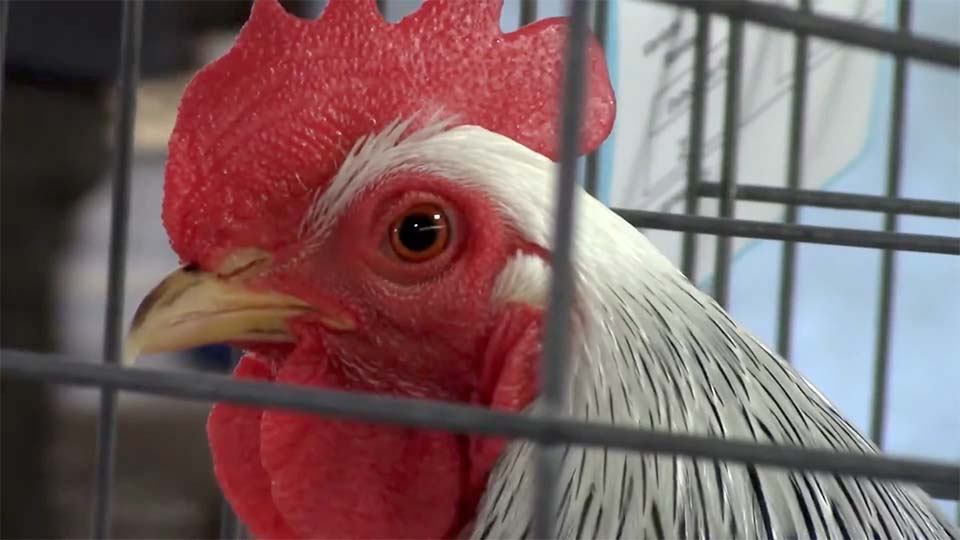
Basic Selection, Nutrition and Care of Show Poultry
The championship potential of a chicken is determined by genetics. Genetics are the traits inherited from its parents. The chicken’s environment dictates if the genetic potential can be met.
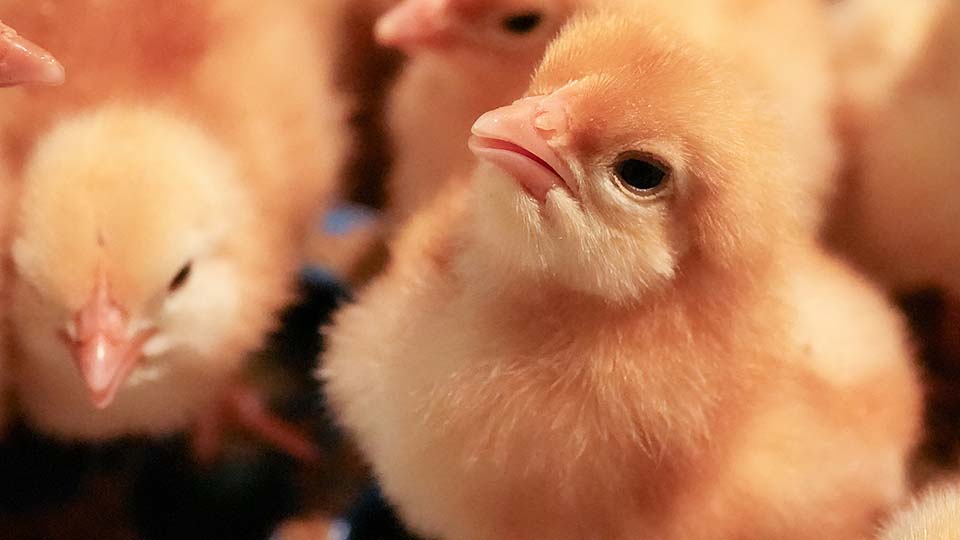
Handling Baby Poultry
With an increase in backyard poultry raising, and even keeping poultry as pets, it is necessary to keep in mind proper health concerns in handling baby poultry. Chickens, ducks, geese, turkeys, peafowl, and game birds can harbor and transmit certain agent
Preparing Your Bird for the Poultry Showmanship Contest
The first and most important rule of showmanship is kindness to your bird. The more cooperative your bird is, the better success you’ll have in the show ring. Careful preparation prior to the show is necessary to be an effective show person. The calmness
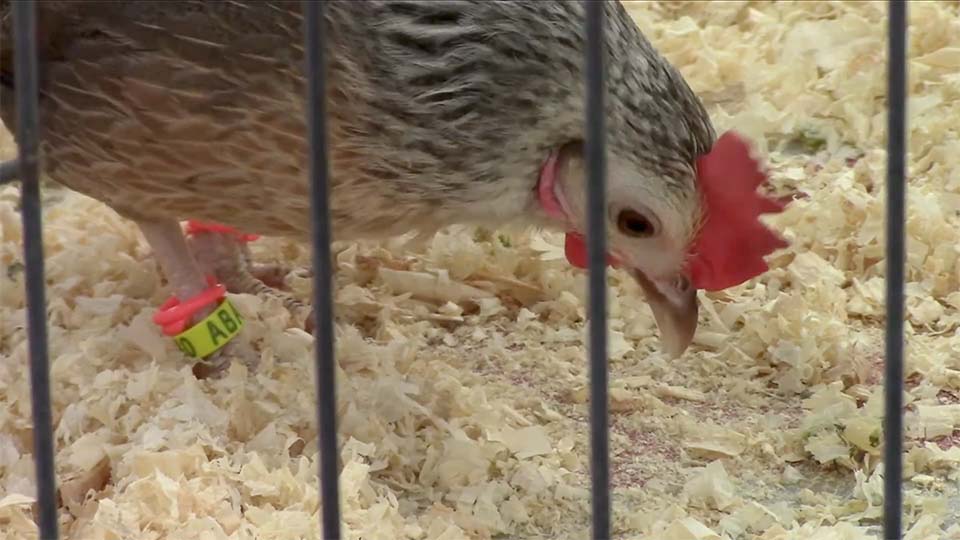
What is Expected of the Poultry Showman?
Showmanship is an exhibitor focused activity. The bird serves as a prop, while the exhibitor does the performing. The young person’s attitude, appearance, speaking ability, care and management skills, and willingness to follow instructions are all on stag
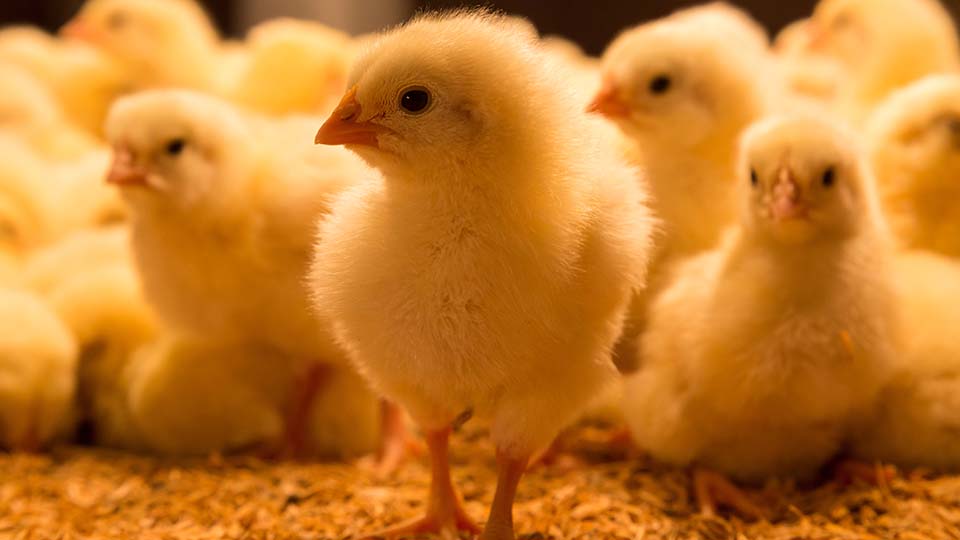
Managing Chickens From Chicks to Peak Egg Production
This fact sheet covers poultry history, top egg-laying breeds, egg anatomy, nutrition, and practical tips to help farmers improve productivity and run successful egg production ventures.

A Farmer's Guide to Egg Quality, Safety, and Flock Health
This guide offers practical advice to help you raise resilient, high-laying hens and build a successful small-scale egg production system, no matter your level of experience.