Principles of Boiling Water Canning

Some newer ceramic or glass tops prohibit the use of pots with
diameter larger than the burner and some prohibit the use of large stock pots
due to excessive weight. Check your manufacturer's recommendations before
canning on cook top surfaces.
The USDA Cooperative Extension system has been providing safe canning recommendations for over 100 years. It has been known since those early days that heat at the temperature of boiling water can destroy “almost” all microorganisms.Yeast, molds, and most bacteria are easily killed at at this temperature. The only microorganisms that survive are the bacteria that form protective spores, such as Clostridium botulinum.
High acid levels are used to prevent the spore-formers, especially Clostridium botulinum, from growing. pH is the measurement of how acidic a food is. The lower the pH, the higher the acid content. When the pH is below 4.6 growth of spore-formers is inhibited.
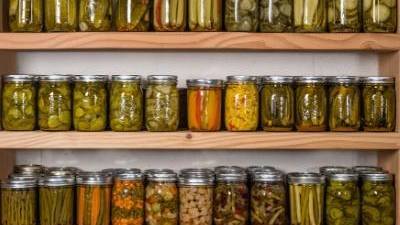
Foods such as fruits, pickles, sauerkraut, jams, jellies, marmalades, and fruit butters/spreads fit into the high acid group since they have an acidity, or pH level, of 4.6 or lower. Most tomatoes and tomato products also fit into this category. However, some new varieties of tomatoes have a border-line acid level and Cooperative Extension now recommends adding extra acid as a safety measure.
- Tomato Acidification: Current recommendations for acidification of whole, crushed, or juiced tomatoes, are to add 2 tablespoons of bottled lemon juice or ½ teaspoon of citric acid per quart of tomatoes. For pints, use 1 tablespoon bottled lemon juice or ¼ teaspoon citric acid. Four (4) tablespoons of 5 percent acidity vinegar per quart may be used instead of lemon juice or citric acid.
Boiling Water Canner
Most boiling water canners are made of aluminum or porcelain-covered steel. They have fitted lids and removable racks that are either perforated or shaped wire racks. The canner must be deep enough so that at least one inch of briskly boiling water will be over the tops of jars during processing. A flat bottom must be used on an electric range. Either a flat or ridged bottom may be used on a gas burner. To ensure uniform processing of all jars with an electric range, the canner should be no more than 2 inches wider than the burner on any side.
Selecting the Correct Processing Time
To ensure the safety of food processed the boiling water bath method, use scientifically-tested recipes (use scientifically-tested recipes from one of the approved online resources below. Printed guides should be current and dated no later than 2000.) to prepare the produce and adjust the processing time for altitude using the chart below. Keep in mind that failing to properly lengthen processing times may result in short-term shelf-life or spoiled food due to the growth of mold, bacteria, and other microorganisms not detected by sight or smell. Food poisoning may result if the spoiled food is eaten.
Where to Find Scientifically Tested/Approved Recipes
The main sources of scientifically tested or approved recipes include:
- National Center for Home Food Preservation (NCHFP)
- USDA Complete Guide to Home Canning
- Ball Blue Book, Guide to Preserving
- So Easy to Preserve (A publication from the University of Georgia Extension)
- University Extension offices and websites- In Utah
Boiling Water Canner Altitude Chart
Normally, the processing times given for acid foods in recipes and canning guides are based on an altitude at or below 1,000 feet above sea level using the boilingwater method. At altitudes above 1,000 feet, adjust the processing time according to the chart below.
| Altitude (feet) | Increase Processing Time |
|---|---|
| 1,001-3,000 | 5 minutes |
| 3,001 - 6,000 | 10 minutes |
| 6,001 - 8,000 | 15 minutes |
| 8,001 - 10,000 | 20 minutes |
Steps for Successful Boiling Water Canning
- Fill the canner halfway with water.
- Preheat water to 140 degrees F. for raw-packed foods and to 180 degrees F. for hot packed foods. Raw- or cold-packed foods are placed directly into hot jars and covered with hot syrup; hot packed foods are partially cooked or heated through and placed hot into hot jars, and covered with hot syrup. See tested recipes for detailed instructions for various types of produce.
- Load filled jars, fitted with new lids, and metal screw bands, into the canner rack and use the handles to lower the rack into the water; or fill the canner, one jar at a time, with a jar lifter.
- Add more boiling water, if needed, so the water level is at least 1 inch above jar tops.
- Cover with the canner lid and turn heat to its highest position until water boils vigorously.
- Set a timer for the number of minutes required for processing the food. (Check tested recipes for specific instructions for jams/jellies and pickles.)
- Lower the heat setting to maintain a gentle boil throughout the process schedule
- Add more boiling water, if needed, to keep the water level to above one inch of the jar lids.
- When jars have been boiled for the recommended time, turn off the heat and remove the canner lid.
- Using a jar lifter, remove the jars and place them on a protected surface, leaving at least 1- inch spaces between the jars during cooling. Keep away from air drafts and let the jars cool at room temperature
Sources
- Adapted from information in the USDA Complete Guide to Home Canning and National Center for Home Food Preservation.
Authors
Kathleen Riggs, Brian Nummer

Kathleen Riggs
Emeritus Extension Professor | Food Preservation
Home and Community Department

Brian Nummer
Former Food Safety Specialist
Related Research
Avoiding Common Canning Mistakes
Avoid these ten potentially deadly canning mistakes, as well as other food-specific mistakes that you'll want to avoid. This will keep your food fresh, healthy, and safe to eat.
Buying a Home Freeze-Dryer: What to Know Before You Go
Freeze-dried foods are extremely popular among backpackers and culinary masters, and now freeze-dryers are available for home use. But is a home freeze-dryer the appliance for you? Here is some information designed to cut through the advertising hype and
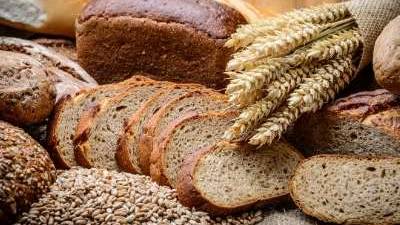
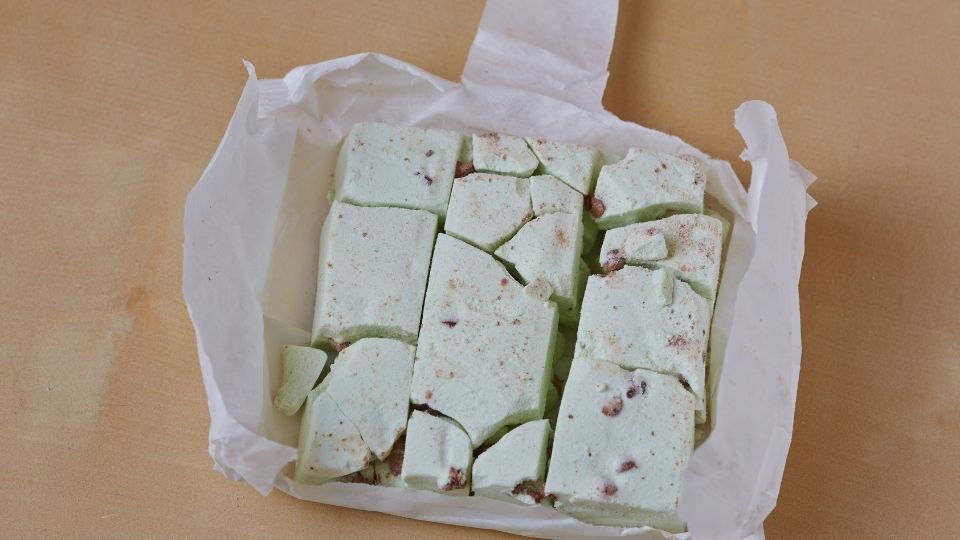
Canning Bread and Cake is Unsafe
Since 2000, Extension has been warning consumers about canning cakes and breads. While this process has much appeal, it does not destroy the organism that causes botulism.
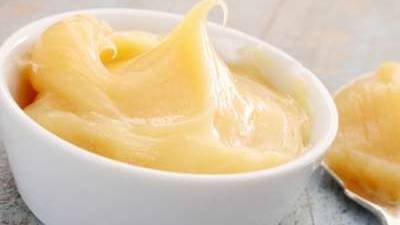
Canning Lemon Lime Curd
Learn how to the traditional British dessert of lemon curd. Canned, it has a shelf life of 3 to 4 months. If you don't mind the darkening that occurs, it can last up to 1 year.
Canning Meats, Poultry, and Seafood
Follow specific proper canning guidelines for chicken, beef, seafood, and others. These guidelines will ensure your food is safe to eat.