How to Preserve Pole and Bush Beans
(Green Beans & Wax Beans)
Did You Know?
- Beans are the second most popular home grown vegetable.
- Beans belong to the legume family along with peas, peanuts, and alfalfa.
- Beans come in both pole and bush varieties and are no longer just green – they can also be yellow and even purple.
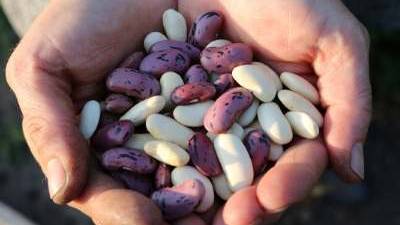
Utah Varieties, Planting and Harvesting
There are many good bean varieties for sale in local gardening outlets and through seed catalogs. Most grow well in Utah. Pod shape, size, and color vary among varieties. Here is a list of some potential varieties and plant types that have performed well in Utah.
| Bean Types | Suggested Varieties |
|---|---|
| Bush Beans | Blue Lake, Greencrop, Gold Crop, Kinghorn Wax, Royal Burgundy, Slenderette, Strike, Tendercrop |
| Pole Beans | Blue Lake types, Kentucky Wonder, Romano |
Plant bush beans every 14 to 21 days until mid-July for continuous production throughout the growing season. Bush beans require 50 to 60 days to mature depending on variety. Pole beans generally produce pods over a very long time period so one or two plantings are necessary each year. Bush and pole beans are harvested before the pods are fully mature. Pods should be full size with small seeds, and firm, crisp flesh when picked. Pods are ready for harvest about 7 to 14 days after flowering. Pick regularly as the plant will flower and mature the pods for 2 to 3 weeks on bush varieties and for 5 to 6 weeks on pole types. Harvest and use immediately or refrigerate for best quality and flavor.
Find more information, visit our guide on growing beans.
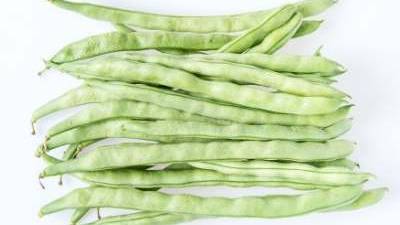
Selection and Preparation of Green Beans
Choose freshly harvested green beans with young tender pods. Pod diameter, not length, is the best indicator of quality. Freshness is evidenced by a distinct, audible snap when the bean is broken. Beans that are over-matured will be tough and stringy. Immature beans will wilt and soften quickly after harvesting. Wash beans in cold water. Beans can be cut into 1 to 4-inch lengths or left whole.
Freezing
Blanching
Pole or bush beans, like most vegetables, must be blanched before they can be frozen. Blanching stops enzyme actions that can cause loss of flavor, color and texture. Blanching works best if you heat 1 gallon of water to boiling in a large pot fitted with a wire basket, colander, or similar container. Add no more than 1 pound of green beans (4-6 cups) to the boiling water. If the water does not return to a boil within 30 seconds to 1 minute, then there are too many beans. Once the water returns to a boil, blanch beans for 3 minutes (4 minutes at elevations greater than 3500 ft). After 3 minutes, remove the beans using the basket and plunge them into cold wa
Freezing
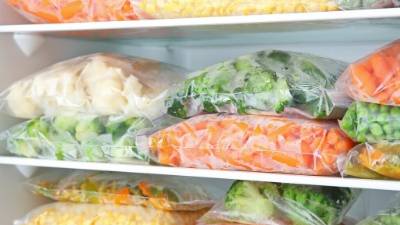
Fill pint- or quart-size freezer bags close to full. Squeeze out the excess air. Or, pack rigid freezer containers tight, leaving a ½ -1 inch headspace. For all containers: seal, label and freeze. To freeze beans so that they do not stick together, place them in a single layer on a cookie sheet. Cover them with plastic wrap and freeze the beans solid. Once the beans are solid, place them into freezer bags or rigid freezer containers.
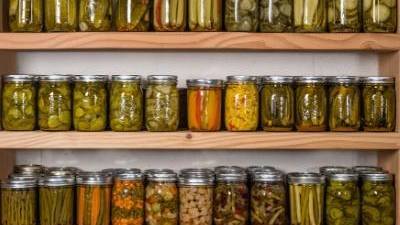
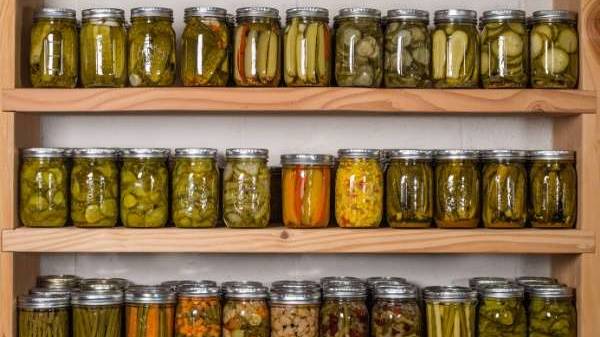
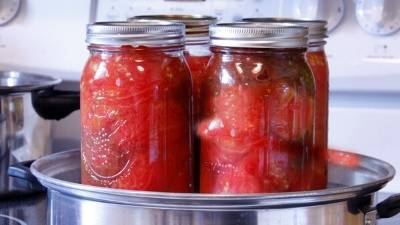
Canning
Pole or bush beans and other vegetables are low-acid foods. They do not contain enough acid to safely be canned in a boiling-water canner. Pole or bush beans must be pressure-canned for a safe period of time to avoid the possibility of the foodborne illness botulism.
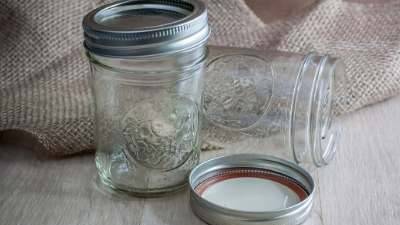
Use pint or quart jars. Unfortunately there are no safe processes determined for larger size jars. Wash jars in soap and water, then rinse. Prepare lids according to manufacturer’s directions. Harvest, wash, and cut beans as described above. Beans meant for canning do not need to be blanched. An average of 2 pounds of beans is needed per quart jar or 1 pound of beans for a pint jar.
Raw Pack
Fill pint or quart jars tightly with beans leaving 1 inch of headspace. Add boiling water over the beans, again leaving a 1 inch headspace. Attach two-piece metal lids.
Hot Pack
Beans can be boiled for 5 minutes in a pan and then packed hot with the boiling liquid into pint or quart jars. Leave 1 inch headspace and attach two piece metal lids.
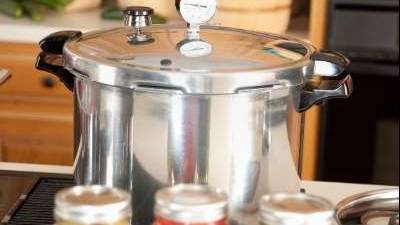
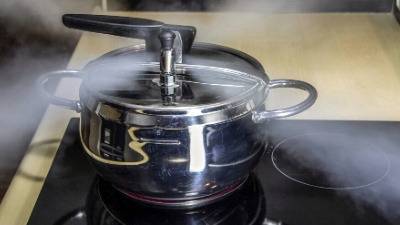
For either method you may add canning or pickling salt at ½ teaspoon per pint or 1 teaspoon per quart. Salt may also be omitted completely. To process in a pressure canner, place the jar rack, 2 inches of water, and the sealed jars in the canner. Fasten the lid, and heat the canner on high. After exhausting the steam for 10 minutes, add the weighted gauge or close the petcock to 3 pressurize the canner. Start timing when the desired pressure is reached. Process the jars according to the chart below for your altitude and style of pressure canner.
Recommended process time for Pole or Bush Beans in a dial-gauge pressure canner.
| Recommended process time for Pole or Bush Beans in a dial-gauge pressure canner. | ||||||
|---|---|---|---|---|---|---|
| Canner Pressure (PSI) at Altitudes of | ||||||
| Style of Pack | Jar Size | Process Time | 0-2,000 ft | 2,001 - 4,000 ft | 4,001- 6,000 ft | 6,001-8,000 ft |
| Hot and Raw | Pints | 20 min | 11 lb | 12 lb | 13 lb | 14 lb |
| Quarts | 25 min | 11 lb | 12 lb | 13 lb | 14 lb | |
| Recommended process time for Pole or Bush Beans in a weighted-gauge pressure canner. | ||||||
| Style of Pack | Jar Size | Process Time | 0-1,000 ft | Above 1,001 ft | ||
| Hot and Raw | Pints | 20 min | 10 lb | 15 lb | ||
| Quarts | 25 min | 10 lb | 15 lb | |||
When the processing time has completed, remove the canner from the heat. Air-cool the canner until it is fully depressurized. Then slowly remove the weighted gauge or open the petcock, wait 2 minutes, and unfasten and carefully remove the canner lid. Remove the jars from the canner with a jar lifter and place the jars on a towel or rack. Do not retighten the screw bands. Air-cool the jars 12 to 24 hours. Remove the screw bands and check the lid seals. If the center of the jar lid is indented, wash, dry, label, and store the jar in a clean, cool, dark place.
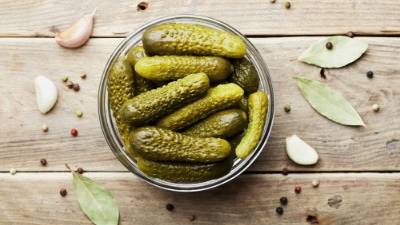
Pickling
If you wish to can pole or bush beans, but do not have access to a pressure canner, you can pickle beans using the following research-tested recipe available at: Pickled Dilled Beans http://www.uga.edu/nchfp/how/can_06/dilled_beans.html.
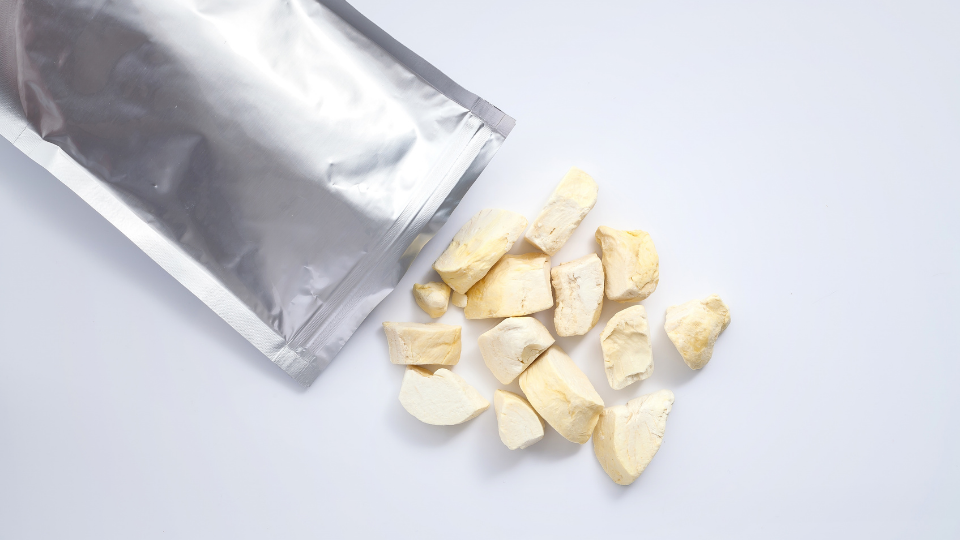
Drying
Blanch pole or bush beans as described above. Drain the beans and arrange them in a single layer on a dehydrator tray. Place green beans in the freezer for 30-40 minutes. Place dryer trays into the dehydrator and dry at 140°-145°F for 8-10 hours or until green beans are crisp and brittle. To store dried foods, place the dried food in plastic bags, press out air, seal or close, and then place in glass jars and tightly seal.
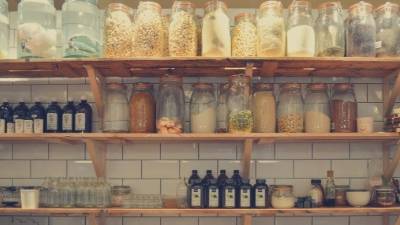
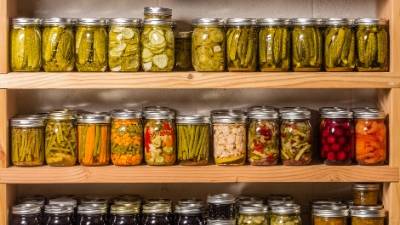
Storage
Preserving pole or bush beans that have lost quality will not re-create an acceptable product.
Fresh Beans
Store fresh pole or bush beans in the refrigerator crisper in plastic storage bags or rigid containers to retain moisture. Stored in this manner, beans will maintain quality for 7- 10 days. Beans that are stored below 41ºF may receive chill injuries and get rusty colored spots.
Frozen Beans
Label and date the packages. Properly packaged and frozen, beans should maintain high quality for approximately 10 months.
Canned Beans
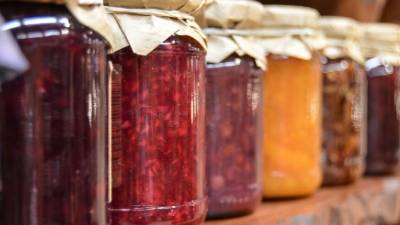
If lids are tightly vacuum sealed after processing, remove the screw bands, wash the lid and jar to remove food residue; then rinse and dry jars. Label and date the jars and store them in a clean, cool, dark, dry place. For best quality consume canned beans within 1-2 years. Beans will loose quality and nutrients over time, but will remain safe to eat providing the vacuum seal is intact.
Dried Beans
Pack cooled, dried foods in small amounts in glass jars or in moisture and vapor-proof freezer containers, boxes or bags. Store in a cool, dry, dark place.
Vacuum Packaging
Vacuum packaging can extend the shelf life of either frozen beans or dried beans. Vacuum packaging cannot be used as a food preservation method alone. Follow manufacturer’s directions to vacuum package either frozen or dried beans. Return frozen beans to the freezer. Vacuum packaged and frozen beans will have a longer shelf life than frozen alone (10 months). Vacuum packaged dried beans will resist moisture better.
Nutritional Value
A cup of cooked, fresh snap beans contains only 30 calories, no fat, sodium or cholesterol and is a good source of dietary fiber. It contains 93% water, 2 gm protein, 63 gm calcium, 8 mg iron, 680 IU vitamin A and 15 mg vitamin C.
Recipes
Bacon-wrapped snap beans
Ingredients
Yields 4 portions
- 48 each fresh or quality frozen snap beans
- 8 each 1/2 slices of bacon
- Salt and pepper as needed
Directions
Remove ends from fresh snap beans or use quality frozen beans. Boil beans until they are just tender to eat. Cook bacon slices until they are approximately half done and still flexible. Cut bacon strips in half. Assemble a small bunch of beans (approx. 6 to 8) so that they are parallel to each other. Wrap them in a half strip of bacon. Insert a toothpick into the bacon strip to hold the bundle together. Bake the bundles at 375ºF until the beans just get brown on the edges and the bacon is crisper (approx 6-10 min.). Serve immediately. These bundles can be refrigerated for 1-2 days or frozen for up to one week on a cookie sheet before baking.
Mediterranean-style Bean Salad
Ingredients
Yields 4 portions
- 1 lb fresh green beans
- 1/4 cup extra virgin olive oil
- 1/8 cup red wine vinegar
- 3-4 tablespoons fresh mint leaves, roughly chopped
- 2 fresh garlic cloves, sliced thinly
- 1/2 teaspoon salt
- 1/2 teaspoon pepper
Directions
Boil or steam the trimmed green beans until tender. Drain well. While still warm add the rest of the ingredients and toss the mixture. Allow beans to marinate in the refrigerator overnight. Serve at room temperature.
References
- Complete Guide to Home Canning (Agriculture Information Bulletin No. 539). 1994. USDA & Extension Service.
- Drost, Dan. 2005. Beans in the Garden. Utah State University Extension. Logan, Utah.
Authors
Kathleen Riggs

Kathleen Riggs
Emeritus Extension Professor | Food Preservation
Home and Community Department
Related Research
Avoiding Common Canning Mistakes
Avoid these ten potentially deadly canning mistakes, as well as other food-specific mistakes that you'll want to avoid. This will keep your food fresh, healthy, and safe to eat.
Buying a Home Freeze-Dryer: What to Know Before You Go
Freeze-dried foods are extremely popular among backpackers and culinary masters, and now freeze-dryers are available for home use. But is a home freeze-dryer the appliance for you? Here is some information designed to cut through the advertising hype and
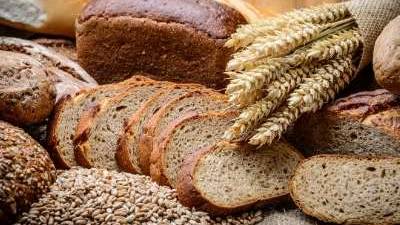
Canning Bread and Cake is Unsafe
Since 2000, Extension has been warning consumers about canning cakes and breads. While this process has much appeal, it does not destroy the organism that causes botulism.
Canning Lemon Lime Curd
Learn how to the traditional British dessert of lemon curd. Canned, it has a shelf life of 3 to 4 months. If you don't mind the darkening that occurs, it can last up to 1 year.
Canning Meats, Poultry, and Seafood
Follow specific proper canning guidelines for chicken, beef, seafood, and others. These guidelines will ensure your food is safe to eat.
Canning Salsa
Canning salsa is a great way to use your tomatoes. Learn how to correctly and safely can salsa with this approved recipe.
Conditioning or Curing of Dried Fruits and Vegetables
Pieces of food taken from the drying trays are not always uniformly dry. To condition, place cooled dried fruit loosely in large plastic or glass containers, about two-thirds full.
Cooking Food Storage
Some essentials are needed to cook with the main food staples in long term food storage. These mostly are used to make breads from stored grains. The cooking essentials include salt, baking powder, baking soda, and yeast.
Drying Meat
Making jerky safely requires either the use of curing salts (containing nitrite) or enough heat in an oven or dehydrator so that the heat will kill organisms before they multiply.
Food Storage Conditions
Moisture and temperature are the two critical factors in optimal food storage. Moisture - the humidity in the storage environment should be low. If dried foods pick up moisture from the storage area, molds and bacteria can grow. This can lead to spoilage
Food Storage Packaging Methods
A few packaging methods for your food storage and food that is being preserved. Methods including foil pouches, glass canning, and plastic bottles are discussed.
Freeze Drying: Essential and Nice-to-have Tools and Supplies
Congratulations! You are now the owner of a new freeze-dryer; or you are ready to make the purchase! While the freeze dryer itself is a major investment in food preservation equipment, you will want to make certain you are prepared with a few other items

Fruit Freezing Methods
Freezing is a simple, quick way to preserve foods. Fruits freeze well and retain their distinct fruit flavor. Texture is usually softened somewhat by freezing, but serving partially frozen fruit with ice crystals will compensate for texture changes.
Getting Crisp Home Pickled Vegetables
Crispness is a hallmark of a good pickled vegetable. That crispness comes from the vegetable’s natural pectin.
Hazardous Food Preservation and Storage Advice
Lately, some people have been advocating some very potentially hazardous food preservation and storage practices on foods meant for room temperature storage.
Home Drying Foods
The proper methods of drying are one of these four methods: Air drying, sun drying, oven drying, or dehydration. Learn how to properly do each of these methods.
Home Drying Foods
Learn the value of drying foods at home, the nutrition that you will have from dried foods, and how to set yourself up for success while drying.
Home Drying Foods
The proper methods of drying are one of these four methods: Air drying, sun drying, oven drying, or dehydration. Learn how to properly do each of these methods.
How to Preserve Apples
Apples are a favorite fruit of many people for eating out of hand, in fresh salads, or in a wide variety of cooked products. Here's how to preserve Apples
How to Preserve Berries
Learn how to safely preserve berries through a variety of methods, such as canning, freezing and other methods.
How to Preserve Cherries
Learn how to preserve cherries through a variety of methods such as freezing, canning, and drying. Also find recipes for cherry pie filling, cherry raisins, jam, and more.
How to Preserve Chiles
Did you know that there are many ways to preserve your chiles? This resource offers the resources you need to learn how to freeze, can, dry, and store your chiles!
How to Preserve Grapes
Learning how to select, can, freeze, dry, and store grapes doesn't need to be complex! USU Extension has all of the resources that you need to preserve your grapes in the way that you prefer to do so.
How to Preserve Peaches
The process of selection, preparation, freezing, canning, drying, and storage of peaches to enhance preservation and storage.
How to Preserve Pears
The most popular variety is Bartlett pears available the first two weeks in September in Utah. If they are to be transported or not processed immediately, pick while slightly green and allow them to ripen in a cool, dark place.
How to Preserve Pole and Bush Beans (Green Beans & Wax Beans)
There are many good bean varieties for sale in local gardening outlets and through seed catalogs. Most grow well in Utah. Pod shape, size, and color vary among varieties. Here is a list of some potential varieties and plant types that have performed well
How to Preserve Pomegranates
Pomegranates are great for canning, freezing, storing, and more! USU Extension has the resources to guide you through the process, as well as teach you how to make syrup and jelly.

How to Preserve Summer Squash
Most varieties of summer squash do well throughout Utah. All squash prefer organic, rich, well-drained, sandy soils for best growth.

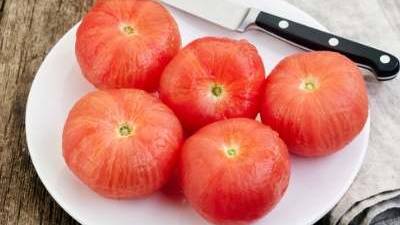
How to Preserve Tomatoes
Learn how to safely preserve tomatoes through a variety of methods, such as canning, freezing and other methods. Also find recipes to use while preserving tomatoes, such as tomato juice or tomato sauces.

How to Preserve Venison
Preparing and handling venison comes in a variety of important steps! This resource offers instructions and information on canning, handling, drying, recipes, storage, and more!
How to Preserve Zucchini
USU Extension has the resources for you to prepare, freeze, steam, can, pickle, dry, and store your zucchini!
Pressure Canning Hydrated Wheat
Understanding when hydrated wheat is ready to use is very important. This resource offers insight into safe instructions to do so.
Reduced Sugar and Sugar-free Food Preservation
Only in recent years has the amount of sugar consumed in the American diet been questioned. About half of the total energy consumed in the average U.S. diet is from carbohydrates.
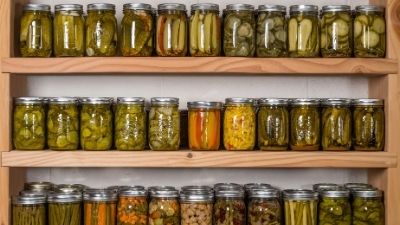
Storing Canned Goods
Canned foods can either be purchased commercially or home canned. Home canned foods should be canned using research-tested recipes and processes like those found in the USDA Complete Guide to Canning or in Extension publications.
Storing Dried Milk
Non-fat dried milk (NFDM) is suitable for short and long term emergency food storage. It is made from non-fat, grade A, milk that has been dried by spraying into hot air or heated on a drum. The process removes nearly all of the water prohibiting the grow
Storing Dry Beans
Legume (Bean) varieties such as: Adzuki, Black, Black-eyed, Black Turtle, Garbanzo, Great Northern, Kidney, Lentils, Lima, Mung, Navy, Pink, Pinto, Small Red, Soy, and Split-pea can all be dried and stored.
Storing Sugars
Sugars are simple carbohydrates that provide an excellent source of calories for energy. Sugars also add the sweet taste to many of our most delicious foods. Sugar can be stored in dry form (crystals) or in a liquid form (syrup –including maple syrup).
Storing Water
If the supply of safe water is cut off during an emergency, it is important to have water stored. Learn how to store water safely and where you can find an emergency source if needed.

Storing White Rice
White rice, more commonly known as polished rice is a main food source for over half of the world’s population. Rice is an excellent addition to home food storage because it’s versatile, high caloric value, and long shelf life. Families should store about
Testing Foods for Dryness
You can determine when the product is dry by feel or by calculation of the amount of water remaining in the product.
Tips to Safely Ferment at Home
Fermenting foods is perhaps the oldest food preservation method and has grown in popularity in recent years due to their touted “gut”, probiotic, and other additional health benefits. Fermenting at home is an inexpensive way to control what goes inside yo
U.S.U. Steam Canning - position statement
Due to the lack of definitive research into the safety of steam canning the Utah State University Extension program currently agrees with the present USDA and National Center for Home Food Preservation recommendation against usin
Vegetable Canning Methods in the Pressure Cooker
Canning never improves the quality of the food you are preserving. Come learn the general guidelines for best results when canning vegetables.
Vegetable Freezing Methods
Choose fresh, tender vegetables. The fresher the vegetables, the more satisfactory the final product. Tips on selecting, preparing, and freezing vegetables.
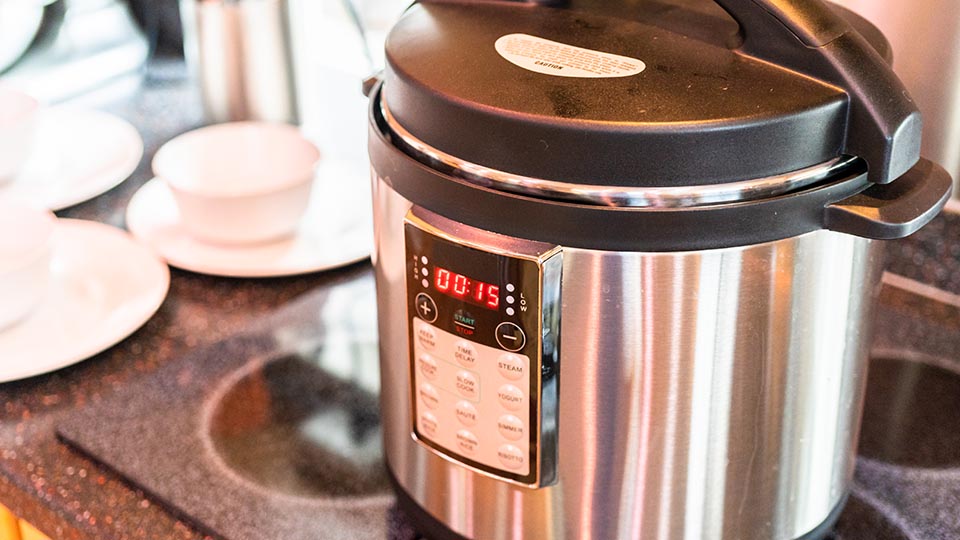
Why Electric Pressure Cookers Are Not Pressure Canners
Electric Programmable Pressure Cookers, such as the "Instant Pot, are being used for small batch pressure canning. This fact sheet explains research showing why this is a food safety hazard, with a high risk of producing home canned foods that could devel

Principles of Boiling Water Canning
It is known that heat at the temperature of boiling water can destroy “almost” all microorganisms - yeast, molds, and most bacteria - are easily killed at this temperature. The only microorganisms that survive are the bacteria that form protective spores,
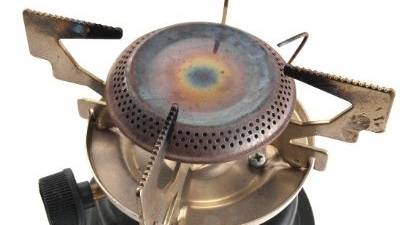
Cook Surface Precautions for Home Canning
Extra precautions must be taken when canning on surfaces such as a camp cooker or a smooth cook-top.
Food Storage in Home
A food storage program is essential to provide for ourselves and our family members in an emergency. The biggest motivator most adults have is to avoid hearing a hungry child cry. Even the most “macho” man is distraught if he cannot provide food or bevera