Okra in the Garden
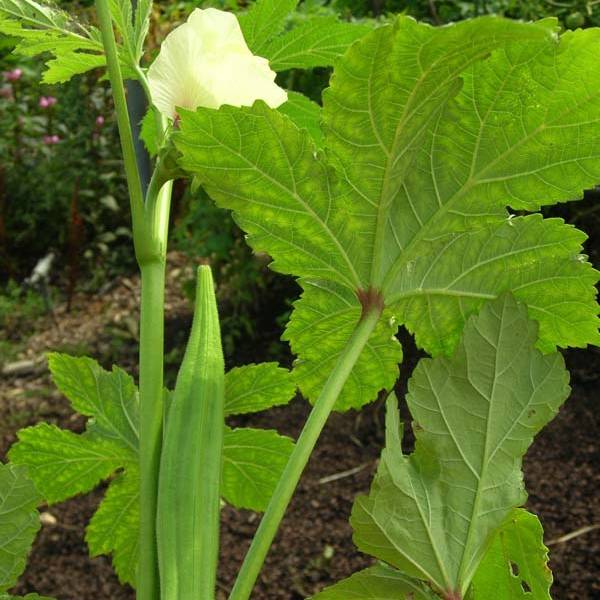
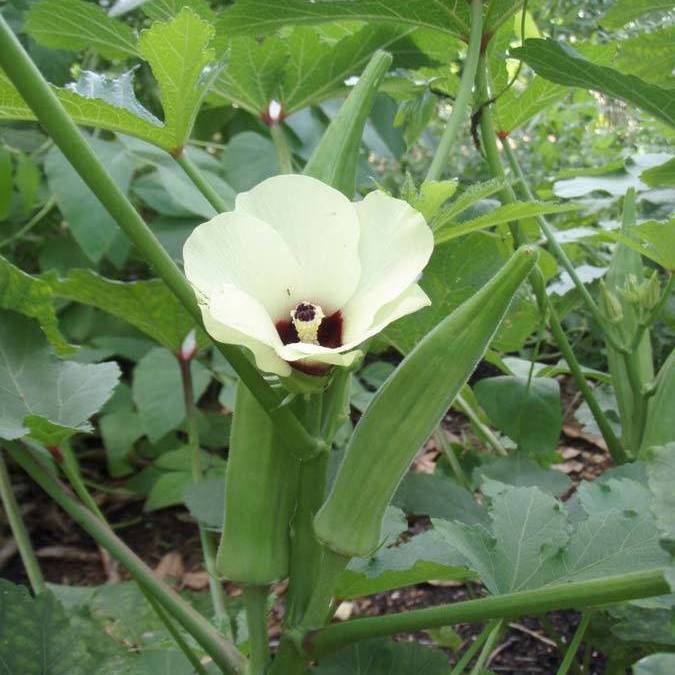
Okra (Abelmoschus esculentus) was introduced to America from Africa in the 1660s, likely as a result of the slave trade. Also known as gumbo, it is a warm season crop often grown in southern gardens where summers are hot and long. Okra is a member of the hibiscus family producing large yellow flowers, giving an ornamental appeal to many gardens. The immature pods are used in soups, stir fries, and stews, often as a thickening agent.
Cultivars
Okra varieties come in an assortment of heights, pod colors, sizes, and shapes. Plants grow from 12 inches to 6 feet tall with most cultivars reaching 3 to 6 feet high with a 2 to 4 foot spread. Plants produce pods 3 to 12 inches long and pods come in a range of colors (dark green to a whitish hue) and shapes (round, smooth or ridged). Annie Oakley II, a compact, hybrid cultivar, thrives in cool short season environments, making it better suited for a Utah garden. Other dwarf or early ripening varieties may be available. Consult your local nursery or garden center for other adapted varieties.
Site Selection
Fertile, sandy loam soils with a pH of 6.0 to 7.0 are ideal for growing okra. Utah soils have a higher pH (7.0 to 8.5) so it may be necessary to add sulfur or peat moss to modify pH levels. Almost all soils are suitable for okra production, provided they are well-drained. Okra does not tolerate wet soil conditions. Greater yields occur when okra is grown in full sun and when temperatures are consistently above 65 ˚F.
Soil Preparation
Have the soil tested to determine nutrient deficiencies and apply fertilizer and organic matter based on test recommendations. For most gardens, 2 to 3 pounds of 10-10-10 fertilizer per 100 sq ft or 0.5 to 1 inch of manure-based compost provides sufficient nutrients. Fertilizer or compost should be incorporated 3 to 6 inches into the soil before planting. Excess nitrogen when plants are small will cause increased vegetative (leaf) growth and decreases yield and pod set.
When to Plant
Okra is a warm season vegetable that requires 90 days to mature harvestable pods once seeds are planted. Plant seeds 2 to 3 weeks after the last frost date or when soil temperatures are at least 75˚F. Plant seeds 1 inch deep and 2 inches apart, thin to 1 to 2 feet apart depending on plant size after plants develop their first true leaves. Space rows 3 feet apart. To enhance germination soak seeds overnight before sowing. In areas with a short growing season, start seeds indoors 4 to 5 weeks before they are to be transplanted outdoors.
Plant Care
Okra tolerates relatively dry conditions, but adequate water will increase growth and yield. Irrigate plants early in the morning to allow foliage to dry by night. For maximum yields apply 1.5 to 2 inches of water every 7 to 10 days. Side dress okra with ¼ pound of 21-0-0 fertilizer per 100 sq ft when pods begin to size and repeat 4 weeks later.
Pest Control
The presence of weeds and pests reduces both yield and quality. Regular cultivation is very effective for weed control, but cultivation should be shallow to avoid root damage. Black plastic mulches reduce weed competition and have the added benefit of raising soil temperatures which increases growth and production levels.Common problems include aphids, nematodes and root rots. Some pest problems are difficult to diagnose. For updated information and additional control options, contact your local Extension educator for help.
| Pest | Description and Symptoms | Control |
|---|---|---|
| Aphids | Green soft-bodied insects that feed on the underside of leaves. They produce a sticky sap, cause leaf spotting, and may transmit virus diseases. | Use insecticidal soaps or a strong water stream to dislodge aphids from the plants. |
| Root-knot nematodes | Infected plants have stunted growth and have galls on their roots. | Practice crop rotations and remove and destroy damaged plants. |
| Root rots and damping off | Plants are stunted, have yellow leaves, and brown, rotting roots. Plants die after emergence. | Avoid planting in cold, wet, poorly drained soils. Start transplants in quality potting soil in a bright, warm area. |
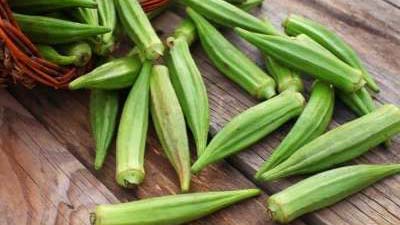
Harvesting
Pods are harvested when they are 3 to 5 inches long, immature and tender. Older, longer pods become fibrous and bland. Mature pod color varies with the cultivar with most edible pods being light or dark green. Pods that are ready for harvest are easy to remove. Harvest pods by cutting the stem leaving a ¼ inch stalk on the pod or by pulling the pod downward, thus breaking the stem near its base. Avoid damaging the plant during harvest as branches are quite brittle. Torn leaves or broken branches decrease production levels. Undamaged plants can be harvested every 1 to 2 days and produce pods until the first frost. Four or five plants generally yield enough produce for most families. An extra plant or two will be required if okra is to be frozen for year-round consumption.
Common Questions
Should I remove old okra pods?
Yes. Older, inedible pods restrict further flowering. This limits total yield.
How long can I store fresh okra?
Okra should be stored in a plastic bag and can be refrigerated for about seven days.
Additional Resources
- Masabni, J. (2009). “Okra” Easy Gardening, E513
- Smith, P., Polomski B. & Shaughnessy . D. (2009). “Okra” Vegetable Crops, HGIC 1313.
- Swaider, J.M., & Ware G. W. (2002). Producing vegetable crops (5th Ed.). Danville, IL: Interstate Publishers.
Utah State University Extension
Peer-reviewed fact sheet
Download PDF
Authors
Taunya Ernst and Dan Drost
Related Research
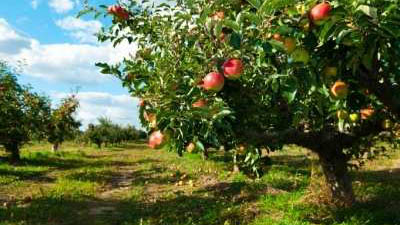
Apple Production and Variety Recommendations for the Utah Home Garden
This bulletin presents appropriate information pertaining to growing apple trees in the home orchard. Success depends on several key factors.

Backyard Fruit Production in Utah’s High Mountain Valleys
Many homeowners who are new to these regions wish to establish perennial fruit crops in their gardens. This publication outlines the challenges to fruit production in Utah’s high mountain valleys, offers mitigation suggestions, and lists plant materials t

Blackberry Management in Utah
Blackberries can be grown successfully in Utah but careful cultivar selection and care is needed. Harsh winters and frequent late spring frosts often result in significant blackberry cane damage and crop loss.
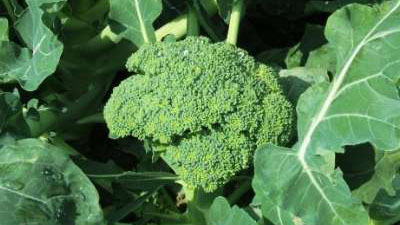
Broccoli in the Garden
Broccoli is a cool season vegetable that prefers sunny locations and fertile, well-drained soil. Incorporate some organic matter and a complete fertilizer into the area before planting.
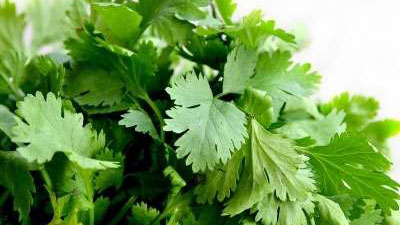
Cilantro/Coriander in the Garden
Cilantro/coriander is a cool-season herb that grows best in full sun and fertile, well-drained soils. Explore the best varieties to grow in Utah, and learn how to properly care for the herb to get a great harvest.
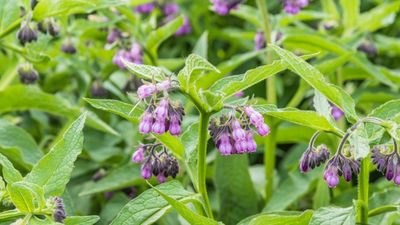
Comfrey in the Garden
Comfrey (Symphytum officinale) is a very hardy perennial herb adaptable to most conditions. Comfrey grows best in partial to full sun in moist, fertile soil. Comfrey is propagated by root cuttings or crown divisions.