Backyard Composting in Utah
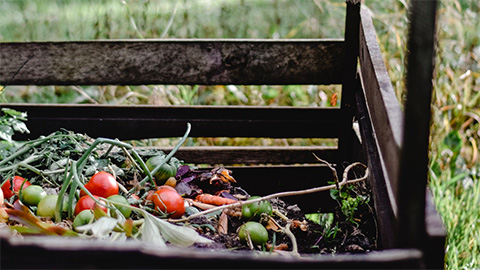
During the growing season, 30% or more of landfill waste is organic yard refuse. Home composting of yard and garden trimmings eases landfill problems and “recycles” these organics into a valuable soil amendment. The benefits of using compost as a soil amendment include increasing soil tilth, fertility, water holding capacity, aeration, and drainage.
Composting is the aerobic, or oxygen-requiring, decomposition of organic materials by microorganisms under controlled conditions. Bacteria start the process and are responsible for much of the decomposition work. Their metabolism creates the heat of the compost pile. Fungi, protozoans, earthworms, centipedes, beetles, and millipedes assist the bacteria in breaking down plant tissues. During composting, microorganisms consume oxygen while feeding on organic matter. Active composting generates considerable heat, and large quantities of carbon dioxide (CO2 ) and water vapor are released into the air. The CO2 and water losses can amount to half the weight of the initial materials, thereby reducing the volume and mass of the final product.
What Happens During Composting
Composting begins as soon as the raw materials are mixed together. During the initial stages of the process, oxygen and the easily degradable components of the raw materials are rapidly consumed by the microorganisms.
The temperature of the windrow or pile is directly related to microorganism activity and is a good indicator of what is occurring inside the pile. The temperature of composting materials generally follows a pattern of rapid increase to 120-140oF where it is maintained for several weeks depending on conditions. As active composting slows, temperatures will gradually drop until the compost reaches ambient air temperatures.
Steps for a Successful Compost
The composting process is affected by the compost pile site, compost container type and size, raw materials, and the amount of water and oxygen in the materials.
Step 1 - Select Composting Site: A good location is helpful for a successful compost pile. The compost pile should be exposed to at least six hours of sunlight each day. The location should not detract from the landscape. Water should be readily available. Good drainage is important; otherwise, standing water could impede the decomposition process.
Step 2 - Select Compost Container: Many containers are suitable provided they are accessible, resist decay, and allow air flow. How do you decide which container will work best for you? Consider the amount of time and space you have, and the quantity of materials you will be composting. Most compost containers fall into one of these categories: heaps (simple stacked piles), hoops (caged enclosures), bins (boxed enclosures), and barrels (drum enclosures).
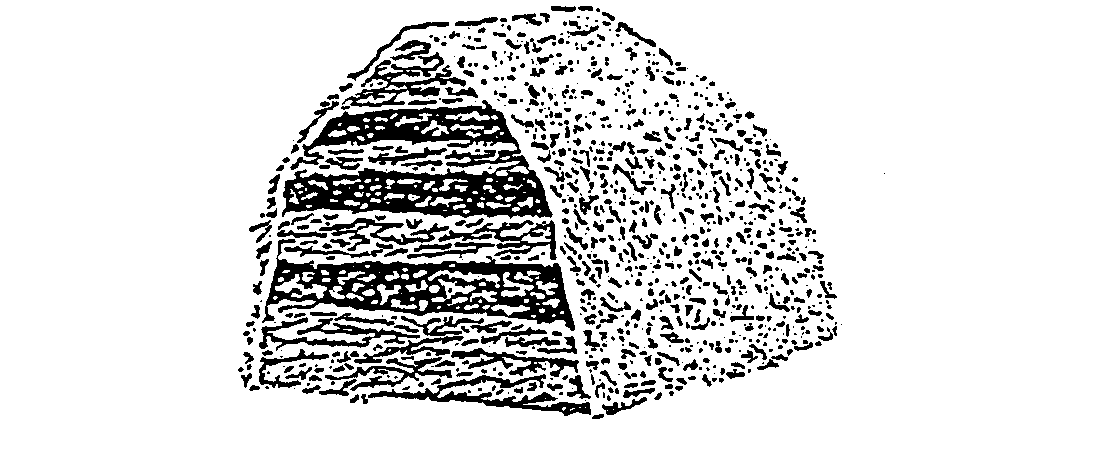
Heap It (no cost, good if you have ample space) Simply pile your materials in heaps, ideally at least one cubic yard in volume. If well constructed, heaps are good for “no turn” composting. Just leave the pile for several months or more.
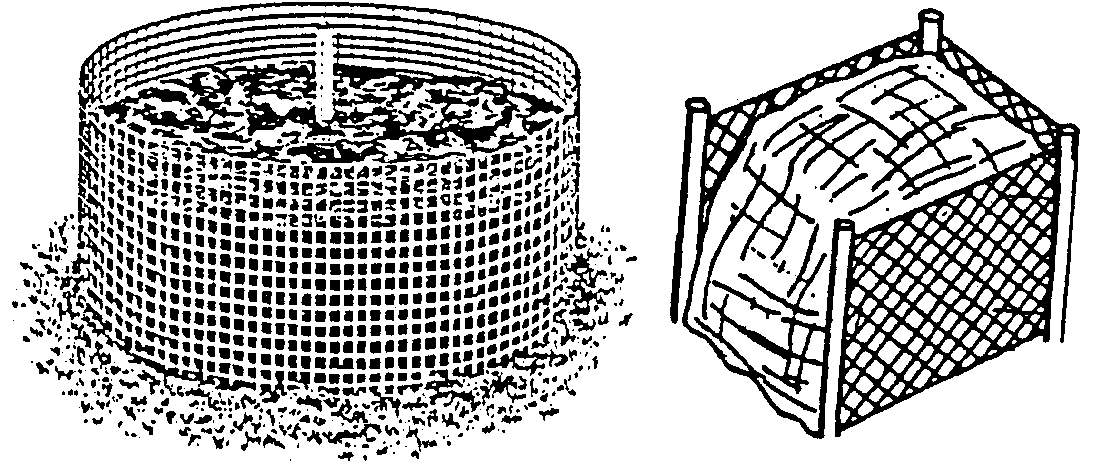
Hoop It (low cost, tidier than heaps) Woven wire mesh or fencing make good enclosures and keep the pile tidy. If you secure it with hooks or twists of wire, you can undo the hoop, set it up next to the pile, and turn the pile back into the hoop in its new location.
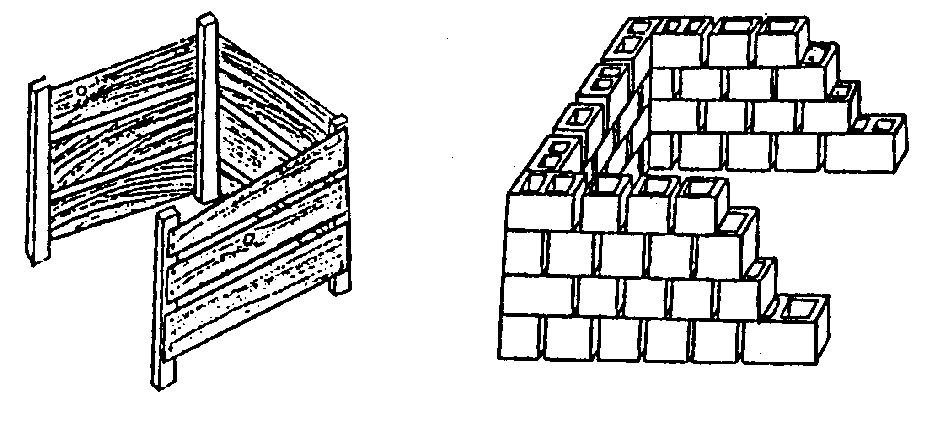
Box It (looks good, easy to cover, low to moderate cost) You can use almost any type of scrap or new lumber, bricks, or cinderblocks to build an attractive and functional bin for compost. Make sure to leave spaces in the sides for air to get through, and make the front removable for easy access to turn or retrieve the compost. Construct several bins side-by-side to facilitate turning of the compost.
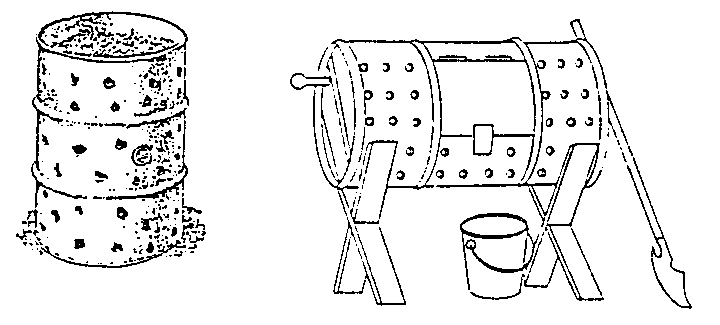
Barrel It (good for limited space, easy turning, moderate to high cost) If you don’t have enough space for piles or elaborate bins, a modified 55-gallon drum can work very well. By perforating the drum with air holes and cutting an access hatch on the side you can create a system which will compost small amounts of material quickly. Usually these systems are equipped with a stand and rollers to facilitate turning, although some people just roll their barrel around the yard to achieve the same effect.
Step 3 - Select Raw Materials: Almost all natural, organic material will compost, but not everything belongs in the compost pile. Some wastes attract pests; others contain pathogens that can survive the compost process. Table 1 lists acceptable and unacceptable materials for home composting.
Table 1. Acceptable and unacceptable raw materials
| Acceptable | Not Acceptable |
|---|---|
|
|
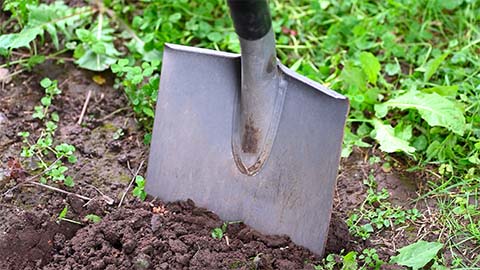
Another consideration in choosing materials to go into the compost pile is the time they need to break down. Woody materials, such as chips, branches, twigs, and paper, can take up to two years to decompose unless they are finely chipped or shredded. Chopping your garden trimmings with a shovel or machete, or running them through a chipping machine or lawnmower will speed their decomposition. Optimum composting conditions are obtained with particle sizes ranging from 1/8 to 2 inches average diameter.
The compost pile will require carbon-rich and nitrogen-rich materials for efficient decomposition. Microorganisms use carbon for both energy and growth, while nitrogen is essential for growth and reproduction. Carbon is found in dry, brown materials, such as leaves, chipped woody brush, sawdust, and straw. Nitrogen is most abundant in fresh, green yard and garden trimmings, vegetable scraps, and livestock manures. The proper compost mixture contains approximately 2 parts carbon-rich materials to 1 part nitrogen-rich material. Do not put pet wastes in your compost pile.
If the pile has too little carbon, the available carbon is fully utilized without stabilizing all of the nitrogen (N), which can lead to the production of excess ammonia and unpleasant odors. If the pile has too little nitrogen, not enough N is available for the growth of microorganisms and the composting process slows dramatically. If additional nitrogen is needed, add approximately 1 pound of actual nitrogen to each cubic yard of material being composted. Mix the nitrogen with the compost as the pile is constructed. Table 2 lists the nitrogen content of various materials and conversion rates for use with 1 cubic yard of compost.
Table 2. Amounts of various nitrogen sources needed to supply 1 pound of nitrogen.
| Nitrogen Source | % Nitrogen | Cups to Apply |
|---|---|---|
| Urea | 46 | 4 |
| Ammonium nitrate | 33 | 6 |
| Calcium nitrate | 15 | 13 |
| Dried blood meal | 12 | 16 |
| Fish meal | 10 | 20 |
Step 4 - Aerating the Pile: Aerobic composting consumes large amounts of oxygen, particularly during the initial stages. If the supply of oxygen is limited, the composting process may turn anaerobic, which is a much slower and more odorous process. Oxygen levels within the windrows or piles may be replenished by lifting and turning the materials with a pitch-fork or by means of a mechanical turner. Try to put the outside, drier materials in the center of newly-turned piles. Turning a pile weekly can produce compost in one to two months with the right combination of materials and moisture level; monthly turning will produce compost in four to six months. Without turning, composting may take six months to two years. Aeration is generally the main factor affecting the time necessary to produce finished compost.
Step 5 - Keeping the Pile Moist: Moisture is necessary to support the metabolic processes of microorganisms. Composting materials should be maintained within a range of 40% to 65% moisture. As a rule of thumb, the materials are too wet if water can be squeezed out of a handful of compost and too dry if the handful does not feel moist to the touch. If the compost pile is too dry, the process slows down. If the compost pile is too wet water will displace much of the air in the pore spaces of the composting materials which limits air movement and leads to anaerobic conditions. Moisture content generally decreases as composting proceeds; therefore, you may need to periodically add water to the compost.
Step 6 - Keeping the Pile at the Proper Temperature: Composting will essentially take place within two temperature ranges known as mesophilic (50-105oF) and thermophilic (over 105oF). Keeping temperatures between 110o and 150o destroys more pathogens, weed seeds, and fly larvae in the composting materials.
If the temperature of your compost pile is in the mesophilic range, try mixing the pile. If the temperature still does not reach the thermophilic range, review the steps described above to determine whether one or more of the essential factors is limiting the composting process. If you are still unable to increase the compost’s temperature, the active stage of composting is complete.
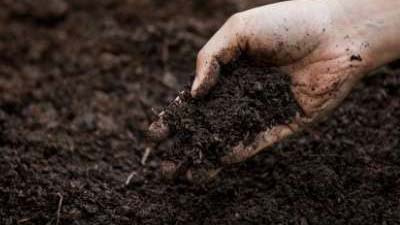
Step 7 - Curing: Finished compost is dark, crumbly, and has an earthy and non-offensive odor. Pile temperature in finished compost may still be slightly higher than ambient air temperature. Most finished composts will benefit from an additional curing phase. Curing refers to leaving finished compost in a pile undisturbed for up to one month to allow any final chemical and decompostion reactions to occur and stabilize the compost. Improperly or incompletely composted materials may release ammonia and other gases, or continue to heat upon application to soil, damaging plants. Curing ensures that the composting process is indeed complete and that these potential problems are minimized. View the curing phase as extra insurance against problems arising from using compost.
Table 3. Troubleshooting guidelines.
| Problem | Possible Cause | Solution(s) |
|---|---|---|
| Malodorous | Compaction (insufficient oxygen) | Turn pile for increased air circulation. |
| Excess moisture | Turn pile or add dry, porous materials such as sawdust. | |
| Pile damp, but won’t heat | Insufficient nitrogen | Add fertilizer (see Table 2) or fresh grass clippings. |
| Materials too wet | Allow pile to dry, turn pile to dry out center, or add additional dry materials | |
| Dry and not composting | Insufficient water | Form pile so center is the lowest point (this prevents runoff). Apply water to moisten. |
| Ammonia odor | Too much nitrogen | Add carbon-rich material, such as sawdust, wood chips, or straw, and turn pile. |
| High pile temperature | Pile too large | Reduce pile size. |
| Insufficient ventilation | Turn pile. | |
| Low pile temperature | Pile too small | Make pile bigger or insulate sides. |
| Insufficient moisture | Add water while turning pile. | |
| Poor aeration | Turn pile. | |
| Lack of nitrogen | Mix in nitrogen sources such as grass clippings, manure, or commercial fertilizer. | |
| Cold weather | Increase pile size, or insulate pile with an extra layer of material such as straw | |
|
Pests (rats, raccoons, insects)
|
Presence of meat scraps or fatty food waste | Remove meat and fatty foods from pile, or cover with a layer of soil or sawdust; build an animal-proof compost bin; turn pile to increase temperature |
Published December 2010
Utah State University Extension
Peer-reviewed fact sheet
Download PDF
Authors
Kitt Farrell-Poe, Extension Environmental Engineer and Rich Koenig, Extension Soils Specialist
Related Research

Are Organic Matter Soil Amendments Created Equal?
Each class of material has specific characteristics and management issues when it comes to using it as a soil amendment.
Backyard Composting in Utah
The benefits of using compost as a soil amendment include increasing soil tilth, fertility, water holding capacity, aeration, and drainage.
Gardening in Sandy Soils
Learn the basics of clay, silt and sand soils with an emphasis on gardening in soils with high sand content. Get tips for gardening tips for managing sandy soils, and the types of plants that grow best in sandy soils.
It's All About Soil Structure!
The single best soil amendment—the one that provides desirable benefits regardless of the soil one applies it to—is organic matter.

Policies and Programs for Water-Wise Residential Landscaping in Utah
Water-wise landscaping is the practice of using plants in a landscape that are adapted to local conditions and only need small amounts of water. Converting yards to water-wise landscaping conserves water and is a climate adaptation action residents can ta
Preparing and Improving Garden Soil
A great garden starts with healthy soil. In Utah, there are unique considerations for creating and maintaining healthy soils.