Seed Treatment for Home Gardens
Hot Water Bath Treatment
The main value of seed treatment is the increase in stand or the number of plants that emerge from the soil. Plants will also have healthy root systems which enable them to get a vigorous start. Another side benefit of seed treatment may be to reduce the introduction of disease-causing fungi found on the seed from getting into pathogen-free soil.
Treat seeds with a hot-water bath to help prevent bacterial leaf spot, tobacco/tomato mosaic virus, alfalfa mosaic virus, bacterial speck, botrytis neck rot, and other seed-borne diseases that infect vegetables.
Which seeds to treat:
-
Eggplant, pepper, tomato, carrot, spinach, lettuce, celery, cabbage, turnip, radish, and other crucifers are suggested crops for treatment.
- Do not treat seeds of cucurbits (squash, gourds, pumpkins, watermelons, etc.), as they can be severely damaged.
- Pelleted, primed, or old seed should not be treated.
Equipment:
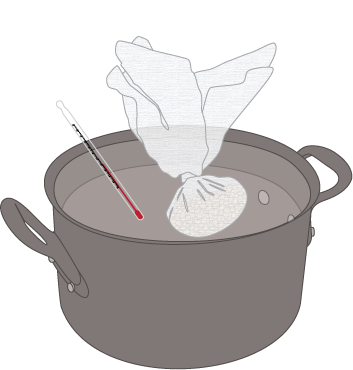
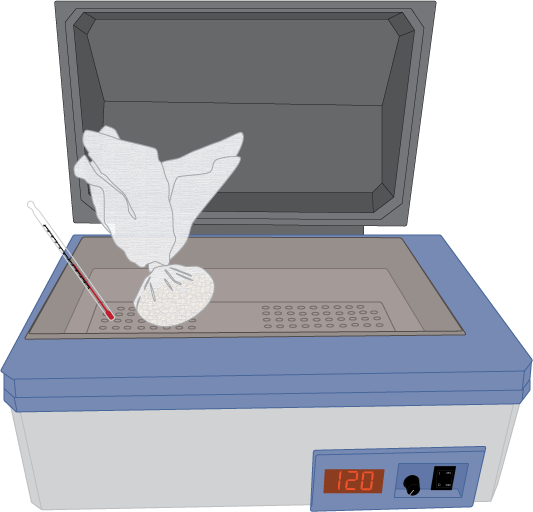
- Water bath (preferably two: one for pre-heating and one for treatment) or two stove-top pots
- Precision laboratory thermometer
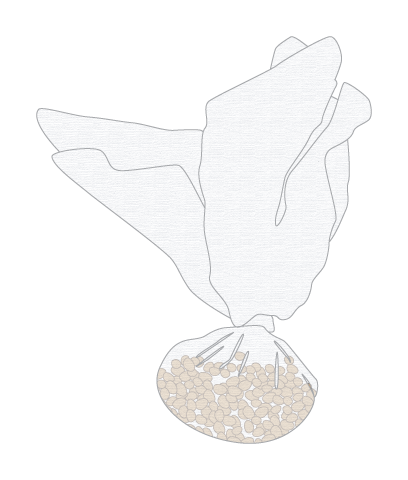
- Porous containers to hold seeds such as cheese cloth, cotton cloth, nylon bag, tea infusers, etc.
- Screen for drying the seeds
Sources:
- Fisher Scientific
- VWR Scientific
- ebay.com
Hot-Water Seed Treatment Instructions
|
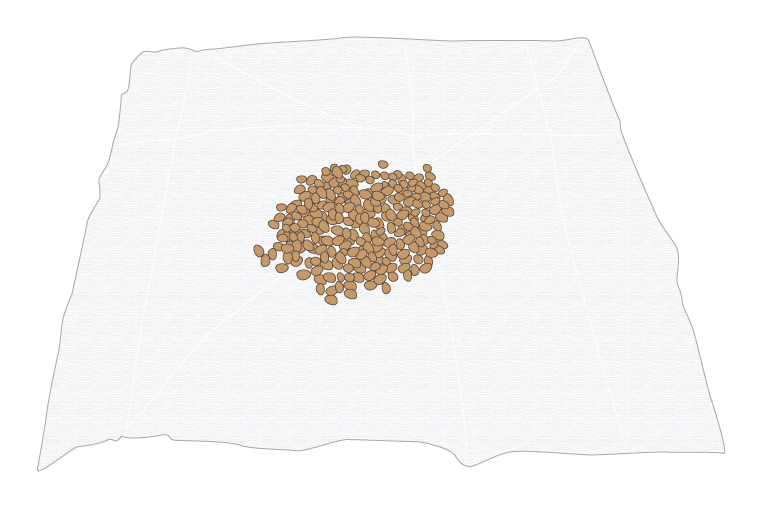
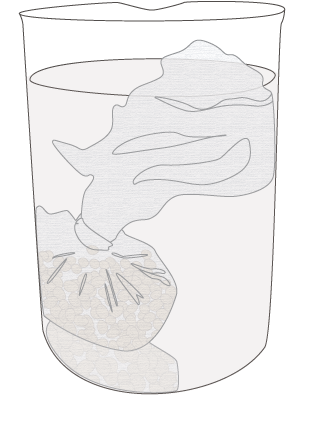
1.Contain Seeds: Place seeds to be treated in the porous containers, leaving enough room for the seeds to move around freely. Label each porous container with the seed type.
|
2. Preheat seeds: Preheat the first bath/pot to 100°F. Once preheated, place the contained seeds in the first bath for 10 minutes. NOTE: If you are using just one water bath or pot, take the seeds out after pre-heating and heat bath/pot to the prescribed treatment temperature before putting the seeds back in for the treatment time.
|
|
3. Treat Seeds: Preheat the second bath/pot to the recommended temperature for each specific crop (see link below). The temperature of the second bath/pot will range from 118-125°F and the treatment times will range from 20-60 minutes depending on the crop. Place preheated seeds in the second water bat/pot and be sure to constantly hold the water at the recommended temperature. Ensure that treatment length and temperature are exactly as prescribed to avoid damaging the seeds. See this link for treatment times and temperatures.
|
|
|
4. Cool Seeds: After treatment, place contained seeds in cold tap water for 5 minutes to stop heating action.
|
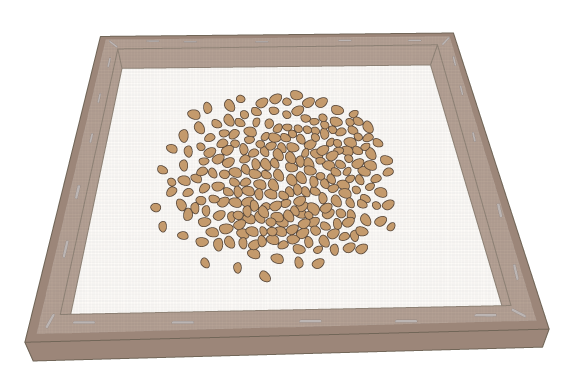
5. Dry Seeds: Take the seeds out of the container and spread them in a uniform layer on a screen to dry.
|
| 6. Plant seeds right away. Do not store heat-treated seed. | |


Chemical Treatment
Chemical seed treatment is one of the easiest methods of disease control in the home garden. The fungicide surrounds and protects the germinating seed from the numerous soil-borne pathogens that cause damping-off. These fungal pathogens rot the seed before it emerges from the soil or kill the plants just after they emerge from the soil. Seed treatments will not control foliar diseases that may attack the plants later on in the season.
Some seed is already chemically treated. It is usually colored pink or green and is marked "treated." If untreated seed is purchased, the home gardener can treat seed with such products as Captan, Vitavax, and Freshgard according to the manufacturer's recommendations.
Large seeds such as peas, beans, corn, etc., can be treated by placing the seed in a jar, spreading one to two teaspoons of the dry fungicide over the seed, and shaking or rotating the jar until each seed has been thoroughly coated with the chemical. To treat small paper packets of seed, tear off one corner of the packet. Put about twice as much fungicide in the packet as can be picked up on the first half inch of the flat end of a toothpick. Shake the packet until the seed is thinly coated with the chemical.
Use disposable gloves when planting treated seed, and wash your hands after handling the seed.
Illustrations by Cami Cannon, Utah State University