Crocheted Market Bag from Recycled Plastic Grocery Bags
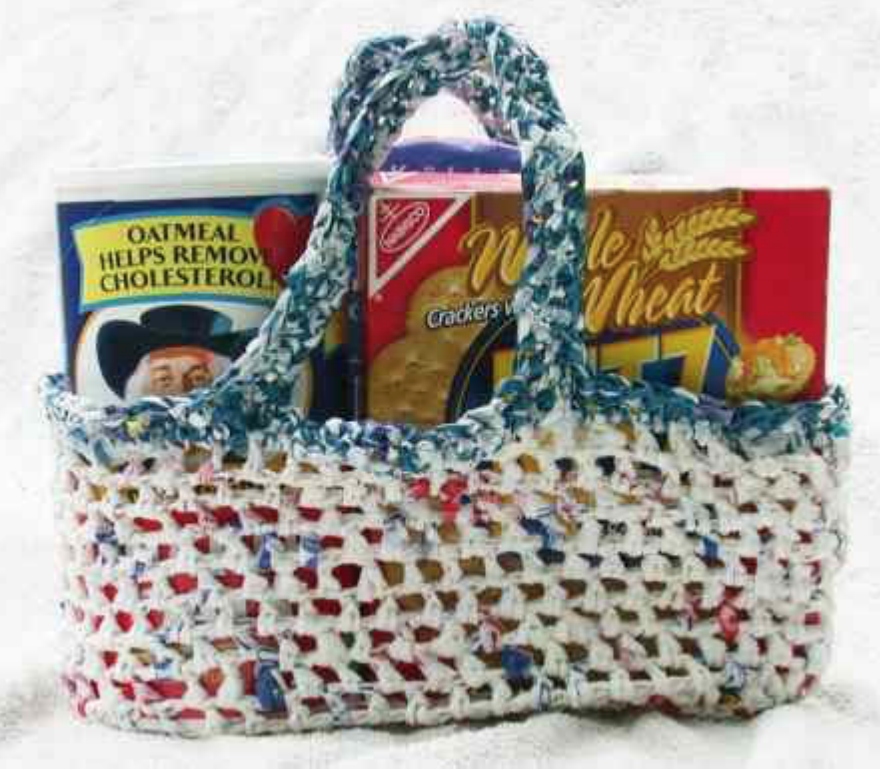
This sturdy bag is the same size as an ordinary plastic grocery sack. It can hold much more, because you can pack it full. Even when this bag is filled with cans or glass jars, it can easily manage the weight.
Wide handles are easy on your hands, even when the bag is packed full. Sturdy handle construction distributes the weight of the bag and reduces strain at the handle joints.
The bag is easy to wash, and dries quickly.
This bag is convenient for many household uses. The pattern can easily be adjusted for any size.
Feel virtuous for giving your old plastic shopping bags a good longterm use.
1. Materials: Plastic Grocery Bags
Ordinary plastic grocery bags are an excellent construction material. A few bags in a contrasting color will allow you to decorate the top and bottom edges of your market bag.
Some other plastic bags also work well. I have had good luck with frozen vegetable bags. If your material tends to break or tear, rather than stretch, the plastic is probably too brittle and not suitable for crocheting.
You will need 2 to 3 dozen plastic grocery sacks to make the market bag. (This may sound like a lot, but start with what you have now. In my kitchen, bags collect faster than I can crochet.)
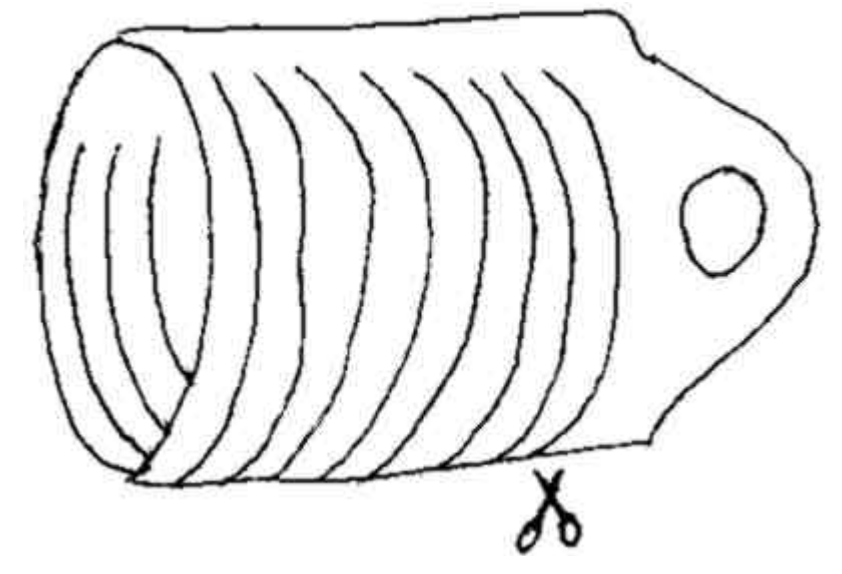
Cut each bag into one long spiral strip:
- Cut off and discard the base of the bag, leaving a tube.
- Make a series of slices most of the way across the tube, and about ½- inch apart. Leave 1 – 2 inches uncut along the side of the tube. Flimsier bags can be cut in thicker strips; heavier bags in thinner strips.
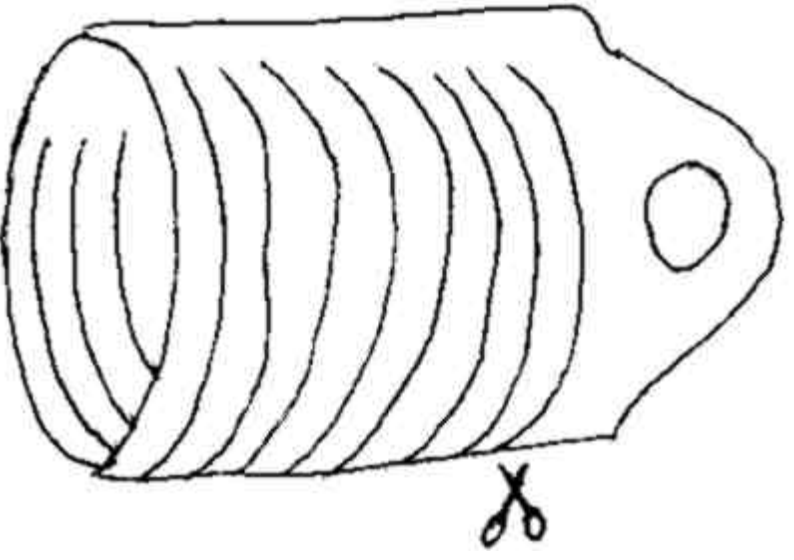
- Start the spiral by snipping from the end of the bag to one end of the first cut.
- Snip diagonally from the other end of the first cut to the start of the second cut.
- Continue in this way until the entire bag is one long strip. If the strip gets broken, don't worry; you will just have to make more joins during crocheting.
Crochet hook size approximately size K Gauge approx. 2 st/inch ( if you are fussy about the size of your bag)
Always crochet with two strips of plastic together. If there is a weak spot in the plastic in one strip, the second strip will strengthen that stitch.
Add new strips by overlapping the new and old strip for about 2". (There will be three strips of plastic worked together at the join.) Tuck any lose ends into the work.

2. Base
Chain 16
Rows 1-32: Turn, ch 1, sc 16
Size when stretched: Width: 8”, Length: 16”
3. Sides
(Optional: use contrast color for Rows 1-2)
Rows 1-2: ch 1, * sc around edge of the base (starting with a side) * (32 st each side, 16 st each end = 96 st), join last st to first st of row
Rows 3, 5, 7, 9, 11: ch 2, * dc, ch 1, skip 1 *, join last st to first st of row (96 st)
Rows 4, 6, 8, 10, 12: ch 2, *ch 1, skip 1, dc*, join last st to first st of row (96 st)
Height approximately 9-10" (when stretched), so far.
4. Handles
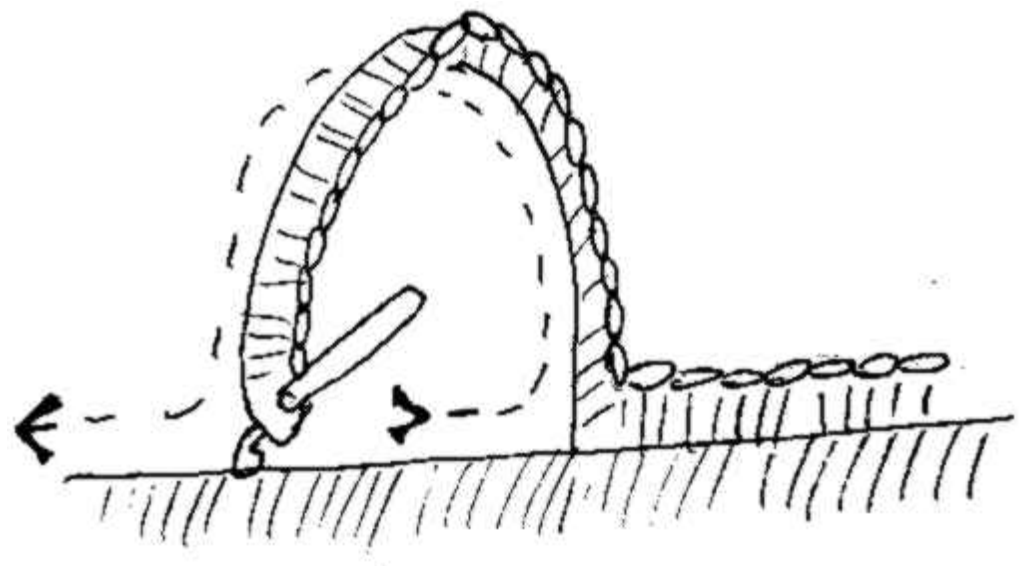 This is clever. The half-twist in the handle not only gives a flat hand-surface for carrying, but allows you to easily crochet both inside and outside of the handle in a single row.
(Optional: use contrast color for Handles)
Row 1: ch 1, sc 11, [make handle: ch 40, turn work, skip 10, sc 8, dec 2, sc 38 in back of chain, dec 2], sc 38 (along edge of basket), [make second handle], sc 27, join last st to first of row.
Row 2: ch 1; sc along entire edge of basket and handles (dec 2 at each corner between a handle and basket); join last st to first st of row.
Decrease: 2 decreases make the mitred corner at the joint between a handle and the basket.

Final steps

Authors
Jodi Smith
Related Research
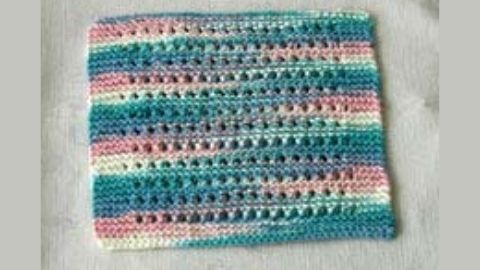
Holes and Ridges Knitted Dishcloth
Cotton yarn is a good yarn to use for a dishcloth. It is absorbent, stronger wet than dry, machine washable and can be bleached if needed. These dishcloths are easy and fun to make. Make several and give them as gifts.
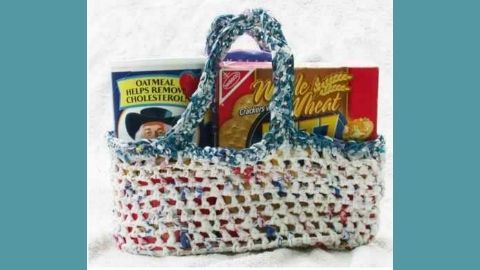
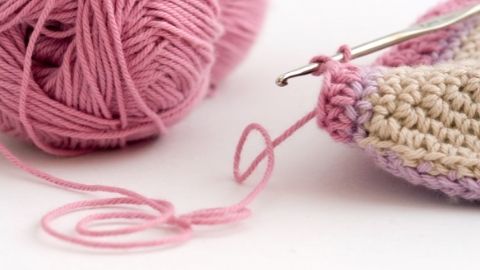
Crocheted Market Bag from Recycled Plastic Grocery Bags
Step-by-step instructions on how to make a crocheted market bag from recycled plastic grocery bags.
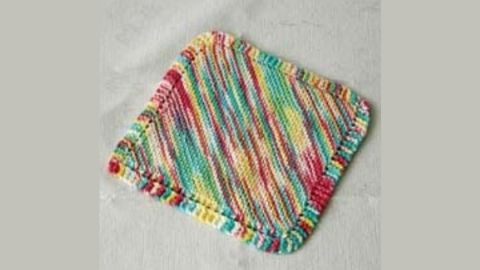
Diagonal Knit Dishcloth
Cotton yarn is a good yarn to use for a dishcloth. It is absorbent, stronger wet than dry, machine washable and can be bleached if needed. These dishcloths are easy and fun to make. Make several and give them as gifts.
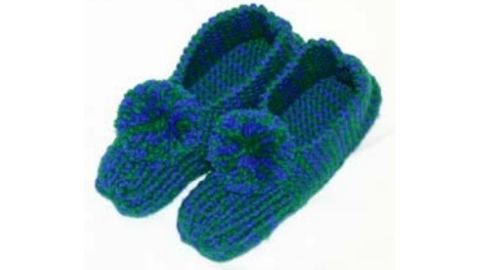
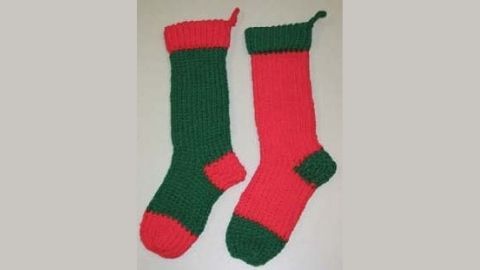
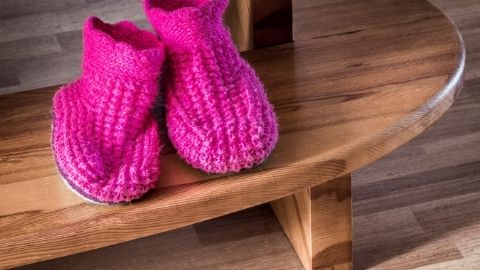
Double Yarn Knit Slippers
This is a simple basic slipper for knitters just learning how to knit. Two strands of worsted weight yarn are used to make the slippers more durable (and warm).

Loom Knitting
Looms for knitting come in all sizes and shapes. There are square, triangle, round or oval ones which can be used to make a variety of knitting projects. These frames can be used for flat knitting as well.
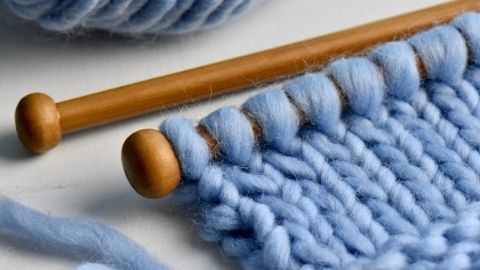
Make Your Own Knitting Needles
Making your own knitting needles can be fun. Yarn will not slip as easily on wooden knitting needles, making them a good choice for beginners.
Single Crochet Double Hotpad
Step-by-step instructions on how to make a single crochet double hotpad.